3 Double Batches Of Peanut Butter Fudge Recipe

Silky Triple-Batch Peanut Butter Fudge Recipe for Sweet Lovers

Crafting delectable peanut butter fudge brings pure joy to sweet-craving souls.

Memories of grandma’s kitchen dance through my mind with each creamy bite.

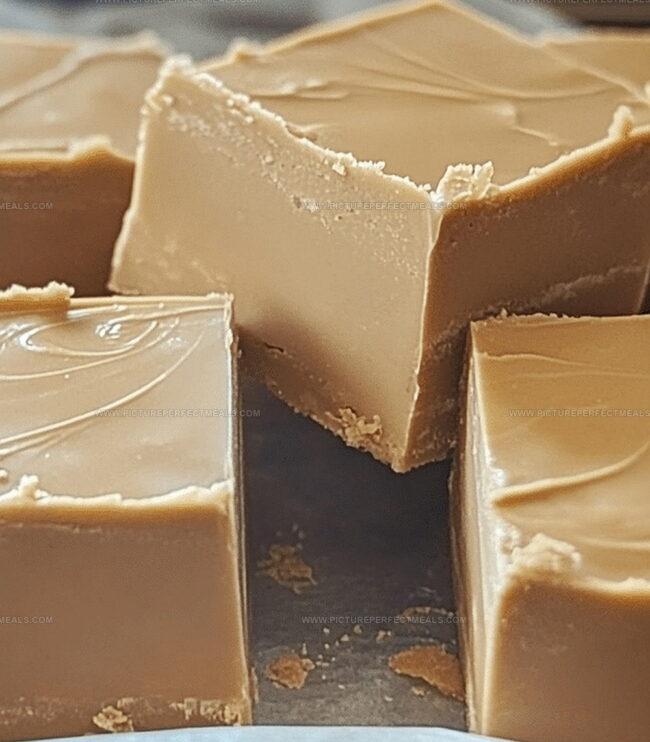
Rich, velvety textures melt softly across your tongue, promising pure indulgence.

Chocolate lovers and confection enthusiasts will adore this simple yet luxurious treat.

Homemade desserts always taste more magical when shared with those you cherish.

Simple ingredients and minimal effort create a decadent confection that looks professionally made.

Whip up these double batches, and watch smiles bloom across eager faces.

Reasons to Make 3 Double Batches of Peanut Butter Fudge

  • Minimal effort recipe that requires simple mixing and melting techniques, perfect for beginner bakers seeking delicious results.
  • Peanut butter fudge delivers rich, creamy flavor that appeals to all ages, making it a guaranteed hit at potlucks, family gatherings, and holiday parties.
  • Total preparation time is under 30 minutes, with most of the time dedicated to chilling, allowing busy home cooks to create a decadent treat without extensive kitchen skills.
  • Homemade fudge cuts into neat squares and stores easily, presenting an ideal edible gift for special occasions like birthdays, teacher appreciation, or holiday sharing.

Ingredients for 3 Double Batches of Peanut Butter Fudge

Baking Base:
  • Butter: Rich and creamy base for smooth fudge texture, unsalted preferred for better flavor control.
  • Peanut Butter: Provides signature nutty flavor, smooth variety works best for consistent texture.
Sweetening Agents:
  • Sweetened Condensed Milk: Adds sweetness and helps create smooth, creamy consistency, full-fat version recommended.
  • Powdered Sugar: Provides additional sweetness and helps fudge set properly, sifting prevents lumps.
Flavor Enhancers:
  • Vanilla Extract: Adds depth and rounds out sweet flavor, pure vanilla preferred over imitation.
  • Salt: Balances sweetness and enhances overall flavor profile, fine sea salt works well.

How to Prepare 3 Double Batches of Peanut Butter Fudge

Step 1: Prep the Baking Canvas

  • Parchment paper
  • Butter or non-stick spray

Line your 9×13-inch baking dish with parchment paper or coat it generously with butter or non-stick spray. This trick ensures easy fudge removal later.

Step 2: Craft the Buttery Base

  • Butter
  • Peanut butter

Melt butter in a large saucepan over medium heat. Swirl in peanut butter, stirring until they merge into a luxurious, glossy mixture.

Step 3: Introduce Creamy Sweetness

  • Sweetened condensed milk

Pour sweetened condensed milk into the butter-peanut butter blend. Stir continuously for 1-2 minutes until the mixture transforms into a silky smooth consistency.

Step 4: Create the Fudge Magic

  • Powdered sugar
  • Vanilla extract
  • Salt

Sift powdered sugar to eliminate any pesky lumps. Fold it into the mixture on low heat. Splash in vanilla extract and sprinkle salt, mixing until everything harmonizes perfectly.

Step 5: Transfer to Fudge Sanctuary

Pour the velvety mixture into your prepared baking dish. Use a spatula to spread it evenly, creating a smooth, tempting surface.

Step 6: Chill and Set

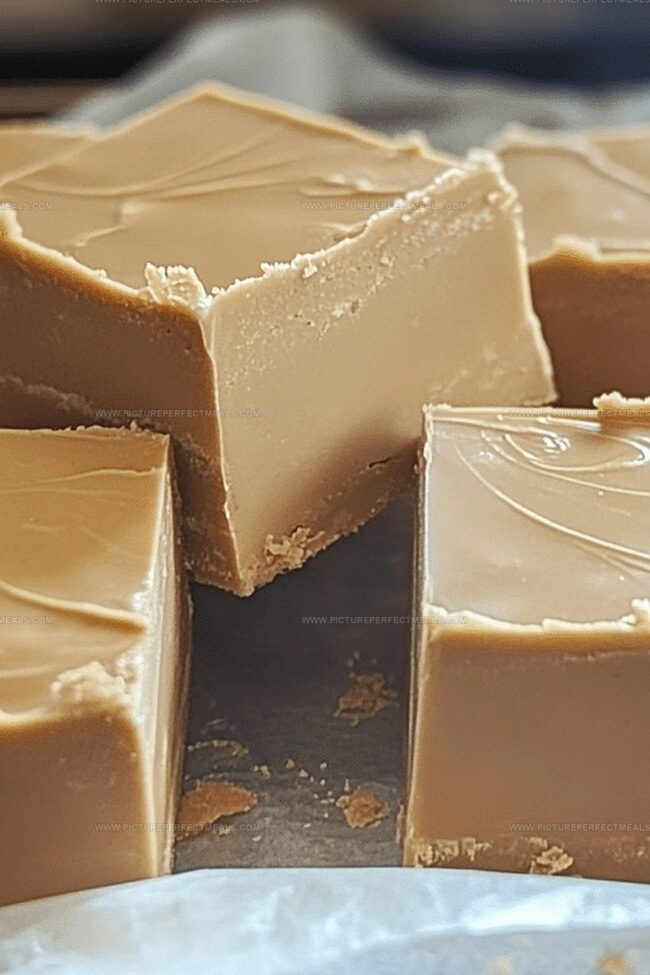
Slide the dish into the refrigerator. Let it rest for at least 2 hours, or ideally overnight, until the fudge becomes wonderfully firm.

Step 7: Slice and Celebrate

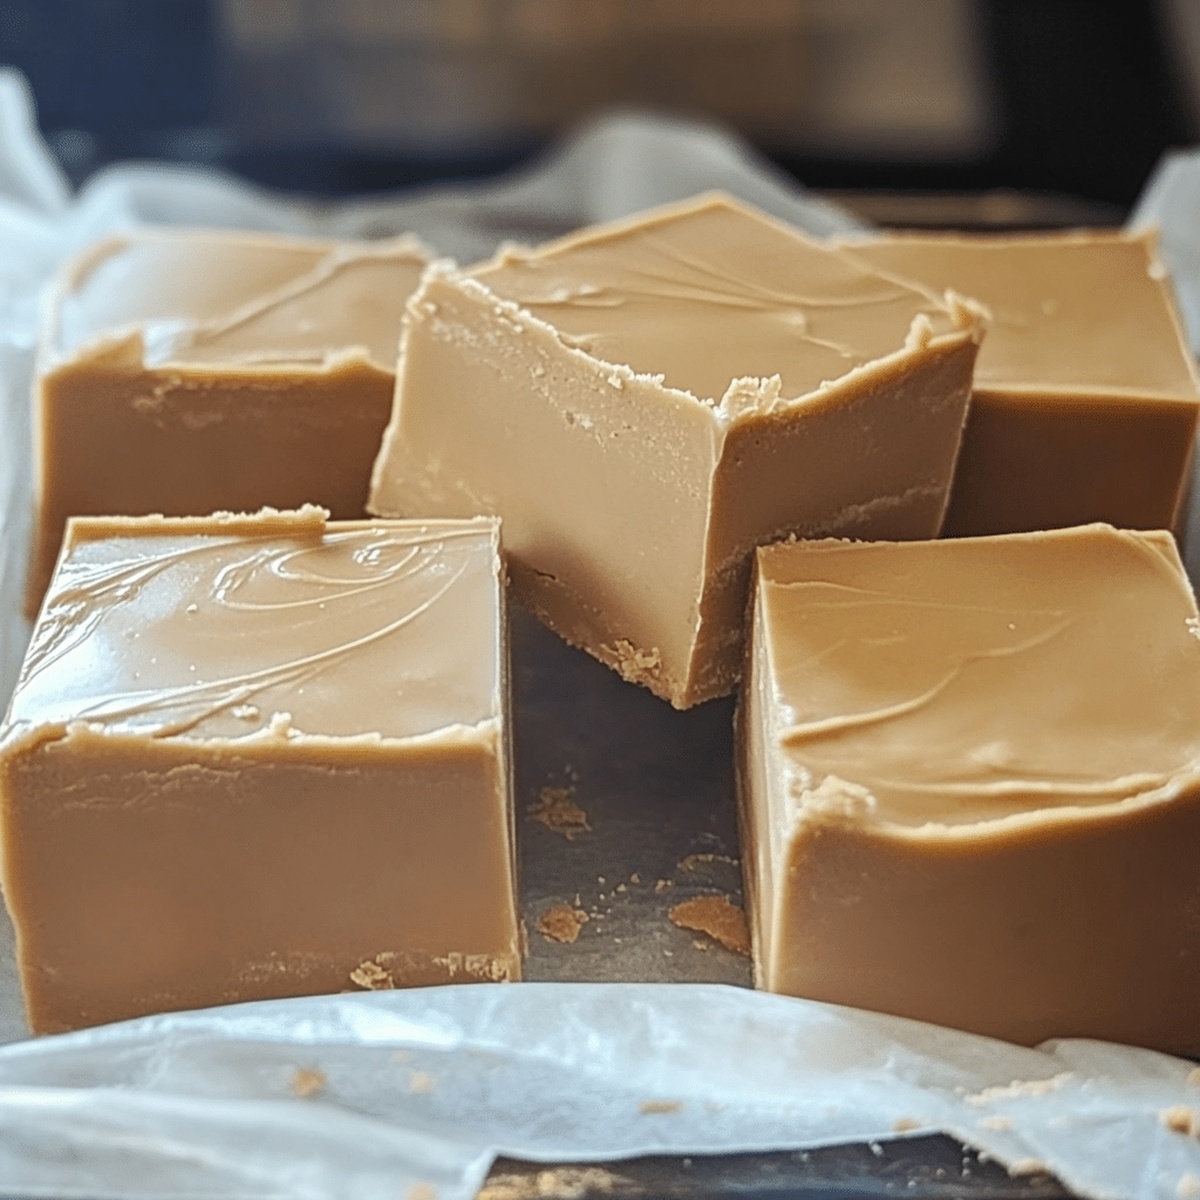
Remove the fudge from the dish. Slice into delectable squares. With three double batches, you’ll have plenty to share, gift, or devour!

Tips for Perfect Peanut Butter Fudge Texture

  • Prevent Sugar Clumping: Sift powdered sugar thoroughly before adding to eliminate lumps, ensuring a silky-smooth fudge texture that melts perfectly in your mouth.
  • Maximize Flavor Depth: Use high-quality, creamy peanut butter with natural oils to enhance the rich, nutty taste and create a more complex flavor profile in your fudge.
  • Achieve Perfect Consistency: Stir the mixture constantly while cooking to prevent burning and create a uniform, glossy texture that sets beautifully when chilled.
  • Store for Longevity: Keep fudge in an airtight container in the refrigerator for up to two weeks, separating layers with parchment paper to maintain its pristine texture and prevent sticking.
  • Customize with Mix-ins: Experiment by sprinkling chopped peanuts, chocolate chips, or drizzling melted chocolate on top before chilling to add extra crunch and visual appeal to your classic peanut butter fudge.

How to Store and Slice Large Batches of Fudge

  • Store cooled fudge in an airtight container, placing wax paper between layers to prevent sticking. Keep refrigerated for up to 2 weeks.
  • Wrap individual fudge pieces tightly in plastic wrap, then place in freezer-safe bags. Freeze for maximum 3 months without losing texture or flavor.
  • Remove frozen fudge from freezer and let sit at room temperature for 30-45 minutes before serving. This helps restore its creamy, smooth consistency.
  • For short-term storage, keep fudge in sealed container away from direct sunlight and heat. Consume within 3-4 days for best quality.

Treats That Go Well with Peanut Butter Fudge

  • Rich, dark roast coffee cuts through the sweet peanut butter fudge, creating a balanced flavor experience that highlights the dessert's creamy texture.
  • Cold whole milk provides a smooth, cooling complement that softens the fudge's intense sweetness and enhances its rich, nutty profile.
  • Smooth bourbon or aged whiskey offers a sophisticated adult pairing, with its caramel and oak notes beautifully echoing the fudge's deep, sweet undertones.
  • Sweet dessert wines like port or late harvest Riesling create a luxurious pairing, matching the fudge's richness while adding a sophisticated wine dimension.

Flavor Variations for Peanut Butter Fudge Lovers

  • Chocolate Swirl Peanut Butter Fudge: Drizzle melted dark chocolate over the top of the fudge before chilling for a decadent marbled effect.
  • Nutty Crunch Edition: Sprinkle chopped roasted peanuts or almonds across the top of the fudge before refrigerating for added texture and crunch.
  • Keto-Friendly Version: Replace sweetened condensed milk with heavy cream, use sugar-free powdered sweetener, and swap peanut butter for almond butter to create a low-carb alternative.
  • Vegan Adaptation: Substitute butter with coconut oil, use coconut cream instead of sweetened condensed milk, and choose a plant-based powdered sugar to create a dairy-free version.
Print
clock clock iconcutlery cutlery iconflag flag iconfolder folder iconinstagram instagram iconpinterest pinterest iconfacebook facebook iconprint print iconsquares squares iconheart heart iconheart solid heart solid icon
3 Double Batches Of Peanut Butter Fudge Recipe

3 Double Batches Of Peanut Butter Fudge Recipe


5 Stars 4 Stars 3 Stars 2 Stars 1 Star

4.6 from 33 reviews

  • Total Time: 12 hours 10 minutes
  • Yield: 36 1x

Description

Creamy peanut butter fudge delivers rich, melt-in-mouth indulgence straight from grandma’s classic kitchen. Sweet squares promise pure comfort and nostalgic delight you’ll savor with each delectable bite.


Ingredients

Scale

Main Ingredients:

  • 3 cups (680 grams) unsalted butter
  • 3 cups (750 grams) creamy peanut butter
  • 12 cups (1.36 kilograms) powdered sugar

Supporting Ingredients:

  • 3 tablespoons (45 milliliters) vanilla extract

Instructions

  1. Prepare a 9×13-inch baking pan by lining it with parchment paper, ensuring complete coverage and slight overhang for easy removal of the fudge.
  2. In a large, heavy-bottomed saucepan, gently melt butter over medium heat until completely liquefied and smooth.
  3. Incorporate peanut butter into the melted butter, stirring continuously until the mixture becomes uniform and glossy, with no visible separation.
  4. Pour sweetened condensed milk into the butter-peanut butter blend, stirring consistently to create a harmonious, creamy consistency.
  5. Reduce heat to low and gradually add sifted powdered sugar, mixing thoroughly to prevent any potential lumps from forming in the mixture.
  6. Introduce vanilla extract and salt, folding them into the fudge base until perfectly integrated and the texture appears silky and uniform.
  7. Transfer the warm fudge mixture to the prepared pan, using a spatula to spread it evenly and create a smooth, level surface.
  8. Carefully place the pan in the refrigerator, allowing the fudge to set completely for at least 2-3 hours, or ideally overnight for optimal texture and firmness.
  9. Once fully chilled and set, lift the fudge out of the pan using the parchment paper edges and slice into bite-sized squares using a sharp knife.
  10. Arrange the fudge pieces on a serving platter, ready to be enjoyed or packaged as a delightful homemade treat for sharing.

Notes

  • Sift powdered sugar meticulously to eliminate any potential lumps, ensuring a silky-smooth fudge texture that melts perfectly in your mouth.
  • Experiment with different peanut butter varieties like natural, creamy, or crunchy to customize the flavor and texture of your fudge, adding a personal touch to the classic recipe.
  • Use a candy thermometer to monitor the mixture’s temperature, preventing overheating and maintaining the ideal consistency for a rich, creamy fudge that sets beautifully.
  • Store fudge in an airtight container with parchment paper between layers to preserve freshness and prevent sticking, allowing you to enjoy the treat for up to two weeks at room temperature or longer in the refrigerator.
  • Prep Time: 10 minutes
  • Cook Time: 12 hours
  • Category: Desserts, Snacks
  • Method: Baking
  • Cuisine: American

Nutrition

  • Serving Size: 36
  • Calories: 186
  • Sugar: 14 g
  • Sodium: 1 mg
  • Fat: 12 g
  • Saturated Fat: 7 g
  • Unsaturated Fat: 5 g
  • Trans Fat: 0 g
  • Carbohydrates: 20 g
  • Fiber: 0 g
  • Protein: 3 g
  • Cholesterol: 30 mg
Daves Miller

Daves Miller

Contributing Chef & Culinary Educator

Expertise

  • American Southern cuisine with a modern twist.
  • Instruction in culinary fundamentals and advanced techniques.
  • Development of recipes that highlight seasonal and local produce.​
  • Mastery of artisanal bread and pastry techniques, from laminated doughs to decorative sugar artistry.

Education

Sullivan University, Louisville, Kentucky

  • Degree: Associate of Science Degree in Culinary Arts
  • Focus: Specialized in cooking techniques and culinary sciences, hands‑on externships, professional kitchen lab training, and career preparation for restaurants, entrepreneurship, and global culinary opportunities.

White Mountains Community College, Berlin, New Hampshire

  • Program: Baking and Pastry Arts degree
  • Focus: Specialized in comprehensive baking and pastry arts, including bread making, artisan breads, cake decorating and design, chocolates, confections, and decorative centerpieces; product development and baking theory; and career preparation for baker and pastry chef roles in many places.

Daves is the friendly face guiding you through flavorful, fuss-free recipes at Picture Perfect Meals. 

He studied culinary arts at Sullivan University and embraced Baking and Pastry Arts at White Mountains Community College. Daves specializes in comforting meals with vibrant flavors, highlighting fresh, seasonal ingredients.

Leave a Reply

Your email address will not be published. Required fields are marked *

Recipe rating 5 Stars 4 Stars 3 Stars 2 Stars 1 Star