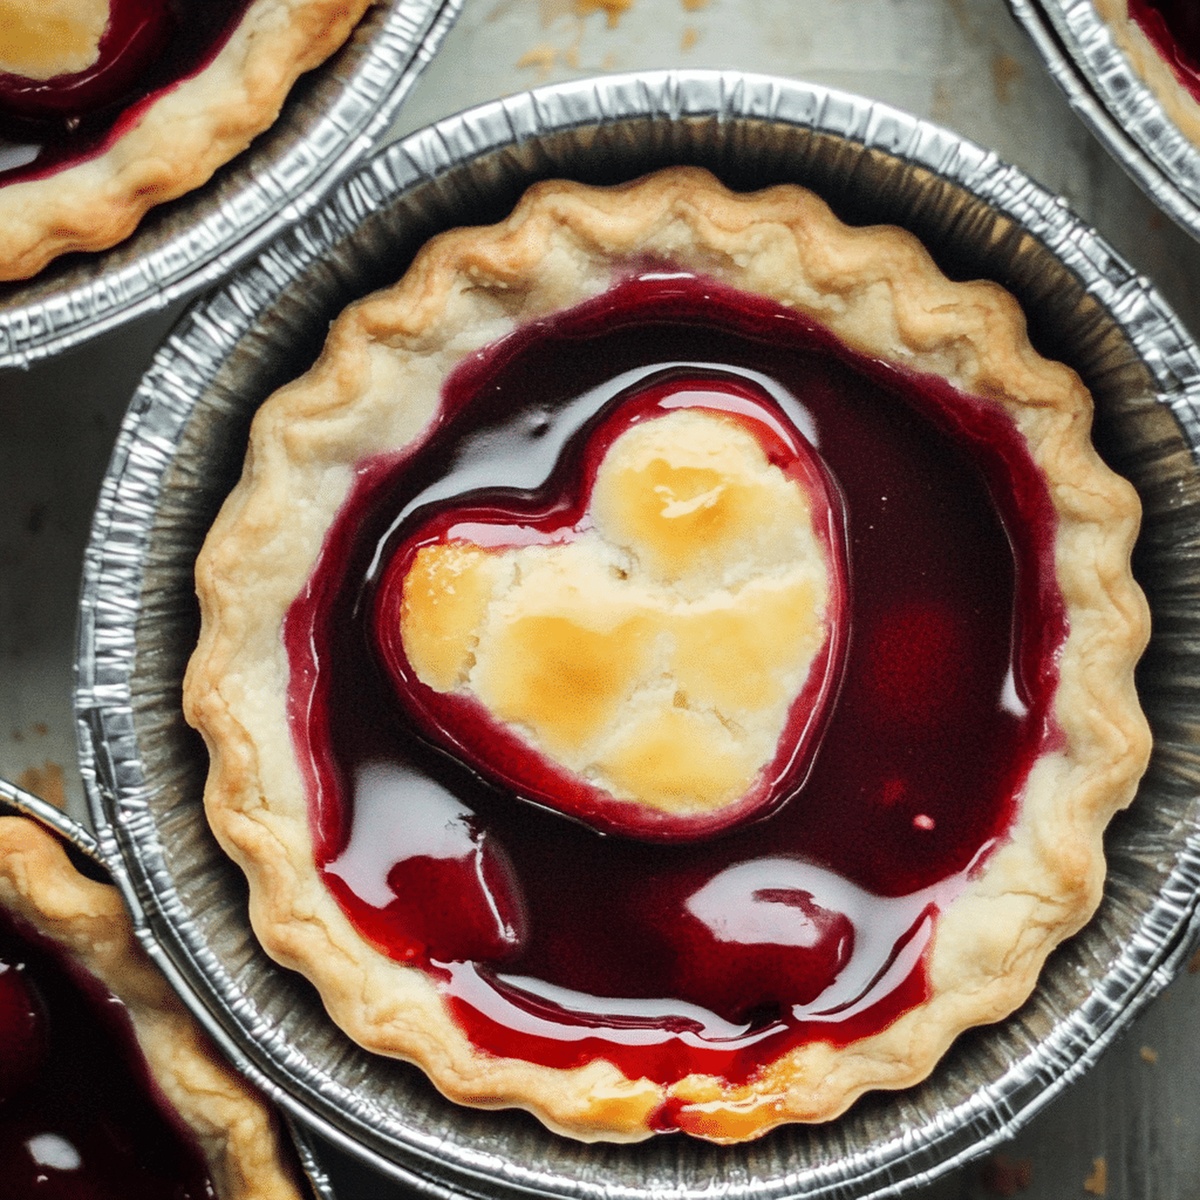
Baking mini cherry pie in your kitchen brings pure delight and comfort to any gathering.
These bite-sized treats burst with sweet, tangy cherry flavor that dances across your taste buds.
Perfectly portioned and incredibly cute, these miniature desserts are a guaranteed crowd-pleaser for every occasion.
Crafted with simple ingredients and a touch of love, each small pie delivers maximum satisfaction in one delectable bite.
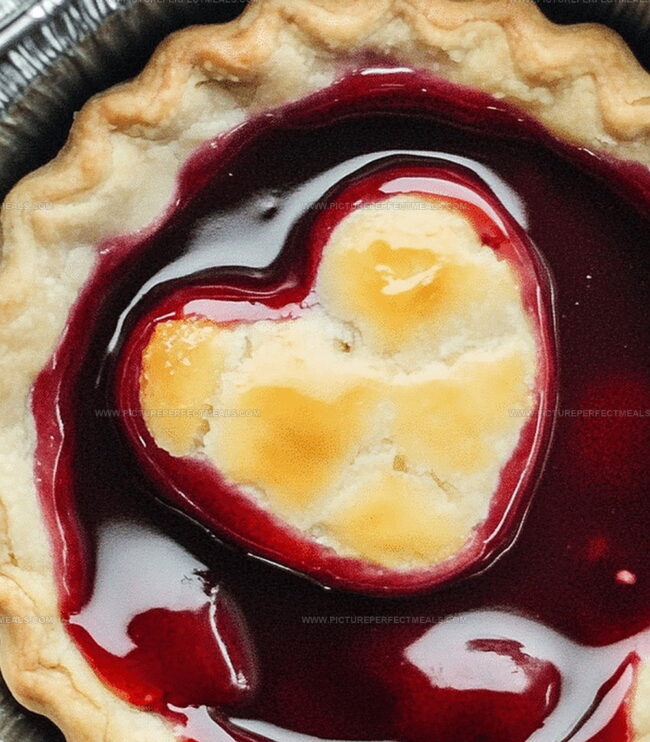
The golden, flaky crust cradles vibrant red cherries that promise a delightful sensory experience.
With minimal effort and maximum flavor, you’ll fall in love with these charming little pies that turn an ordinary moment into something extraordinary.
Prepare to transform your dessert game with these irresistible mini cherry pies that will have everyone asking for seconds.
Quick Recipe Overview
Prep Time: 40 minutes
Cook Time: 25 minutes
Total Time: 1 hour 5 minutes
Calories: 239 kcal
Servings: 6
Mini Cherry Pie Ingredients List
For Pie Crust:
All-Purpose Flour: Provides structure and foundation for the delicate, flaky pastry with its fine, powdery texture.
Salt: Enhances flavor and balances the richness of butter, creating a more complex taste profile.
Unsalted Butter: Delivers rich, creamy flavor and creates signature flaky layers through cold incorporation.
Ice Water: Helps bind ingredients without overworking the dough, ensuring a tender, delicate crust.
For Filling:
Fresh Cherries: Bring vibrant, sweet-tart flavor and juicy burst of summer goodness to the mini pies.
Granulated Sugar: Balances cherry tartness and creates luscious, glossy filling with natural sweetness.
Cornstarch: Thickens cherry liquid, preventing runny filling and maintaining perfect pie consistency.
Lemon Juice: Brightens cherry flavor and prevents fruit from browning during cooking.
For Finishing:
Egg Wash: Creates beautiful golden-brown sheen and helps seal pie edges for professional presentation.
Coarse Sugar: Adds delightful crunch and sparkling texture to pie crust surface.
Tools You’ll Use for Mini Cherry Pie
Large bowl: Essential for mixing dry ingredients and creating pie dough.
Pastry cutter or fingers: Perfect for blending butter into flour until crumbly.
Plastic wrap: Helps chill and rest the pie dough.
Rolling pin: Used to roll out smooth, even pie crust.
9-inch pie dish or mini pie tins: For shaping and baking the cherry pies.
Sharp knife: Needed to cut pie dough and create decorative top crust.
Measuring cups and spoons: Ensures accurate ingredient measurements.
Baking sheet: Provides stability and catches any potential drips during baking.
How to Assemble Mini Cherry Pies
Create Pastry Dough Mix flour and salt in a roomy bowl until perfectly blended. Crumble chilled butter into the mixture using fingertips or a special cutting tool, working gently until the texture looks like rough, sandy pebbles.
Chill Dough Sprinkle cold water slowly into the mixture, kneading softly until the ingredients form a smooth, cohesive ball. Shape the dough into a flat circle, wrap snugly in clingy plastic, and let rest in the refrigerator for half an hour.
Prepare Filling Toss fresh cherries with a splash of sugar and a hint of cinnamon, allowing the natural juices to mingle and create a luscious, sweet symphony.
Roll and Shape Dough Dust your workspace with a light coating of flour. Roll out the chilled dough into a thin, elegant sheet. Cut delicate circles using a round cookie cutter or drinking glass.
Assemble Mini Pies Gently press dough circles into a muffin tin, letting the edges peek over slightly. Spoon the cherry mixture into each tiny pie shell, filling them with fruity goodness.
Bake to Perfection Slide the muffin tin into a preheated oven. Bake until the crust turns golden brown and the cherry filling bubbles with excitement, creating a tantalizing aroma that fills your kitchen.
Cool and Serve Allow the mini pies to rest and cool slightly. Carefully remove from the tin and serve warm, perhaps with a dollop of vanilla ice cream for extra decadence.
Mini Cherry Pie Tweaks and Ideas
Butter Temperature Trick: Keep butter ultra-cold by freezing for 15 minutes before cutting to ensure flakiest pie crust texture.
Make-Ahead Magic: Prepare pie dough up to 3 days in advance and store in refrigerator, saving precious prep time on baking day.
Gluten-Free Option: Swap regular flour with gluten-free all-purpose flour blend for celiac-friendly mini cherry pies without compromising taste.
Vegan Adaptation: Replace butter with cold coconut oil or vegan butter substitute, and use plant-based milk to brush crust for dairy-free version.
Filling Flexibility: Experiment with mixed berry combinations like raspberry-cherry or blueberry-cherry for exciting flavor variations that keep the recipe exciting.
Serving Mini Cherry Pies for Any Occasion
Rustic Dessert Display: Arrange these mini cherry pies on a wooden cutting board with fresh cherries scattered around, creating a charming farmhouse-style presentation that highlights the homemade feel.
Sweet Pairing Perfection: Serve alongside a scoop of vanilla bean ice cream or a dollop of whipped cream to complement the warm, tart cherry filling and add a creamy contrast to the flaky crust.
Afternoon Tea Elegance: Present the mini pies on delicate china plates with a sprinkle of powdered sugar and a fresh mint leaf, making them an ideal treat for a sophisticated afternoon tea gathering or casual dessert course.
Picnic Ready Treat: Pack these handheld pies in individual parchment paper wrappings for a portable dessert perfect for outdoor events, picnics, or summer gatherings where guests can enjoy a personal-sized sweet treat.
Keeping Mini Cherry Pies Tasting Fresh
Quick Chilling Strategy: Wrap the pie dough tightly in plastic wrap to prevent moisture loss and maintain its perfect texture during refrigeration.
Smart Portion Planning: Divide the dough into individual mini pie portions before chilling, making it easier to roll out and shape later.
Refrigerator Storage Tips: Keep the assembled mini cherry pies in an airtight container for up to 3 days, ensuring they stay fresh and delicious.
Freezing Magic: Unbaked mini pies can be frozen for up to 2 months. Wrap each pie individually in plastic wrap, then place in a freezer bag to prevent freezer burn and maintain optimal flavor.
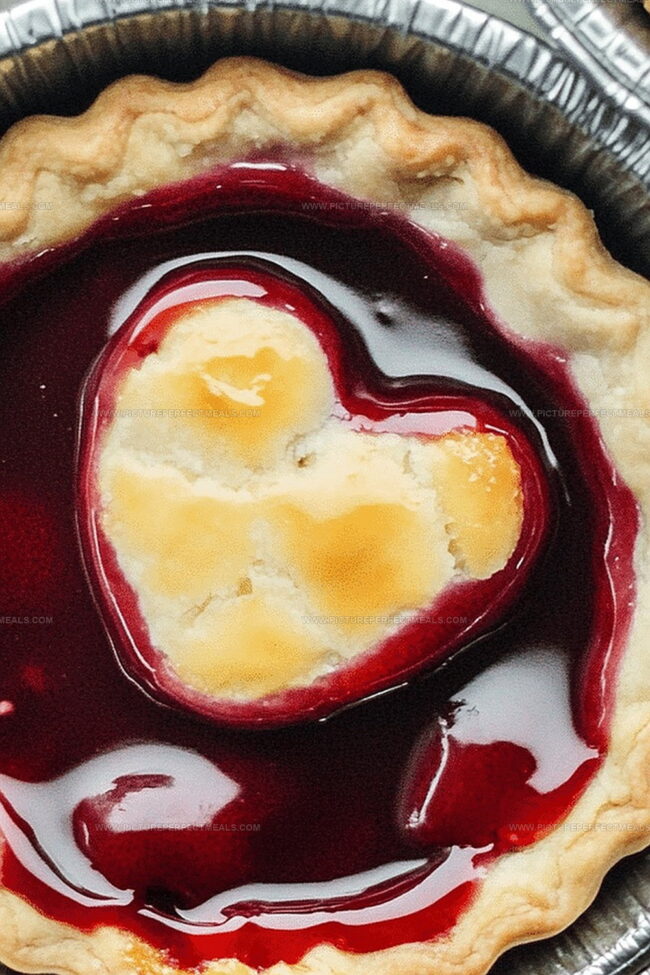
Delightful mini cherry pie showcases sweet cherries nestled in a buttery, flaky crust perfect for summer desserts. Homemade pastry and fresh fruit combine to create an irresistible treat you’ll want to share with friends and family.
Ingredients
Scale
2 cups (300g) cherries, pitted (fresh or frozen)
1 ¼ cups (155g) flour, all-purpose
½ cup (115g) butter, unsalted (cold and diced)
¼ cup (50g) sugar, granulated
½ tsp vanilla extract
¼ tsp almond extract (optional, for extra flavor)
½ tsp salt
1 tbsp cornstarch
34 tbsps ice water
1 egg, beaten (for egg wash)
Coarse sugar (optional, for sprinkling)
Instructions
Dough Preparation: Sift flour and salt together in a mixing bowl, creating a uniform dry base for the pastry.
Butter Integration: Incorporate chilled, cubed butter into the flour mixture, using fingertips or a pastry blender to develop a crumbly texture resembling coarse sand.
Dough Formation: Gradually add ice-cold water, gently mixing until the dough coheres without excessive manipulation, then shape into a compact disk and refrigerate for 30 minutes to stabilize the gluten and butter.
Pastry Shaping: Roll the chilled dough on a floured surface to an even, thin sheet, then carefully line mini pie tins, trimming and crimping the edges to create neat, decorative borders.
Filling and Topping: Distribute cherry mixture evenly into the prepared pastry shells, then craft a top crust using either a full cover with strategic venting or an intricate lattice design that showcases the vibrant filling.
Egg Wash and Baking: Brush the exposed pastry with beaten egg for a lustrous golden finish, then bake in a preheated oven until the crust turns golden brown and the filling bubbles enticingly, creating a perfectly crisp and delectable mini cherry pie.
Notes
Chill Butter Thoroughly: Cold butter is crucial for creating those coveted flaky, tender pie crust layers that melt in your mouth. Keep butter in the freezer for 15 minutes before cutting into cubes.
Minimize Dough Handling: Overworking pie dough develops gluten, resulting in tough, dense crusts. Use light, quick movements when mixing and rolling to maintain a delicate, crumbly texture.
Perfect Egg Wash Technique: Apply egg wash with a gentle brush, ensuring even coverage for a stunning golden-brown finish. Use a pastry brush with soft bristles for uniform shine and color.
Lattice Crust Options: Experiment with lattice designs by cutting strips of different widths or creating intricate woven patterns. This not only looks beautiful but allows steam to escape, preventing soggy bottoms.
Recipe development with a focus on single-dish meals.
Fusion of traditional and modern Australian cuisines.
Food styling and photography for digital platforms.
Education
Box Hill Institute, Melbourne
Degree: Advanced Diploma of Hospitality Management
Focus: Specialized in practical food and beverage service, responsible alcohol and hygiene compliance, legal risk management, and hands‑on experience in a simulated restaurant environment.
William Angliss Institute, Melbourne
Program: Certificate IV in Patisserie
Focus: Specialized in pastry and bakery techniques, cookery and specialty food preparation, recipe planning and costing, commercial kitchen operations, sustainable and inclusive work practices, food safety and hygiene compliance, and workplace health and safety.
Jenna is the heart of Picture Perfect Meals, turning simple ingredients into beautiful, easy‑to‑make dishes.
Growing up around family meals in Melbourne, she trained at Box Hill Institute and then perfected her pastry skills at William Angliss Institute. She loves mixing classic Australian flavors with fresh ideas to keep cooking fun and stress‑free.

Jenna Hartley
Founder & Recipe Creator
Expertise
Education
Box Hill Institute, Melbourne
William Angliss Institute, Melbourne
Jenna is the heart of Picture Perfect Meals, turning simple ingredients into beautiful, easy‑to‑make dishes.
Growing up around family meals in Melbourne, she trained at Box Hill Institute and then perfected her pastry skills at William Angliss Institute. She loves mixing classic Australian flavors with fresh ideas to keep cooking fun and stress‑free.