Charming Little Red Velvet Cake Minis Recipe For Sweet Moments
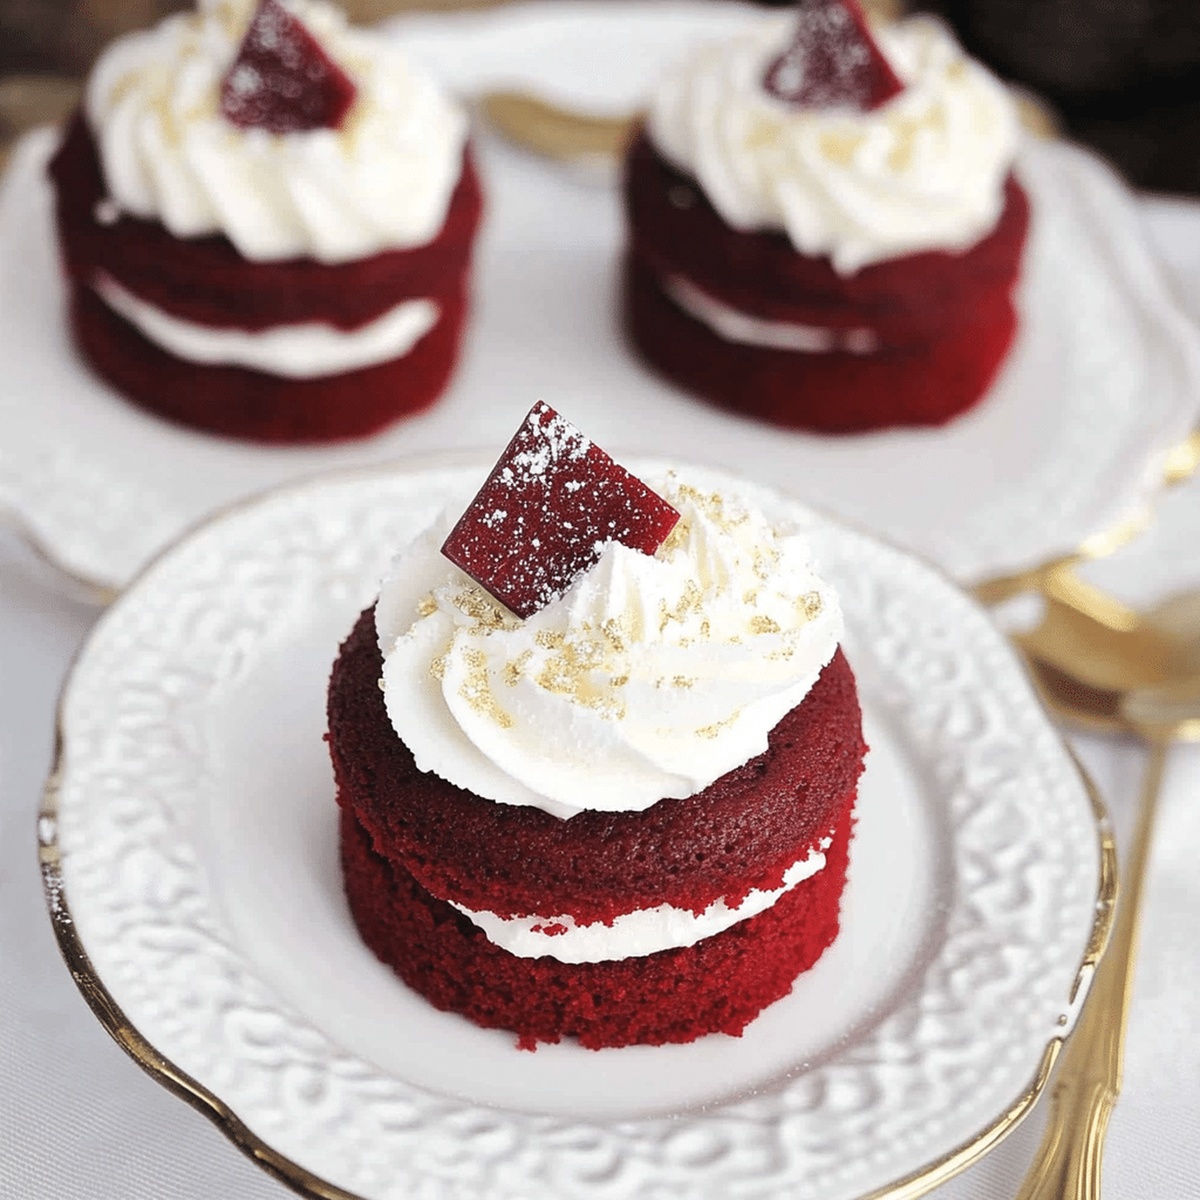
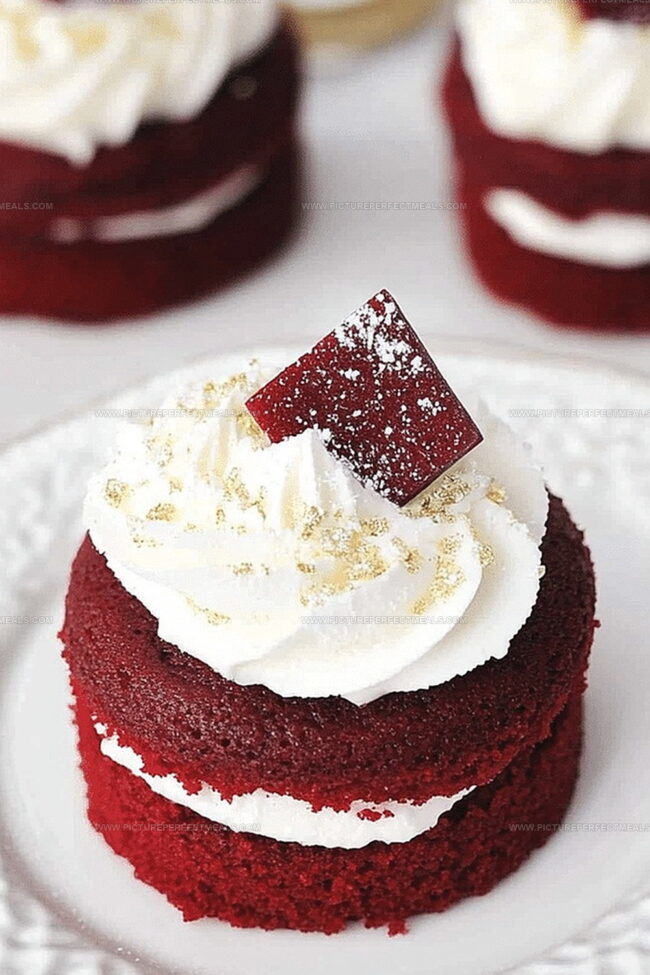
Sweet, bite-sized red velvet cake minis dance with irresistible charm on every dessert plate.
These miniature delights blend delicate cocoa and vibrant crimson hues into perfect single-serving treats.
Soft, velvety textures melt in your mouth with each delectable bite.
Rich cream cheese frosting adds a luxurious touch that complements the cake’s subtle chocolate undertones.
Bakers of all skill levels can create these elegant miniature desserts with simple ingredients and straightforward techniques.
Weekend gatherings and special occasions become extra memorable when you serve these charming little cakes.
Indulge in these red velvet cake minis and watch smiles bloom around the table.
Quick Recipe Overview
Red Velvet Cake Minis Ingredient Rundown
For Dry Ingredients:For Wet Ingredients:For Frosting:Tools for Creating Bite-Sized Cake Joy
How to Bake and Ice Mini Red Velvet Treats

Crank your oven to a toasty 350°F and get your mini muffin tin ready with a light coating of grease or cute paper liners.
Grab a mixing bowl and toss in flour, sugar, baking soda, cocoa powder, and a pinch of salt. Whisk these ingredients until they’re best friends.
In another bowl, dance together buttermilk, oil, egg, vanilla, vinegar, and a splash of vibrant red food coloring until everything looks perfectly combined.
Slowly pour your wet ingredients into the dry mixture, stirring gently until you have a silky smooth batter that looks like a delicious ruby river.
Carefully spoon the batter into mini muffin cups, filling each about two-thirds full. Slide the tin into the preheated oven and bake for 12-15 minutes until a toothpick comes out clean.
Beat cream cheese and butter until they’re fluffy clouds. Gradually sprinkle in powdered sugar, mixing thoroughly. Add vanilla and beat until impossibly smooth.
Once your mini cakes are completely cool, pipe or spread the dreamy cream cheese frosting. Sprinkle with cake crumbs or white chocolate shavings for extra pizzazz.
Enjoy these bite-sized beauties immediately or chill until party time!
Ways to Add a Creative Twist to Minis
Presenting These Minis for Any Celebration
Storing Without Losing That Moist Red Crumb
Print
Adorable Red Velvet Cake Minis Recipe
- Total Time: 35 minutes
- Yield: 13 1x
Description
Miniature red velvet cake wonders blend Southern charm with delightful bite-sized elegance. Rich cocoa notes and cream cheese frosting create irresistible small-batch dessert perfection you cannot resist.
Ingredients
- 1 ¼ cups (160g) all-purpose flour
- ¾ cup (150g) granulated sugar
- ½ cup (120 ml) vegetable oil
- ½ cup (120 ml) buttermilk (or ½ cup milk + ½ tsp vinegar)
- 1 large egg, room temperature
- 1 tbsp red food coloring
- ½ tsp baking soda
- ½ tsp cocoa powder
- ½ tsp white vinegar
- 1 tsp vanilla extract
- ¼ tsp salt
- 4 oz (113g) cream cheese, softened
- ¼ cup (57g) unsalted butter, softened
- 1 ½ cups (180g) powdered sugar
- 1 tsp vanilla extract
- Red velvet cake crumbs
- White chocolate shavings (optional)
Instructions
- Preheat Preparation: Warm oven to 350F (175C) and coat mini muffin tin with non-stick spray or cupcake liners.
- Dry Ingredient Integration: Whisk flour, sugar, baking soda, cocoa powder, and salt in a mixing bowl until uniformly combined, eliminating potential lumps.
- Liquid Component Blending: Thoroughly mix buttermilk, vegetable oil, egg, vanilla extract, white vinegar, and red food coloring in a separate vessel until achieving a consistent, vibrant hue.
- Batter Formation: Gently fold liquid mixture into dry ingredients, stirring minimally to create a smooth, rich batter without overmixing.
- Muffin Tin Filling: Evenly distribute batter into mini muffin cups, ensuring each is approximately two-thirds full to facilitate proper rising during baking.
- Baking Process: Position muffin tin in preheated oven and bake for 12-15 minutes, verifying doneness with a clean toothpick test.
- Cooling and Frosting Preparation: Transfer mini cakes to a wire rack for complete cooling, simultaneously preparing cream cheese frosting by beating cream cheese and butter until light and creamy.
- Frosting Refinement: Gradually fold in powdered sugar, continuing to mix for a smooth, spreadable consistency and adding vanilla extract to achieve a fluffy texture.
- Decoration and Presentation: Generously pipe or spread cream cheese frosting atop cooled mini cakes, optionally garnishing with red velvet cake crumbs or delicate white chocolate shavings.
- Serving Suggestion: Present immediately or refrigerate until ready to serve and savor.
Notes
- Control Food Coloring Intensity: Use gel-based red food coloring for deeper, more vibrant color without altering batter consistency, preventing watery texture.
- Prevent Overmixing Batter: Stir ingredients just until combined to maintain tender, soft mini cake texture, avoiding tough or dense results.
- Temperature Precision Matters: Use room temperature eggs and buttermilk to ensure even mixing and consistent cake rise, creating smoother batter integration.
- Frosting Consistency Hack: Chill cream cheese and butter briefly before mixing to achieve stable, pipeable frosting that holds shape and spreads smoothly on mini cakes.
- Prep Time: 20 minutes
- Cook Time: 15 minutes
- Category: Desserts, Snacks
- Method: Baking
- Cuisine: American
Nutrition
- Serving Size: 13
- Calories: 204
- Sugar: 18g
- Sodium: 124mg
- Fat: 10g
- Saturated Fat: 3g
- Unsaturated Fat: 7g
- Trans Fat: 0g
- Carbohydrates: 26g
- Fiber: 0.5g
- Protein: 2g
- Cholesterol: 27mg
Jenna Hartley
Founder & Recipe Creator
Expertise
Education
Box Hill Institute, Melbourne
William Angliss Institute, Melbourne
Jenna is the heart of Picture Perfect Meals, turning simple ingredients into beautiful, easy‑to‑make dishes.
Growing up around family meals in Melbourne, she trained at Box Hill Institute and then perfected her pastry skills at William Angliss Institute. She loves mixing classic Australian flavors with fresh ideas to keep cooking fun and stress‑free.