
Juicy Bacon Cheeseburger Bombs Recipe: A Tasty Family Hit
A mouthwatering bacon cheeseburger bomb promises pure comfort on a plate.
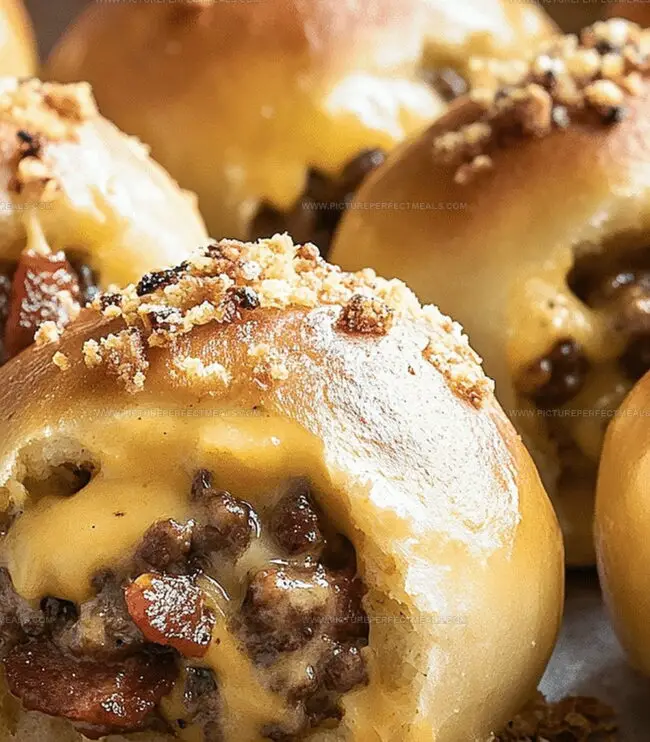
Crispy pastry shells cradle melted cheese and savory ground beef.
Meat lovers will find themselves craving these delectable little parcels packed with irresistible flavors.
Each bite delivers a satisfying combination of classic burger ingredients wrapped in a golden, flaky exterior.
Small enough to pop in one bite, these bombs make perfect appetizers for casual gatherings.
The recipe combines familiar ingredients in an unexpected and playful presentation.
Dive into this crowd-pleasing snack that turns traditional burger elements into something wonderfully exciting and shareable.
Why Bacon Cheeseburger Bombs Are a Fun Favorite

Ingredients for Tasty Bacon Cheeseburger Bombs
Main Protein and Filling Components:Flavor Enhancers:Dough and Baking Components:Serving Extras:Cooking Steps for Bacon Cheeseburger Bombs
Step 1: Sizzle the Savory Filling
Brown ground beef and diced onions in a skillet over medium heat. Drain excess grease carefully. Stir in seasonings:Cook mixture for 2 minutes, then set aside to cool slightly.
Step 2: Craft the Burger Parcels
Preheat oven to 375°F. Prepare baking sheet with parchment paper. Flatten each biscuit into a wide circle. Layer ingredients in center:Carefully fold biscuit edges over filling, pinching to create a sealed ball.
Step 3: Bacon Blanket Wrap
Encase each dough ball completely with a bacon slice. Secure with toothpick if needed.
Step 4: Golden Bake
Position bombs on baking sheet. Brush with beaten egg and sprinkle sesame seeds. Bake 20-25 minutes until golden and bacon turns crispy.
Step 5: Serve and Enjoy
Let bombs rest 5 minutes. Plate with favorite dipping sauces like ketchup or mustard. Serve hot and watch everyone dig in!
Pro Tips for Cheeseburger Bombs
How to Reheat and Keep Cheeseburger Bombs Fresh
Dishes That Go Well with Bacon Cheeseburger Bombs
Twist Ideas for Cheeseburger Bomb Flavors
Gluten-Free Burger Bombs: Replace biscuit dough with gluten-free biscuit mix or almond flour dough for celiac or gluten-sensitive individuals.
Low-Carb Keto Burger Bombs: Swap biscuit dough with large cheese wraps or lettuce leaves, using ground beef and cheese as primary ingredients to reduce carbohydrate content.
Turkey Bacon Healthier Option: Substitute ground beef with lean ground turkey and replace regular bacon with turkey bacon for a lower-fat version that maintains similar flavor profiles.
Vegetarian Bomb Alternative: Replace ground beef with plant-based meat crumbles or black beans, use vegetarian cheese, and wrap with plant-based bacon strips for a meatless adaptation.
Print
Bacon Cheeseburger Bombs Recipe
- Total Time: 40 minutes
- Yield: 8 1x
Description
Mouthwatering bacon cheeseburger bombs deliver explosive flavor in compact, irresistible bites. Crispy exterior gives way to melted cheese and savory ground beef, promising a delightful snack that will satisfy deep comfort food cravings.
Ingredients
Main Protein Ingredients:
- 1 lb (450 g) ground beef
- 8 slices of bacon
Cheese and Biscuit Ingredients:
- 8 slices of cheddar cheese (cut into squares)
- 1 can (16 oz / 450 g) refrigerated biscuit dough (8 biscuits)
Seasoning and Flavor Ingredients:
- ½ cup (75 g) diced onion
- 1 tablespoon ketchup
- 1 tablespoon mustard
- 1 teaspoon garlic powder
- 1 teaspoon smoked paprika
- Salt and pepper, to taste
Finishing Ingredients:
- 1 large egg (beaten, for egg wash)
- Sesame seeds (optional)
Instructions
- Sizzle ground beef and diced onion in a medium-heat skillet until meat browns and onions turn translucent, eliminating any accumulated fat.
- Incorporate condiments and seasonings into the meat mixture, allowing flavors to meld for two minutes. Remove from heat and permit slight cooling.
- Activate oven to 375F (190C) and arrange parchment paper on a baking sheet.
- Gently stretch each biscuit dough into a broad, thin circle, creating a canvas for the filling.
- Position a cheese slice centrally on each dough round, layering the seasoned beef mixture atop the cheese.
- Add a complementary cheese slice to complete the interior composition.
- Carefully gather and pinch dough edges, transforming the flat disk into a sealed, spherical parcel.
- Meticulously encase each dough ball with a bacon slice, securing the wrapper with toothpicks if required.
- Arrange bacon-wrapped spheres on prepared baking sheet, applying an egg wash and optional sesame seed garnish.
- Roast in preheated oven for 20-25 minutes until dough achieves golden perfection and bacon reaches crisp, caramelized status.
- Allow bombs to rest briefly after removing from oven, then serve alongside preferred dipping sauces for an indulgent experience.
Notes
- Customize the filling by adding diced jalapeños for a spicy kick or swap ground beef with turkey for a leaner option.
- Ensure biscuit dough is cold when working with it to prevent sticking and make sealing easier.
- Partially cook bacon before wrapping to guarantee crispy texture and reduce overall cooking time.
- Experiment with different cheese varieties like pepper jack or blue cheese for unique flavor profiles.
- Prep Time: 15 minutes
- Cook Time: 25 minutes
- Category: Lunch, Dinner, Snacks
- Method: Baking
- Cuisine: American
Nutrition
- Serving Size: 8
- Calories: 360
- Sugar: 2 g
- Sodium: 800 mg
- Fat: 24 g
- Saturated Fat: 10 g
- Unsaturated Fat: 12 g
- Trans Fat: 0 g
- Carbohydrates: 19 g
- Fiber: 1 g
- Protein: 17 g
- Cholesterol: 70 mg
Daves Miller
Contributing Chef & Culinary Educator
Expertise
Education
Sullivan University, Louisville, Kentucky
White Mountains Community College, Berlin, New Hampshire
Daves is the friendly face guiding you through flavorful, fuss-free recipes at Picture Perfect Meals.
He studied culinary arts at Sullivan University and embraced Baking and Pastry Arts at White Mountains Community College. Daves specializes in comforting meals with vibrant flavors, highlighting fresh, seasonal ingredients.