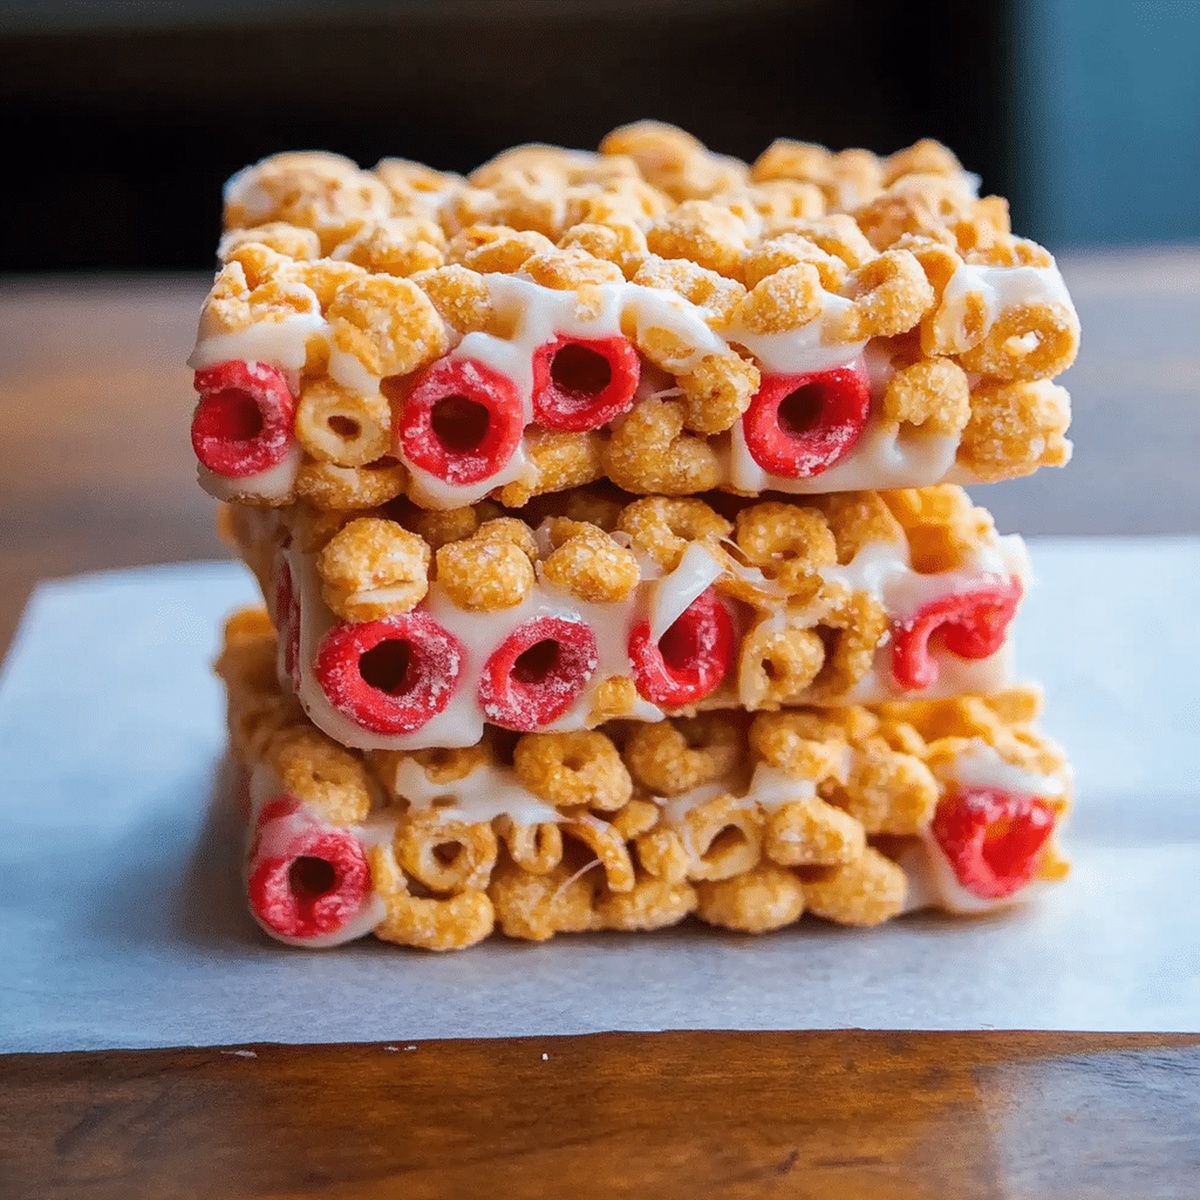
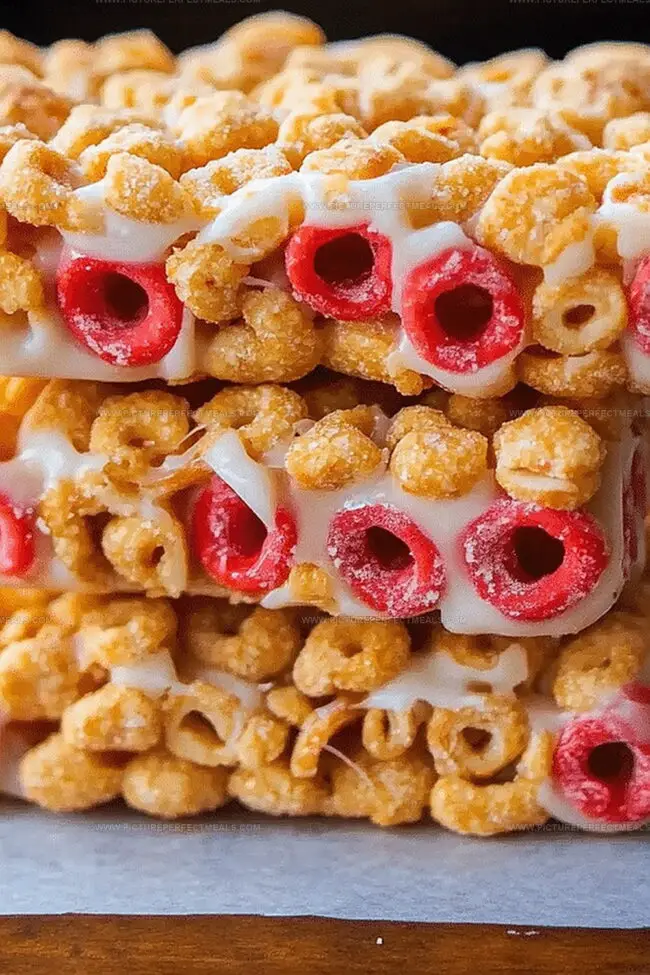
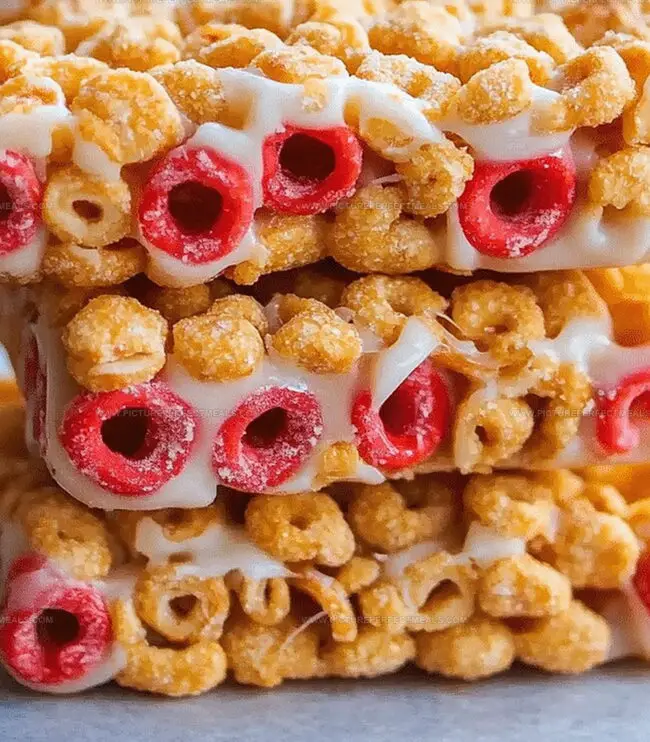
Homemade Cereal Bars Recipe: Sweet & Crunchy Joy in Every Bite
Crafting homemade cereal bars can unleash unexpected culinary magic in your kitchen.
These delightful snacks emerge from simple ingredients waiting to become something extraordinary.
Small pantry staples transform into crunchy, sweet treats that spark joy with every bite.
Nobody expects such deliciousness could come together so effortlessly.
Kids absolutely adore helping mix and press the ingredients into perfect little rectangles.
Crisp textures and balanced sweetness make these bars irresistible for school lunches or afternoon energy boosts.
You’ll want to stash this recipe in your favorite collection and start experimenting right away.
Homemade Cereal Bars Without the Mess
Key Ingredients for Making Cereal Bars at Home
Base Ingredients:Wet Binding Ingredients:Optional Flavor Enhancers:How to Press and Set Your Cereal Bars
Step 1: Prepare Baking Surface
Line a rectangular baking pan with parchment paper or apply cooking spray to prevent sticking.
Step 2: Blend Dry Components
Gather dry ingredients:Thoroughly mix ingredients in a spacious mixing bowl.
Step 3: Create Liquid Base
In a small saucepan, combine:Warm over low heat, stirring continuously until smooth and slightly heated.
Step 4: Merge Ingredients
Pour liquid mixture over dry ingredients, mixing completely until every oat and component is evenly coated.
Step 5: Shape Mixture
Transfer combined mixture into prepared pan, using spatula to press firmly and create uniform layer.
Step 6: Chill and Set
Refrigerate pan for minimum two hours, allowing bars to solidify.
Step 7: Slice Bars
Remove set mixture from refrigerator, cutting into desired rectangular or square shapes.
Step 8: Pack and Preserve
Store bars in sealed container at room temperature for one week or refrigerate for extended freshness.
Best Practices for Preparing Cereal Bars That Hold
How to Keep Cereal Bars Tasting Fresh for Days
Pairing Ideas That Fit Well with Cereal Bars
Flavor and Texture Twists for Your Cereal Bars
Print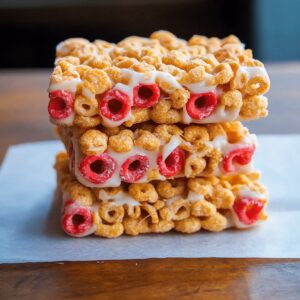
Cereal Bars Recipe
- Total Time: 1 hour 10 minutes
- Yield: 12 1x
Description
Homemade Cereal Bars bring comfort and nostalgia to breakfast tables with their simple yet delightful mix of wholesome ingredients. Sweet grains and honey create a perfect morning treat that connects you to childhood memories while satisfying hunger with minimal effort.
Ingredients
Base Ingredients:
- 3 cups (75 g) cereal (cheerios, puffed rice, or granola)
- ½ cup (120 g) nut butter (peanut butter, almond butter, or sunflower seed butter for nut-free)
- ½ cup (120 milliliters) honey or maple syrup
Flavor Enhancers:
- 1 teaspoon vanilla extract
- ¼ teaspoon salt
Optional Nutritional Boosters:
- ¼ cup (40 g) mini chocolate chips
- ¼ cup (30 g) dried fruit (raisins, cranberries, or chopped apricots)
- 2 tablespoons (20 g) chia seeds or flaxseeds for extra nutrition
Instructions
- Prepare a baking surface by lining a rectangular dish with parchment paper, ensuring complete coverage with slight overhang for easy removal.
- Gather dry components including oats, seeds, nuts, and dried fruits into a spacious mixing vessel, blending thoroughly to create a uniform mixture.
- Create a warm binding liquid by gently heating nut butter, honey, milk, and vanilla extract in a compact saucepan, stirring consistently until the mixture transforms into a silky, integrated emulsion.
- Pour the heated liquid over the dry ingredients, using a robust folding technique to ensure comprehensive coating of every oat and additional ingredient.
- Transfer the moistened mixture into the prepared baking dish, applying firm, even pressure with a flexible spatula to compact the ingredients into a consistent layer.
- Chill the assembled mixture in the refrigerator for a minimum of two hours, allowing the bars to solidify and develop structural integrity.
- After setting, extract the consolidated mixture from the refrigerator and utilize the parchment paper edges to lift the entire block onto a cutting surface.
- Slice the consolidated block into uniform rectangles or squares, maintaining consistent sizing for aesthetic and practical serving purposes.
- Preserve the crafted bars in an hermetic container, selecting room temperature storage for short-term preservation or refrigeration for extended freshness.
Notes
- Customize your bars by swapping out nuts and dried fruits to match personal taste preferences or dietary needs.
- Experiment with different nut butters like almond or sunflower seed butter for unique flavor profiles and alternative protein sources.
- Add dark chocolate chips or cocoa powder for a decadent twist that boosts antioxidant content and satisfies sweet cravings.
- Consider toasting oats and nuts beforehand to enhance their natural nutty flavors and create a deeper, more complex taste experience.
- Prep Time: 10 minutes
- Cook Time: 1 hour
- Category: Snacks, Breakfast
- Method: Baking
- Cuisine: American
Nutrition
- Serving Size: 12
- Calories: 183
- Sugar: 10 g
- Sodium: 70 mg
- Fat: 8 g
- Saturated Fat: 1 g
- Unsaturated Fat: 7 g
- Trans Fat: 0 g
- Carbohydrates: 24 g
- Fiber: 2 g
- Protein: 5 g
- Cholesterol: 0 mg
Daves Miller
Contributing Chef & Culinary Educator
Expertise
Education
Sullivan University, Louisville, Kentucky
White Mountains Community College, Berlin, New Hampshire
Daves is the friendly face guiding you through flavorful, fuss-free recipes at Picture Perfect Meals.
He studied culinary arts at Sullivan University and embraced Baking and Pastry Arts at White Mountains Community College. Daves specializes in comforting meals with vibrant flavors, highlighting fresh, seasonal ingredients.