
Zesty Cheesy Cheddar Bay Sausage Balls Recipe for All Fans
Comfort food reaches new heights with these mouthwatering cheddar bay sausage balls that blend zesty spices and rich cheesy flavors.
Every bite promises a delightful explosion of savory goodness.
Packed with hearty sausage and sharp cheddar, these appetizers come together in minutes.
The recipe combines classic ingredients with a tangy twist that keeps everyone coming back for more.
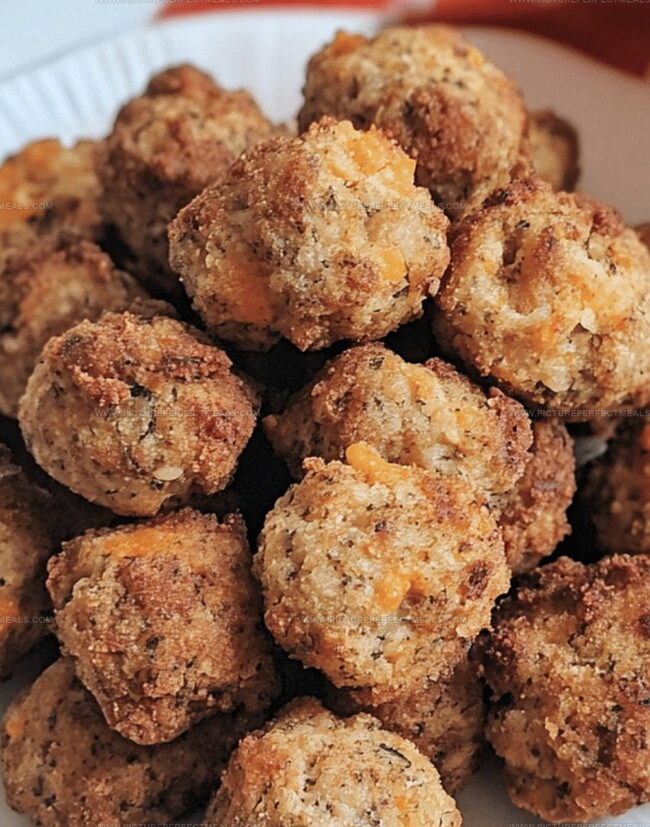
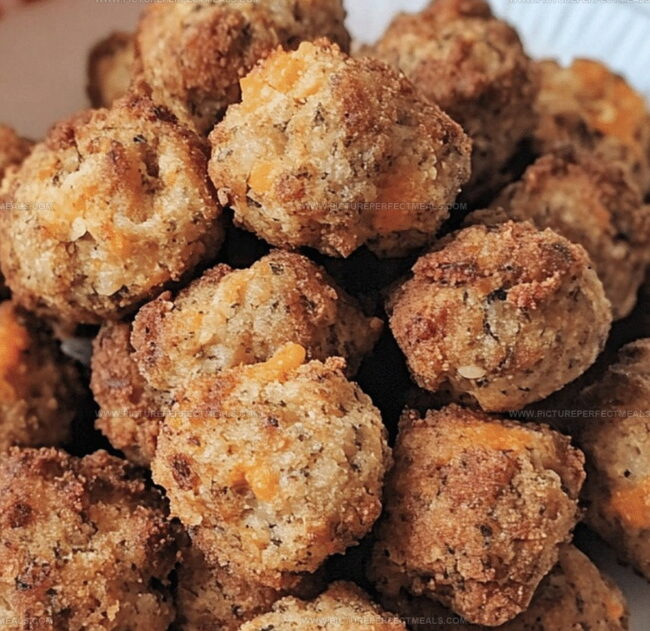
Perfectly seasoned and golden brown, these sausage balls make an irresistible addition to any gathering.
Serve them hot and watch as they disappear from the plate in record time.
Your next party or game day spread just got a serious upgrade.
Quick Recipe Overview
What You’ll Need for Cheddar Bay Sausage Balls
For Protein Base:For Binding and Texture:For Flavor Enhancers:For Finishing Touch:Tools That Make Cheddar Bay Sausage Balls Foolproof
How to Bake Cheddar Bay Sausage Balls for Game Day
Crank the oven to a sizzling 375F and grab a baking sheet lined with parchment paper or a silicone mat.
Dive into a large bowl and combine sausage, cheddar, Bisquick, and seasonings. Get your hands dirty and blend everything until it’s perfectly combined.
Pour in milk and keep mixing until the mixture becomes a cohesive dough that sticks together like best friends.
Roll the mixture into cute little one-inch balls and place them on the baking sheet, giving each ball some breathing room.
Pop the tray into the oven and bake for 18-20 minutes until the sausage balls turn a gorgeous golden brown and are cooked through.
While the balls are baking, whip up a quick butter glaze with Old Bay seasoning if you’re feeling fancy.
Once out of the oven, brush the sausage balls with the seasoned butter for an extra flavor punch. Serve these delectable bites warm and watch them disappear. Grab some dipping sauces like ranch or honey mustard for extra excitement.
Spice and Cheese Variations for Sausage Ball Lovers
Serve These Savory Sausage Balls with Sauce or Solo
How to Keep Cheddar Bay Sausage Balls Ready to Reheat
Print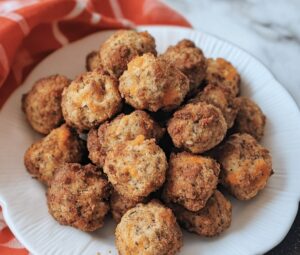
Cheesy Cheddar Bay Sausage Balls Recipe
- Total Time: 30 minutes
- Yield: 25 1x
Description
Savory Cheddar Bay Sausage Balls combine zesty sausage with sharp cheddar cheese in a crowd-pleasing appetizer. Hearty bites deliver irresistible flavor that guests will devour at parties or game day gatherings.
Ingredients
- 1 lb (450 g) breakfast sausage
- 2 cups (200 g) sharp cheddar cheese, shredded
- 1 ¼ cups (150 g) Bisquick or baking mix
- ¼ cup (60 ml) whole milk
- 2 tbsps butter, melted
- 1 tsp garlic powder
- ½ tsp onion powder
- 1 tsp dried parsley
- ½ tsp Old Bay seasoning or seafood seasoning (optional)
Instructions
- Preheat Preparation: Position oven rack in center at 375F (190C) and line baking sheet with parchment paper or silicone mat for optimal heat distribution and easy cleanup.
- Mixture Creation: In large mixing bowl, thoroughly combine sausage, cheddar cheese, Bisquick, garlic powder, onion powder, and parsley using hands or sturdy utensil to ensure even ingredient integration and consistent texture.
- Dough Formation: Gradually introduce milk, kneading mixture until cohesive dough develops with sufficient moisture to bind ingredients without becoming overly wet.
- Portioning and Arrangement: Roll mixture into uniform 1-inch spherical portions, placing them systematically on prepared baking sheet with minimal spacing to promote even browning and consistent cooking.
- Baking and Glazing: Bake in preheated oven for 18-20 minutes until sausage balls achieve golden-brown exterior and are thoroughly cooked internally, then simultaneously prepare butter glaze by whisking melted butter with Old Bay seasoning.
- Finishing Touch: Immediately upon removal from oven, delicately brush warm sausage balls with seasoned butter glaze, enhancing flavor profile and creating appetizing sheen, then serve promptly alongside preferred dipping sauces like ranch, honey mustard, or marinara.
Notes
- Master Mixing Technique: Use hands or a robust utensil to thoroughly blend ingredients, ensuring even distribution of sausage, cheese, and seasonings without overworking the mixture.
- Perfect Portion Control: Roll sausage balls precisely 1-inch in diameter for consistent cooking and ideal bite-sized appetizers that cook evenly and look professionally prepared.
- Moisture Management: Add milk gradually to achieve the right dough consistency – not too dry or crumbly, but firm enough to hold shape without falling apart during baking.
- Flavor Enhancement Hack: Brush warm sausage balls immediately with seasoned butter after baking to lock in moisture and create an extra layer of rich, savory flavor that elevates the entire dish.
- Prep Time: 10 minutes
- Cook Time: 20 minutes
- Category: Snacks, Appetizer
- Method: Baking
- Cuisine: American
Nutrition
- Serving Size: 25
- Calories: 150
- Sugar: 0 g
- Sodium: 350 mg
- Fat: 10 g
- Saturated Fat: 5 g
- Unsaturated Fat: 4 g
- Trans Fat: 0 g
- Carbohydrates: 8 g
- Fiber: 0 g
- Protein: 7 g
- Cholesterol: 30 mg
Jenna Hartley
Founder & Recipe Creator
Expertise
Education
Box Hill Institute, Melbourne
William Angliss Institute, Melbourne
Jenna is the heart of Picture Perfect Meals, turning simple ingredients into beautiful, easy‑to‑make dishes.
Growing up around family meals in Melbourne, she trained at Box Hill Institute and then perfected her pastry skills at William Angliss Institute. She loves mixing classic Australian flavors with fresh ideas to keep cooking fun and stress‑free.