
Irresistible Cheesy Tuna Melt Wrap Recipe for Lunch Lovers
Wrapping up comfort food never tasted so good with this cheesy tuna melt wrap recipe that combines classic flavors in a quick and satisfying meal.
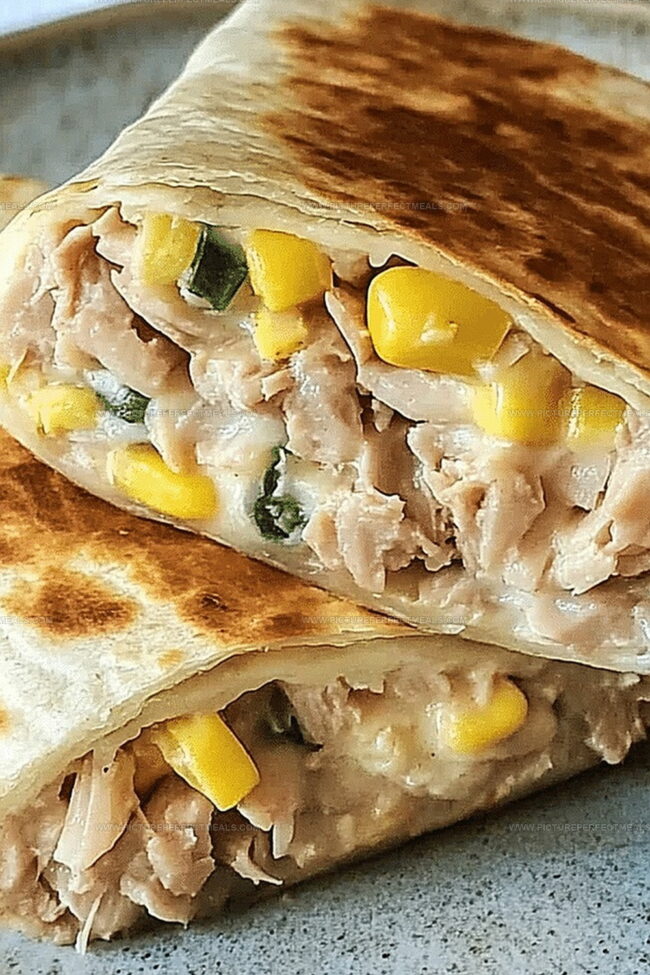
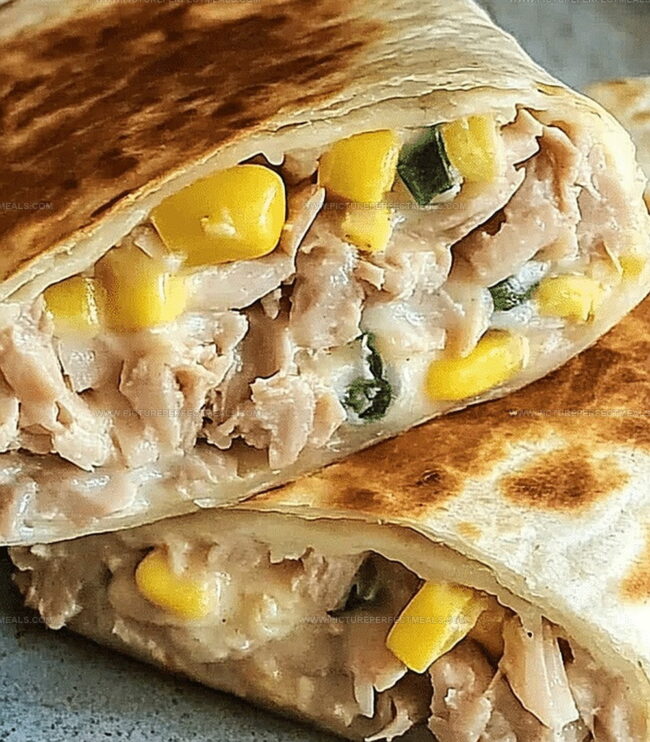
Melted cheese and savory tuna blend perfectly inside a warm tortilla, creating a delightful lunch or dinner option.
The combination of flaky tuna, sharp cheddar, and creamy mayo offers a mouthwatering twist on traditional sandwiches.
Crisp vegetables add a fresh crunch to each bite, balancing the rich, melted cheese.
Simple ingredients come together in minutes, making this wrap an ideal choice for busy weekdays.
You’ll love how easily this recipe comes together with minimal preparation.
Grab a plate and get ready to enjoy a delicious meal that’s sure to become a new favorite.
Quick Recipe Overview
Ingredients to Build a Gooey Tuna Melt Wrap
For Tuna Mixture:For Wrap Components:For Cooking Essentials:Tools for Toasting a Perfect Tuna Melt Wrap
How to Assemble and Warm a Classic Tuna Melt Wrap
Mix canned tuna with tangy mayonnaise, zesty Dijon mustard, bright lemon juice, and crunchy diced onions. Sprinkle in some salt and pepper to make the flavors pop.
Spread the delicious tuna mixture right in the center of a soft tortilla. Scatter shredded cheese generously over the tuna. Add fresh tomato slices and leafy greens for extra crunch and color.
Warm a skillet with a touch of olive oil or butter. Gently place your wrapped creation seam-side down, letting it sizzle until it turns a gorgeous golden brown. Flip carefully and repeat, ensuring the cheese melts into gooey perfection.
Cut your wrap diagonally, revealing the mouthwatering layers inside. Pair with a crisp side salad or handful of chips for a satisfying meal that’ll make your taste buds dance.
Tips to Add a Twist to Tuna Melt Wrap Fillings
Ways to Serve Tuna Melt Wraps for Quick Lunches
Keep Tuna Melt Wraps Warm and Tasty for Later
Print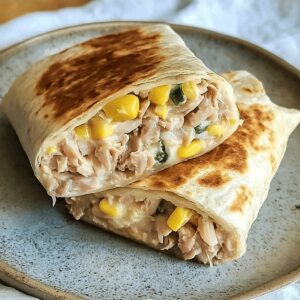
Cheesy Tuna Melt Wrap Recipe
- Total Time: 15 minutes
- Yield: 3 1x
Description
Signature Tuna Melt Wrap combines classic deli flavors with a modern twist. Crispy tortillas packed with melted cheese and zesty tuna create a satisfying meal you’ll crave again and again.
Ingredients
- 2 large flour tortillas
- 1 can (5 oz/140 g) tuna, drained
- ½ cup shredded cheese (cheddar, mozzarella, or a blend)
- 2 tablespoons mayonnaise (or Greek yogurt for a lighter option)
- 1 small tomato, thinly sliced
- 1 tbsp finely chopped red or green onion
- 1 tsp Dijon mustard
- 1 tsp lemon juice
- 1 tbsp chopped celery (optional)
- ¼ cup fresh spinach or arugula leaves (optional)
- 1 tsp olive oil or butter (for grilling)
- Salt and pepper, to taste
Instructions
- Prepare Filling: Blend canned tuna with mayonnaise, Dijon mustard, lemon juice, red onion, and celery, seasoning with salt and pepper for a zesty, flavorful mixture.
- Assemble Wrap: Spread tortillas flat, distribute tuna mixture centrally, then layer with shredded cheese, tomato slices, and spinach or arugula for robust flavor and texture.
- Wrap Technique: Fold tortilla sides inward, creating a compact envelope, then roll tightly to seal ingredients securely.
- Cooking Process: Heat skillet with olive oil or butter over medium temperature, place wrap seam-side down, and cook for 2-3 minutes until achieving a golden-brown crispy exterior.
- Finalize Cooking: Flip wrap, continue cooking until both sides are evenly crisp and cheese melts completely, creating a delectable, golden-brown surface.
- Serve Presentation: Cut wraps diagonally, plate immediately with accompanying salad, soup, or chips for a complete, satisfying meal.
Notes
- Tuna Freshness Check: Use high-quality, well-drained canned tuna for the best flavor and texture in your wrap.
- Cheese Melting Trick: Shred cheese finely and let it sit at room temperature before adding to ensure smooth, even melting.
- Wrap Rolling Technique: Keep tortilla edges tucked tightly to prevent filling from falling out during cooking and ensure a neat presentation.
- Heat Control Mastery: Maintain medium heat to achieve a crispy golden-brown exterior without burning the tortilla or overcooking the filling.
- Prep Time: 5 minutes
- Cook Time: 10 minutes
- Category: Lunch, Snacks
- Method: Grilling
- Cuisine: American
Nutrition
- Serving Size: 3
- Calories: 371
- Sugar: 2 g
- Sodium: 640 mg
- Fat: 19 g
- Saturated Fat: 6 g
- Unsaturated Fat: 13 g
- Trans Fat: 0 g
- Carbohydrates: 34 g
- Fiber: 3 g
- Protein: 22 g
- Cholesterol: 35 mg
Jenna Hartley
Founder & Recipe Creator
Expertise
Education
Box Hill Institute, Melbourne
William Angliss Institute, Melbourne
Jenna is the heart of Picture Perfect Meals, turning simple ingredients into beautiful, easy‑to‑make dishes.
Growing up around family meals in Melbourne, she trained at Box Hill Institute and then perfected her pastry skills at William Angliss Institute. She loves mixing classic Australian flavors with fresh ideas to keep cooking fun and stress‑free.