
Irresistible Chocolate Blossom Cookies Recipe for Sweet Smiles
Sweet chocolate blossom cookies spark joy in every home kitchen, creating moments of pure delight.
Soft, pillowy dough promises a delectable adventure waiting to unfold.
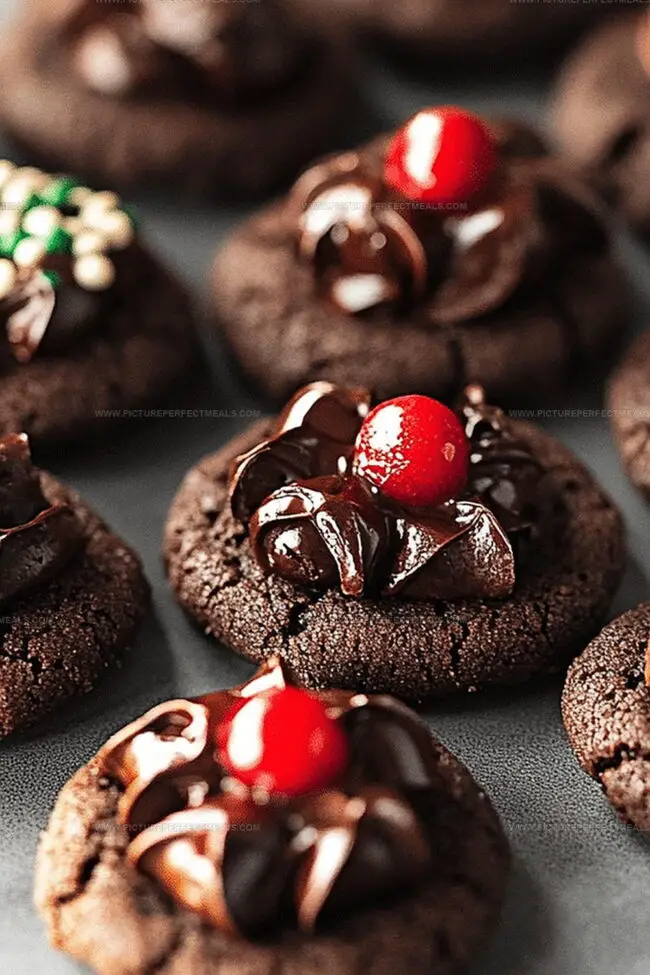
Chocolate kisses nestled atop these tender treats deliver an irresistible visual charm.
Childhood memories dance through each crumbly, melt-in-your-mouth bite of these classic American favorites.
Baking these delightful morsels becomes a simple pleasure that connects generations.
Kitchens come alive with warmth and anticipation as these delicate cookies take shape.
I promise you’ll fall in love with this effortless recipe that turns ordinary ingredients into extraordinary magic.
Chocolate Blossom Cookies: What You’ll Enjoy
Ingredients for Baking Chocolate Blossom Cookies
Cookie Base:Chocolate Components:Binding and Flavor Enhancers:Steps to Make Chocolate Blossom Cookies Easily

Step 1: Cream Butter and Sugars
Using an electric mixer, blend softened butter, white sugar, and brown sugar in a spacious mixing bowl. Whip the mixture until it becomes airy and pale, creating a smooth, fluffy texture that looks almost cloud-like.
Step 2: Incorporate Liquid Elements
Crack a fresh egg into the butter-sugar mixture and splash in vanilla extract. Blend thoroughly until the ingredients merge into a uniform, silky consistency.
Step 3: Prepare Dry Components
Grab another bowl and combine:Whisk these components together, ensuring an even distribution of ingredients.
Step 4: Create Cookie Dough
Slowly fold the dry ingredient mixture into the wet ingredients. Mix gently until the dough just comes together, avoiding overmixing. Once combined, cover the bowl and park it in the refrigerator for a minimum of half an hour.
Step 5: Shape Cookie Balls
Remove chilled dough from refrigerator. Roll small portions into perfect spheres using your palms. Place each ball on a parchment-lined baking sheet, leaving enough space between them.
Step 6: Bake Cookies
Slide the baking sheet into a preheated oven. Bake until edges look slightly crisp but centers remain soft. The cookies will have a rich, dark chocolate appearance.
Step 7: Add Chocolate Kiss
Immediately after removing from oven, gently press a chocolate kiss into the center of each warm cookie. The heat will slightly melt the bottom of the kiss, creating a delightful connection.
Step 8: Cool and Enjoy
Allow cookies to rest on the baking sheet for a few minutes, then transfer to a wire rack. Let them cool completely so the chocolate kiss sets perfectly.
Helpful Tips for Chocolate Blossom Cookie Dough
How to Store and Reheat Blossom Cookies Correctly
Pairing Ideas for Chocolate Blossom Cookies
Fun Twists to Try on Blossom Cookie Recipes
Print
Chocolate Blossom Cookies Recipe
- Total Time: 25 minutes
- Yield: 24 1x
Description
Delicate chocolate blossom cookies melt hearts with rich cocoa and a sweet Hershey’s kiss center. Sweet indulgence awaits as you savor these irresistible morsels that promise pure dessert delight.
Ingredients
Main Ingredients:
- 1 ½ cups (190 g) all-purpose flour
- 1 large egg
- ½ cup (115 g) unsalted butter, softened
- ¼ cup (25 g) cocoa powder
Sugars:
- ½ cup (100 g) granulated sugar
- ½ cup (100 g) brown sugar, packed
- ¼ cup (50 g) granulated sugar
Flavor and Leavening Agents:
- 1 teaspoon vanilla extract
- 1 teaspoon baking soda
- ¼ teaspoon salt
- 24 chocolate kisses (Hersheys Kisses), unwrapped
Instructions
- Create a creamy foundation by vigorously whipping softened butter with granulated and brown sugars until the mixture transforms into a light, airy texture, ensuring complete sugar dissolution.
- Incorporate the egg and vanilla extract, stirring thoroughly to establish a smooth, homogeneous base that binds the cookie’s fundamental elements.
- Prepare a separate vessel to blend dry ingredients, meticulously whisking flour, cocoa powder, baking soda, and salt to eliminate potential lumps and distribute components evenly.
- Gently fold the dry ingredient mixture into the wet ingredients, stirring with deliberate, minimal strokes to prevent overmixing and maintain a tender cookie consistency.
- Allow the dough to rest and solidify by refrigerating for a minimum of 30 minutes, which enables flavor melding and prevents excessive spreading during baking.
- Once chilled, extract the dough and form uniform spherical portions, rolling each between palms to create consistent cookie shapes that will bake evenly.
- Position the dough balls on a prepared baking sheet, maintaining appropriate spacing to accommodate potential expansion during the baking process.
Notes
- Chilling the dough helps prevent spreading and creates a more compact, rich cookie texture that enhances chocolate flavor.
- Select high-quality cocoa powder for deeper, more intense chocolate notes that elevate the overall taste of the cookies.
- Consider using dark brown sugar instead of light brown sugar to add extra moisture and a more complex caramel undertone to the cookies.
- For gluten-free variations, swap wheat flour with a 1:1 gluten-free baking blend to maintain the cookie’s soft, tender crumb without compromising texture.
- Prep Time: 15 minutes
- Cook Time: 10 minutes
- Category: Desserts, Snacks
- Method: Baking
- Cuisine: American
Nutrition
- Serving Size: 24
- Calories: 130
- Sugar: 9 g
- Sodium: 45 mg
- Fat: 6 g
- Saturated Fat: 4 g
- Unsaturated Fat: 2 g
- Trans Fat: 0 g
- Carbohydrates: 18 g
- Fiber: 1 g
- Protein: 1 g
- Cholesterol: 15 mg
Daves Miller
Contributing Chef & Culinary Educator
Expertise
Education
Sullivan University, Louisville, Kentucky
White Mountains Community College, Berlin, New Hampshire
Daves is the friendly face guiding you through flavorful, fuss-free recipes at Picture Perfect Meals.
He studied culinary arts at Sullivan University and embraced Baking and Pastry Arts at White Mountains Community College. Daves specializes in comforting meals with vibrant flavors, highlighting fresh, seasonal ingredients.