
Heavenly Chocolate Candy Pizza Recipe for Sweet Cravings
Sweet meets savory in this unexpected chocolate candy pizza that blends indulgence with pure culinary creativity.
Chocolate lovers will adore this playful dessert adventure waiting to happen.
Crispy crust meets delectable chocolate toppings in a mouthwatering masterpiece.
Rich cocoa flavors dance across a perfectly golden base, creating irresistible textures.
Homemade decadence comes together with surprising ease and minimal ingredients.
Kids and adults will go crazy for this whimsical treat that transforms ordinary dessert expectations.
Jump into this delightful recipe and unleash your inner pastry artist.
Chocolate Candy Pizza: A Sweet Showstopper
Chocolate Candy Pizza Ingredient Guide
Chocolate Base:Toppings for Crunch and Texture:Sweet and Colorful Toppings:Decorative Drizzle:How to Put Together Chocolate Candy Pizza
Step 1: Prepare Your Canvas
Line a round pizza pan or baking sheet with parchment paper or silicone mat.
Step 2: Create Chocolate Foundation
Melt chocolate and stir in rice cereal for extra crunch if desired.
Pour melted chocolate onto prepared surface and spread into smooth circular shape using spatula.
Step 3: Decorate With Delightful Toppings
Sprinkle colorful toppings while chocolate remains warm:Gently press toppings into chocolate surface.
Step 4: Artistic Chocolate Drizzle
Use spoon or piping bag to create decorative chocolate patterns:Step 5: Let Magic Happen
Allow chocolate creation to solidify:
Refrigerate or leave at room temperature for 1-2 hours until completely hardened.
Step 6: Slice And Serve
Remove chocolate masterpiece from pan.
Cut into pizza-style wedges.
Enjoy your sweet adventure!
Chocolate Candy Pizza Tips for Better Bites
Store Chocolate Candy Pizza
What to Pair with Chocolate Candy Pizza
Fun Versions of Chocolate Candy Pizza to Try
Chocolate Candy Pizza FAQs You Didn’t Know You Needed
Yes, you can use milk, dark, or white chocolate depending on your preference. Just ensure the chocolate is high-quality and melts smoothly.
Absolutely! Kids will love helping to sprinkle toppings and choose their favorite candies. It’s a fun and interactive dessert to make together.
Wait until the chocolate is slightly cooled but still soft, then gently press the toppings onto the surface. This helps them adhere without sinking completely.
Yes, you can prepare the chocolate pizza up to 3 days in advance. Store it in an airtight container in a cool, dry place or refrigerate for best results.
Print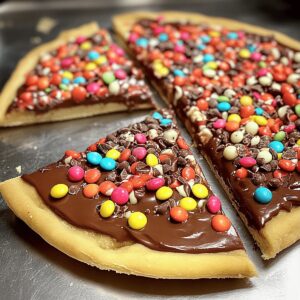
Chocolate Candy Pizza Recipe
- Total Time: 1 hour 10 minutes
- Yield: 12 1x
Description
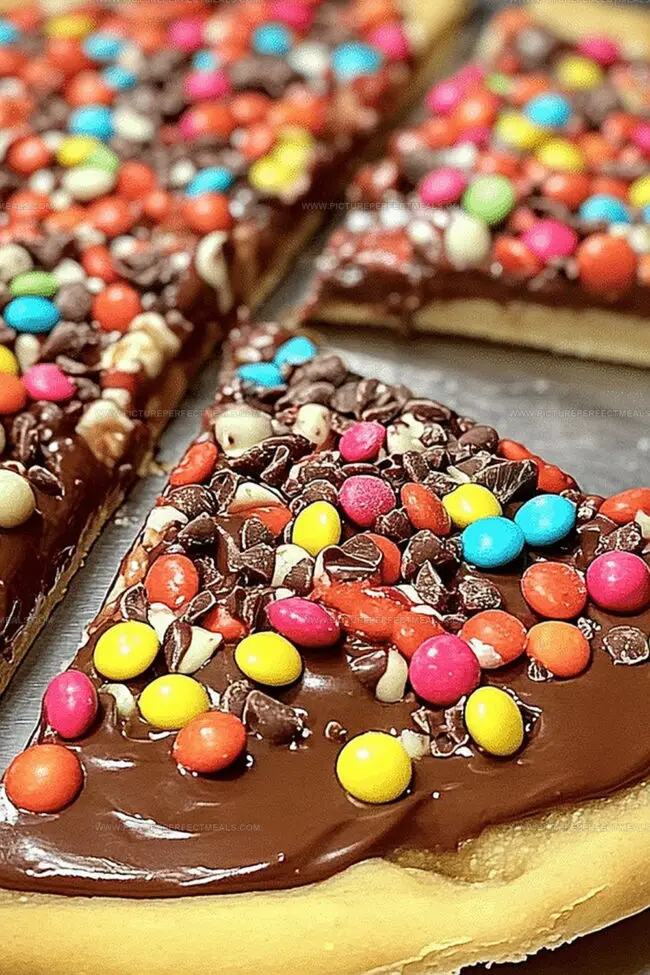
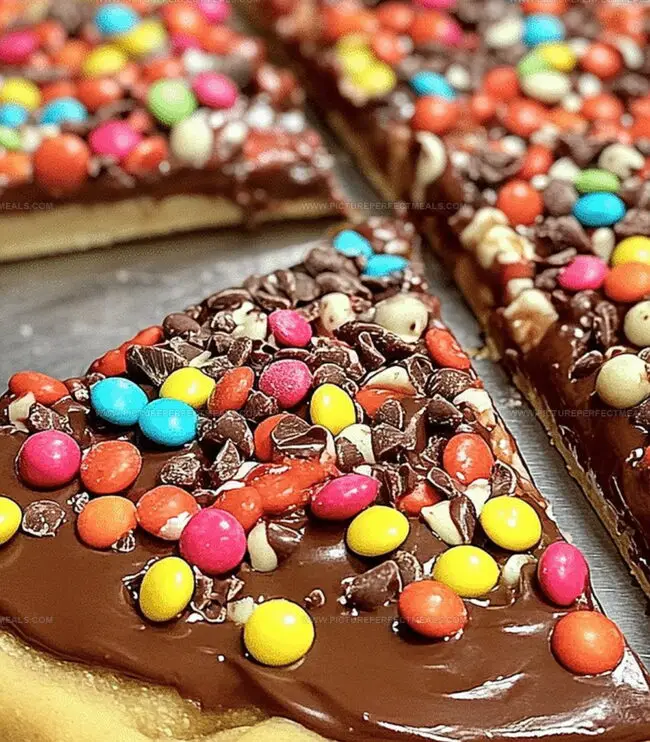
Sweet chocolate candy pizza delivers a playful dessert that blends classic pizza style with irresistible chocolate indulgence. Rich chocolate base topped with colorful candy pieces creates a delightful treat you’ll crave again and again.
Ingredients
Base Ingredients:
- 12 ounces (340 grams) semi-sweet or milk chocolate, melted
- 1 cup crispy rice cereal (optional, for a crunchy base)
Topping Ingredients:
- ½ cup mini marshmallows
- ½ cup M&Ms or other colorful candies
- ¼ cup crushed pretzels
- ¼ cup chopped nuts (e.g., almonds, peanuts, or pecans)
- ¼ cup shredded coconut (optional)
- ¼ cup caramel or peanut butter chips
Drizzle Ingredients:
- 2 ounces (60 grams) white chocolate, melted
- 2 ounces (60 grams) dark or milk chocolate, melted
Instructions
- Prepare the workspace by lining a round pan with parchment paper or silicone mat, ensuring a smooth surface for chocolate creation.
- Melt chocolate thoroughly, incorporating rice cereal if desired for added crunch, then pour and spread into an even circular layer approximately 1/4 inch thick using a spatula to create a uniform base.
- While chocolate remains warm and pliable, carefully distribute mini marshmallows, M&Ms, pretzels, nuts, coconut, and caramel or peanut butter chips across the surface, gently pressing each topping to secure them within the chocolate layer.
- Enhance visual appeal by delicately drizzling white and dark chocolate across the decorated surface, creating elegant zigzag or swirl patterns that complement the existing toppings.
- Allow the chocolate creation to solidify completely by placing in the refrigerator or leaving at room temperature, which typically requires 1-2 hours depending on ambient temperature and chocolate thickness.
- Once fully set and firm, carefully remove the chocolate pizza from the pan and slice into wedge-shaped pieces, mimicking a traditional pizza presentation for serving and enjoyment.
Notes
- Customize the base by swapping rice cereal with crushed graham crackers or cookies for a different texture and flavor profile.
- Create a gluten-free version by using gluten-free chocolate and replacing regular pretzels with gluten-free alternatives or nuts.
- Control chocolate hardness by adjusting refrigeration time; shorter chilling creates a softer texture, while longer chilling produces a firmer, crisp chocolate base.
- Experiment with seasonal toppings like crushed candy canes during holidays or dried fruit for a healthier twist, making this dessert versatile and adaptable to various preferences.
- Prep Time: 10 minutes
- Cook Time: 1 hour
- Category: Desserts, Snacks
- Method: Baking
- Cuisine: American
Nutrition
- Serving Size: 12
- Calories: 340
- Sugar: 30 g
- Sodium: 150 mg
- Fat: 18 g
- Saturated Fat: 10 g
- Unsaturated Fat: 8 g
- Trans Fat: 0 g
- Carbohydrates: 40 g
- Fiber: 1 g
- Protein: 3 g
- Cholesterol: 5 mg
Daves Miller
Contributing Chef & Culinary Educator
Expertise
Education
Sullivan University, Louisville, Kentucky
White Mountains Community College, Berlin, New Hampshire
Daves is the friendly face guiding you through flavorful, fuss-free recipes at Picture Perfect Meals.
He studied culinary arts at Sullivan University and embraced Baking and Pastry Arts at White Mountains Community College. Daves specializes in comforting meals with vibrant flavors, highlighting fresh, seasonal ingredients.