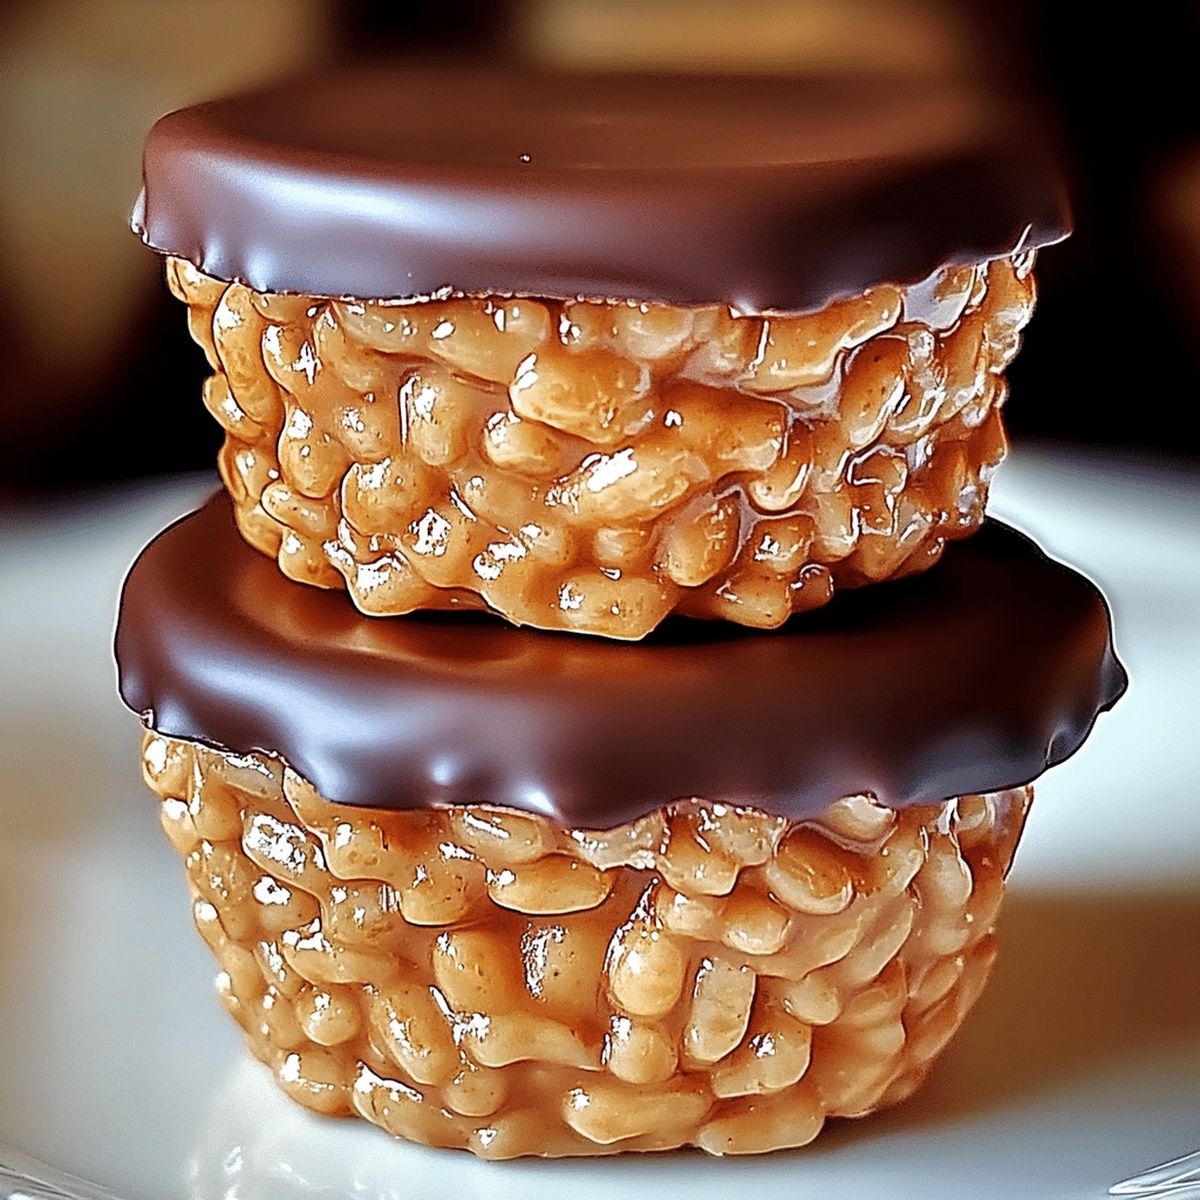
Crafting delightful chocolate peanut butter rice krispie cups can turn an ordinary afternoon into a sweet adventure.
These miniature treats combine childhood nostalgia with grown-up flavor complexity.
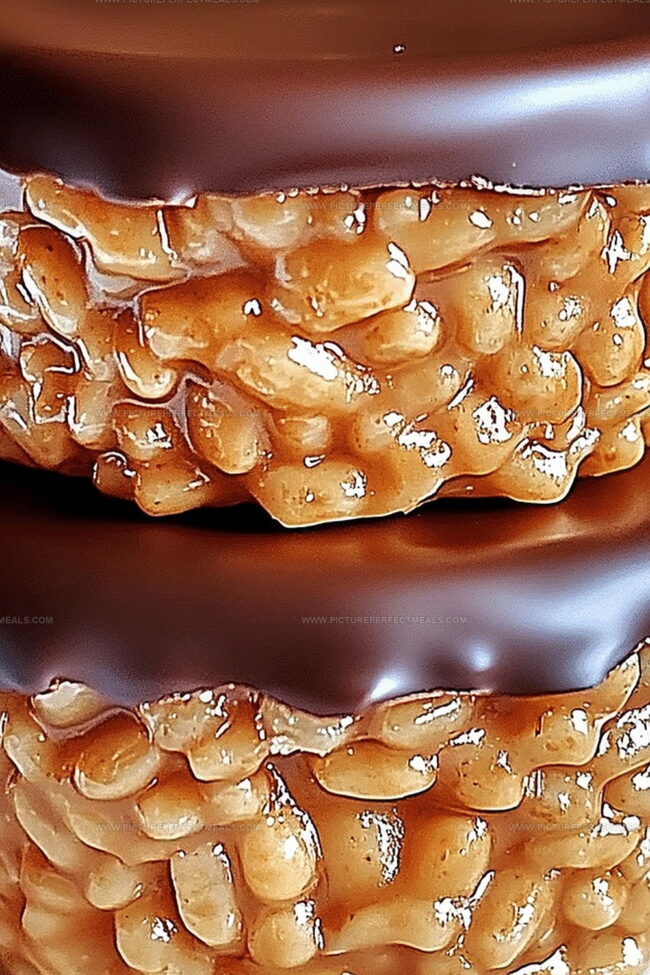
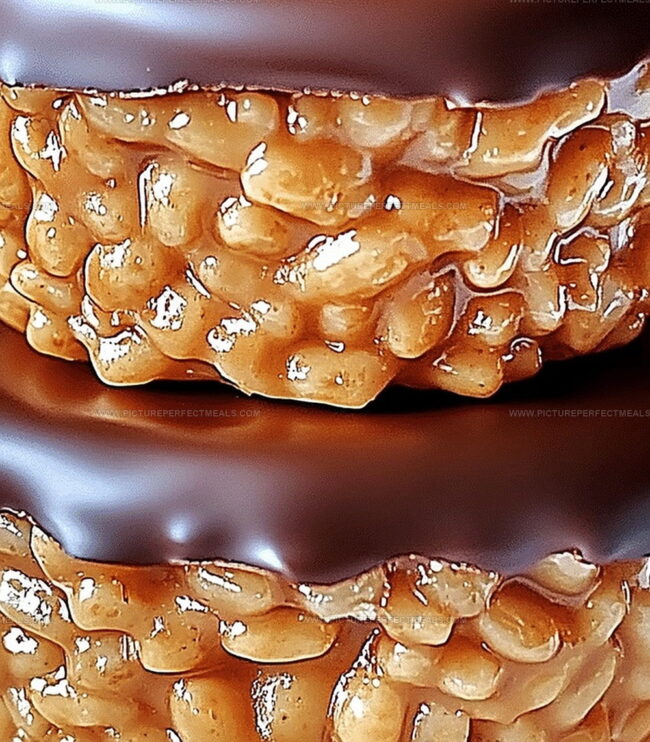
Crispy rice cereal provides a satisfying crunch that perfectly complements smooth chocolate and creamy peanut butter.
Each bite delivers a harmonious blend of textures and rich flavors.
Homemade desserts like these create special moments of pure indulgence.
Simple ingredients and quick preparation make this recipe accessible for bakers of all skill levels.
You’ll want to savor every delectable morsel of these irresistible little cups.
Why Everyone’s Obsessed with Peanut Butter Krispie Cups
Complete the entire recipe in under 15 minutes of active cooking time, plus a short chilling period to set the chocolate.
Engage children in mixing ingredients and creating their own sweet treats with minimal adult supervision and straightforward steps.
Enjoy a delectable dessert without turning on the oven, making it perfect for hot summer days or when you want a hassle-free snack option.
Ingredients for Chocolate Peanut Butter Krispie Cups
Base Ingredients:
Peanut Butter, Honey: Provides a sweet and creamy base with natural binding properties. Smooth, natural peanut butter works best.
Rice Krispies Cereal: Offers crunch and texture. Fresh, crispy cereal ensures the best result.
Chocolate Topping:
Chocolate Chips, Coconut Oil: Creates a smooth, glossy chocolate layer. Dark or milk chocolate can be used depending on preference.
Optional Add-Ins:
Salt: Enhances overall flavor and balances sweetness. A pinch of sea salt works well.
How to Make Chocolate Peanut Butter Krispie Cups Right
Step 1: Create Sticky Base
Grab a medium saucepan
Drop in peanut butter
Add honey or maple syrup
Warm over medium heat
Stir until the mixture becomes silky smooth
Remove from heat once blended
Step 2: Coat Cereal Completely
Pour Rice Krispies into peanut butter mixture
Gently fold until every crisp gets coated
Ensure even distribution of sticky sauce
Step 3: Shape Delightful Cups
Grab a muffin tin
Line with cupcake papers
Scoop cereal mixture into each liner
Press down with spoon bottom
Create compact and even bases
Step 4: Melt Chocolate Magic
Select microwave-safe bowl
Toss in chocolate chips
Add coconut oil
Microwave in short bursts
Stir between each heating cycle
Continue until chocolate turns glossy and smooth
Step 5: Top With Chocolate Layer
Drizzle melted chocolate over cereal bases
Cover entire surface of each cup
Use spoon to spread evenly
Ensure complete chocolate coverage
Step 6: Chill and Solidify
Transfer muffin tin to refrigerator
Wait patiently for one hour
Confirm chocolate has hardened completely
Step 7: Serve Tasty Treats
Carefully remove cups from tin
Arrange on serving plate
Enjoy your sweet creation
Top Tips for Chocolate Peanut Butter Krispie Cups
Perfectly Press the Base: Use the back of a spoon or a small measuring cup to firmly compact the Rice Krispies mixture, creating a sturdy and even base for your chocolate cups.
Smooth Chocolate Melting: Stir chocolate chips frequently during microwaving to prevent burning and ensure a silky, glossy chocolate topping that spreads evenly.
Customize Mix-Ins: Experiment with adding chopped nuts, dried fruit, or a sprinkle of sea salt to the Rice Krispies base for extra texture and flavor complexity.
Control Sweetness Levels: Swap honey with agave nectar or reduce the amount for a less sweet treat, making it more suitable for those watching sugar intake.
Keep Them Fresh: Store the cups in an airtight container in the refrigerator for up to a week, separating layers with parchment paper to prevent sticking.
Best Way to Store Chocolate Peanut Butter Krispie Cups
Store chocolate peanut butter rice krispie cups in an airtight container in the refrigerator for up to 5 days, separating layers with parchment paper to prevent sticking.
Wrap individual cups tightly in plastic wrap, then place in a freezer-safe container. Freeze for up to 3 months for longer storage.
Remove frozen cups from the freezer and let them sit at room temperature for 15-20 minutes before enjoying. Avoid microwaving to maintain texture.
These treats taste best when served cold, so keep them refrigerated until ready to eat for the perfect crispy and chocolatey bite.
What Goes Well with Peanut Butter Krispie Cups
A bold espresso shot perfectly cuts through the sweetness, balancing the creamy chocolate and nutty peanut butter flavors with its robust intensity.
A chilled vanilla milkshake enhances the dessert’s richness, creating a smooth, indulgent experience that amplifies the chocolate and peanut butter notes.
The complex layers of salted caramel and espresso complement the dessert’s texture, adding depth and a sophisticated twist to the sweet treat.
A smooth, nutty cold brew coffee echoes the peanut butter’s warmth while providing a refreshing contrast to the rich chocolate coating.
Fun Twists on Peanut Butter Krispie Cups
Vegan Chocolate Peanut Butter Cups: Replace honey with agave syrup, use dairy-free chocolate chips, and substitute peanut butter with almond or sunflower seed butter for a plant-based version.
Gluten-Free Crispy Treats: Swap regular Rice Krispies with gluten-free crispy rice cereal and ensure all chocolate chips are certified gluten-free to accommodate those with gluten sensitivities.
Low-Sugar Alternative: Use sugar-free chocolate chips, replace honey with monk fruit sweetener, and incorporate unsweetened peanut butter to reduce overall sugar content while maintaining delicious flavor.
Protein-Packed Version: Mix in a scoop of vanilla or chocolate protein powder into the peanut butter base, creating a more nutritionally dense snack perfect for post-workout recovery or quick energy boost.
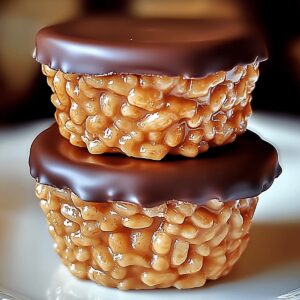
Irresistible chocolate peanut butter rice krispie cups deliver pure bliss in one delightful bite. Sweet and crunchy layers melt together, creating a heavenly treat that satisfies dessert cravings with minimal effort.
Ingredients
Scale
Main Ingredients:
3 cups (75 g) rice cereal
1 cup (175 g) chocolate chips (milk, dark, or semi-sweet)
¾ cup (180 g) peanut butter
Binding Ingredients:
¼ cup (60 g) honey or maple syrup
Garnish:
Crushed peanuts
Sea salt flakes
Instructions
Create a peanut butter and honey foundation by heating them together in a saucepan until they form a silky, uniform mixture.
Remove the pan from heat and gently fold the Rice Krispies into the warm liquid, ensuring each cereal piece is thoroughly coated.
Carefully distribute the coated cereal mixture into cupcake liners, pressing down firmly to establish a compact and even base in each cup.
Prepare the chocolate topping by melting chocolate chips with coconut oil in short microwave intervals, stirring between each session to achieve a glossy, smooth consistency.
Generously drizzle the molten chocolate over the Rice Krispies base, using a spoon to spread it evenly and completely cover the surface of each cup.
Transfer the muffin tin to the refrigerator and allow the chocolate peanut butter cups to solidify completely, which typically requires approximately one hour of chilling time.
Once set, delicately remove the cups from the tin and serve these decadent treats, perfect for satisfying sweet cravings or sharing with friends.
Notes
Swap peanut butter with sunflower seed butter or almond butter for nut-free or alternative dietary needs, maintaining the same creamy consistency and binding properties.
Ensure Rice Krispies are crisp and fresh to prevent soggy texture, gently folding them into the warm mixture to maintain their crunch.
Use dark chocolate instead of milk chocolate for a lower sugar option, or opt for sugar-free chocolate chips to reduce overall sweetness and create a more adult-friendly treat.
Line muffin cups carefully with parchment paper for easier removal and a cleaner presentation, preventing the cups from sticking and breaking when serving.
Instruction in culinary fundamentals and advanced techniques.
Development of recipes that highlight seasonal and local produce.
Mastery of artisanal bread and pastry techniques, from laminated doughs to decorative sugar artistry.
Education
Sullivan University, Louisville, Kentucky
Degree: Associate of Science Degree in Culinary Arts
Focus: Specialized in cooking techniques and culinary sciences, hands‑on externships, professional kitchen lab training, and career preparation for restaurants, entrepreneurship, and global culinary opportunities.
White Mountains Community College, Berlin, New Hampshire
Program: Baking and Pastry Arts degree
Focus: Specialized in comprehensive baking and pastry arts, including bread making, artisan breads, cake decorating and design, chocolates, confections, and decorative centerpieces; product development and baking theory; and career preparation for baker and pastry chef roles in many places.
Daves is the friendly face guiding you through flavorful, fuss-free recipes at Picture Perfect Meals.
He studied culinary arts at Sullivan University and embraced Baking and Pastry Arts at White Mountains Community College. Daves specializes in comforting meals with vibrant flavors, highlighting fresh, seasonal ingredients.
Daves Miller
Contributing Chef & Culinary Educator
Expertise
Education
Sullivan University, Louisville, Kentucky
White Mountains Community College, Berlin, New Hampshire
Daves is the friendly face guiding you through flavorful, fuss-free recipes at Picture Perfect Meals.
He studied culinary arts at Sullivan University and embraced Baking and Pastry Arts at White Mountains Community College. Daves specializes in comforting meals with vibrant flavors, highlighting fresh, seasonal ingredients.