
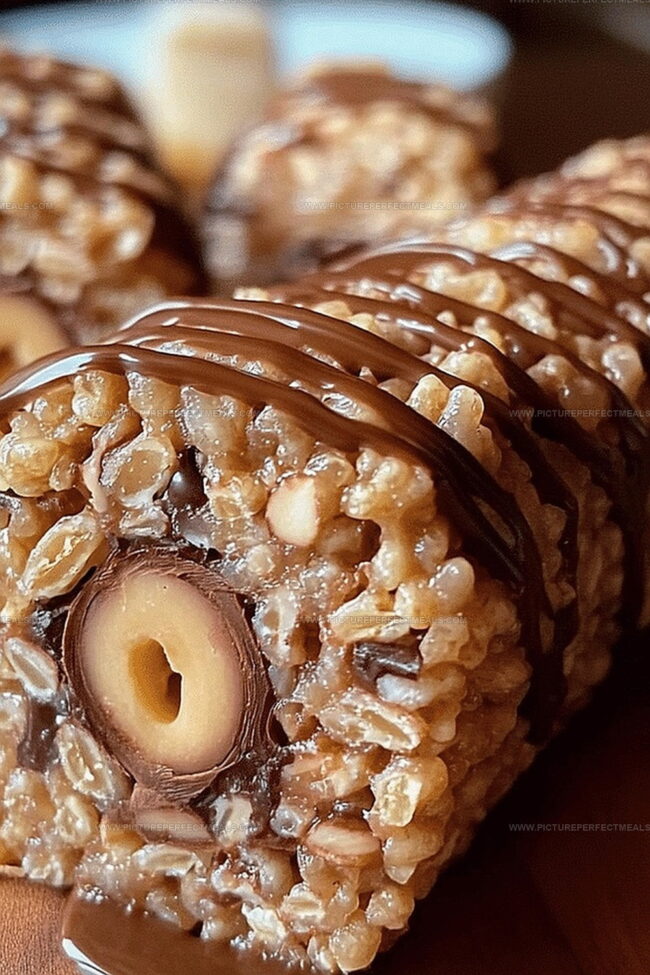
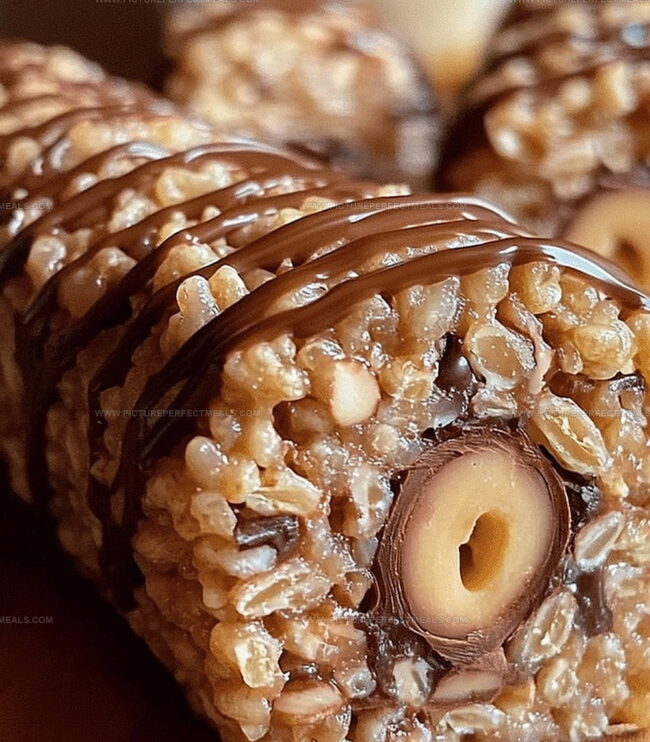
Dreamy Chocolate Peanut Butter Rice Krispies Roll Recipe
Creamy swirls of chocolate peanut butter dance through this irresistible rice krispies roll that screams indulgence.
Childhood memories flood back with each sweet, crispy bite.
Marshmallow magic binds each delectable morsel together in a symphony of textures.
Rich chocolate and nutty peanut butter create a mesmerizing contrast that tempts even the most disciplined palate.
Crunchy cereal pieces provide a delightful snap against smooth, velvety layers.
You’ll find this simple yet decadent treat impossible to resist.
One slice promises pure bliss that will leave everyone begging for seconds.
Chocolate Peanut Butter Rice Krispies Roll That Snaps and Melts
Ingredients for Chocolate Peanut Butter Krispies Roll
Base Ingredients:Sweeteners and Binding Agents:Kitchen Essentials:How to Shape and Slice Rice Krispies Roll Easily
Step 1: Create Peanut Butter Base
Grab a medium saucepan and toss in peanut butter, butter, sugar, and corn syrup. Heat the mixture over medium flame, stirring constantly until everything melts into a smooth, creamy blend. Pull the pan off the heat and fold in Rice Krispies, ensuring every crispy morsel gets coated with the delicious mixture.
Step 2: Prepare Flat Canvas
Lay out a sheet of parchment paper on a clean counter. Gently spread the Rice Krispies mixture into a rectangular shape. Use a rolling pin or your hands to create an even surface, making sure the layer is smooth and consistent.
Step 3: Craft Chocolate Coating
Grab a microwave-safe bowl and combine chocolate chips with butter. Zap in 30-second bursts, stirring between each interval until the mixture transforms into a glossy, silky chocolate blanket.
Step 4: Layer and Cool Chocolate
Pour the melted chocolate over the Rice Krispies rectangle. Allow the chocolate to rest for a few minutes, letting it cool slightly but remain flexible.
Step 5: Roll Into Delicious Log
Starting from the shorter edge, carefully roll the rectangular treat into a tight log. Use the parchment paper as a helpful guide, ensuring a smooth, even roll. Place the log seam-side down on the parchment.
Step 6: Chill and Slice
Wrap the entire log in parchment paper and tuck it into the refrigerator. Let it chill for at least an hour until firm. Once set, slice into delectable half-inch rounds ready to devour.
Tips for Tight Rolling and Flavor Balance
Storage Tips to Maintain Rice Krispies Roll Texture
Pair This Roll with These Beverages and Sweets
Flavor Combos to Play With in Krispies Rolls
Print
Chocolate Peanut Butter Rice Krispies Roll Recipe
- Total Time: 1 hour 15 minutes
- Yield: 12 1x
Description
Chocolate peanut butter rice krispies roll brings nostalgic comfort with a playful twist of classic childhood snacks. Crispy, sweet layers meld creamy chocolate and nutty peanut butter into one irresistible treat you won’t be able to resist.
Ingredients
Primary Ingredients:
- 3 cups (90 g/3.2 oz) Rice Krispies cereal
- ½ cup (120 g/4.2 oz) creamy peanut butter
- 1 cup (175 g/6.2 oz) semi-sweet chocolate chips
Sweet & Binding Ingredients:
- ½ cup (100 g/3.5 oz) granulated sugar
- ¼ cup (60 ml/2 fl oz) light corn syrup or honey
Butter Ingredients:
- ¼ cup (60 g/2.1 oz) unsalted butter
- 2 tablespoons (30 g/1 oz) unsalted butter
Instructions
- Craft the foundational peanut butter component by gently melting peanut butter, butter, sugar, and corn syrup in a saucepan over medium heat, stirring until the mixture transforms into a uniform, silky consistency.
- Remove the saucepan from heat and fold Rice Krispies into the warm liquid, ensuring each cereal piece receives a thorough coating of the sweet, nutty mixture.
- Lay a pristine sheet of parchment paper on a clean, flat surface and carefully transfer the coated Rice Krispies, pressing and smoothing the mixture into a precise rectangular shape using gentle hand pressure or a rolling pin.
- Prepare the chocolate layer by gradually melting chocolate chips and butter in a microwave-safe vessel, pausing every 30 seconds to stir and prevent scorching until the mixture achieves a glossy, smooth texture.
- Delicately spread the molten chocolate across the Rice Krispies rectangle, allowing a brief resting period to slightly cool while maintaining a malleable consistency.
- Utilizing the parchment paper as a guiding tool, carefully roll the rectangle from its shorter edge, creating a compact, tight cylindrical form with smooth, even edges.
- Encase the completed roll entirely in the parchment paper and transfer to the refrigerator, allowing it to firm and set for a minimum of one hour.
- Once thoroughly chilled, extract the roll and slice into elegant, half-inch rounds, revealing the beautiful layered interior.
Notes
- Ensure peanut butter and butter are at room temperature for smoother melting and easier mixing.
- Use a spatula or offset knife to spread ingredients evenly, preventing thick or thin spots in the roll.
- For a gluten-free version, choose certified gluten-free Rice Krispies or crispy rice cereal alternatives.
- Experiment with different chocolate types like dark, milk, or white chocolate to customize flavor profiles.
- Prep Time: 15 minutes
- Cook Time: 1 hour
- Category: Snacks, Desserts
- Method: Blending
- Cuisine: American
Nutrition
- Serving Size: 12
- Calories: 220
- Sugar: 12 g
- Sodium: 80 mg
- Fat: 11 g
- Saturated Fat: 5 g
- Unsaturated Fat: 6 g
- Trans Fat: 0 g
- Carbohydrates: 28 g
- Fiber: 1 g
- Protein: 3 g
- Cholesterol: 10 mg
Daves Miller
Contributing Chef & Culinary Educator
Expertise
Education
Sullivan University, Louisville, Kentucky
White Mountains Community College, Berlin, New Hampshire
Daves is the friendly face guiding you through flavorful, fuss-free recipes at Picture Perfect Meals.
He studied culinary arts at Sullivan University and embraced Baking and Pastry Arts at White Mountains Community College. Daves specializes in comforting meals with vibrant flavors, highlighting fresh, seasonal ingredients.