
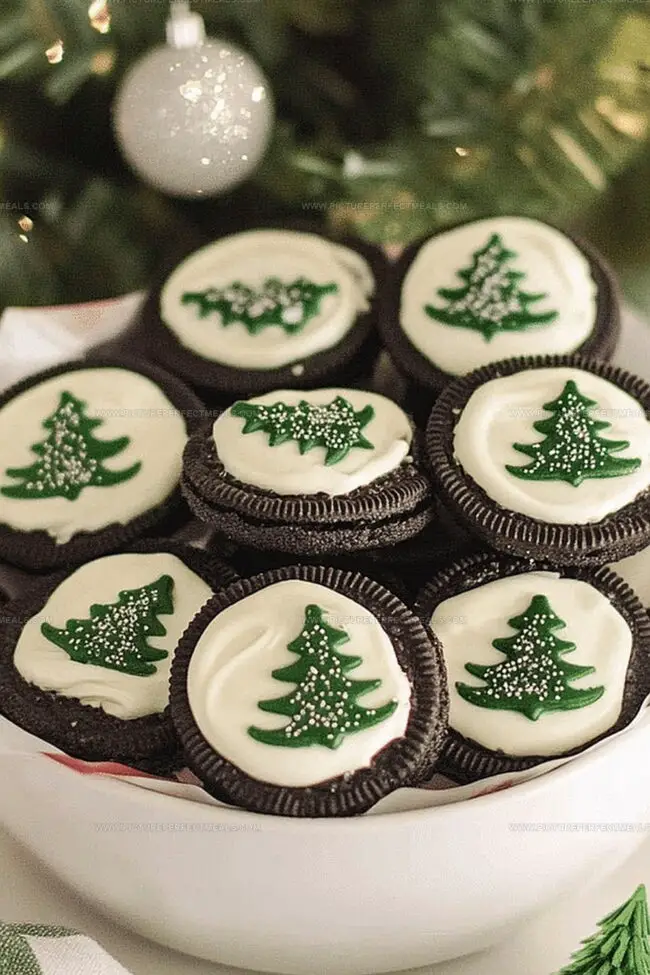
Jolly Holiday Magic: Homemade Christmas Oreos Recipe
Sweet holiday memories always start with a magical christmas oreos recipe that whispers childhood nostalgia.
Festive baking can spark unexpected joy in kitchen adventures.
My grandmother’s secret approach transformed simple cookies into delightful seasonal treasures.
Crisp winter afternoons feel warmer when chocolate and peppermint dance together in delectable treats.
Unexpected ingredients can turn ordinary moments into extraordinary celebrations.
Each bite carries the spirit of winter cheer and family traditions.
You will adore how quickly these cookies come together with minimal effort.
Let’s create something memorable that sparks smiles around the holiday table.
Why Christmas Oreos Make Great Holiday Treats
Ingredients for Festive Christmas-Themed Oreos
Main Chocolate:Note: Choose high-quality chocolate chips for best melting and flavor.
Oreo Cookies:Note: Regular or holiday-themed Oreos work well.
Decorative Elements:Note: Select bright, holiday-themed sprinkles for maximum visual appeal.
Preparation Surface:Note: Ensures easy removal and clean chocolate setting.
Steps to Decorate and Prepare These Cookies
Step 1: Melt and Color Chocolate
Place chocolate chips in separate microwave-safe bowls. Microwave in short 30-second bursts, stirring between each interval until smooth and completely melted. If desired, add food coloring to white chocolate and mix thoroughly.
Step 2: Dive into Chocolate Dipping
Use a fork or specialized dipping tool to completely submerge each Oreo into melted chocolate. Gently tap the fork against bowl’s edge to remove excess chocolate, ensuring an even coating.
Step 3: Create Festive Decorations
Lay a parchment or wax paper-lined baking sheet nearby. While chocolate remains wet, sprinkle holiday-themed decorations:Get creative with your design and make each Oreo unique.
Step 4: Let Chocolate Set
Allow Oreos to harden naturally at room temperature for approximately 12 hours. For faster results, place in refrigerator for 20-30 minutes until chocolate becomes firm and glossy.
Step 5: Serve and Share
Transfer completed Christmas Oreos to a decorative serving platter. Alternatively, package in festive gift bags or holiday-themed boxes for sharing with friends and family.
Tips for Getting the Coating Just Right
Storing Tips for Decorated Christmas Cookies
Snacks and Drinks That Pair Well
Fun Twists on Traditional Christmas Oreos
Print
Christmas Oreos Recipe
- Total Time: 1 hour 15 minutes
- Yield: 12 1x
Description
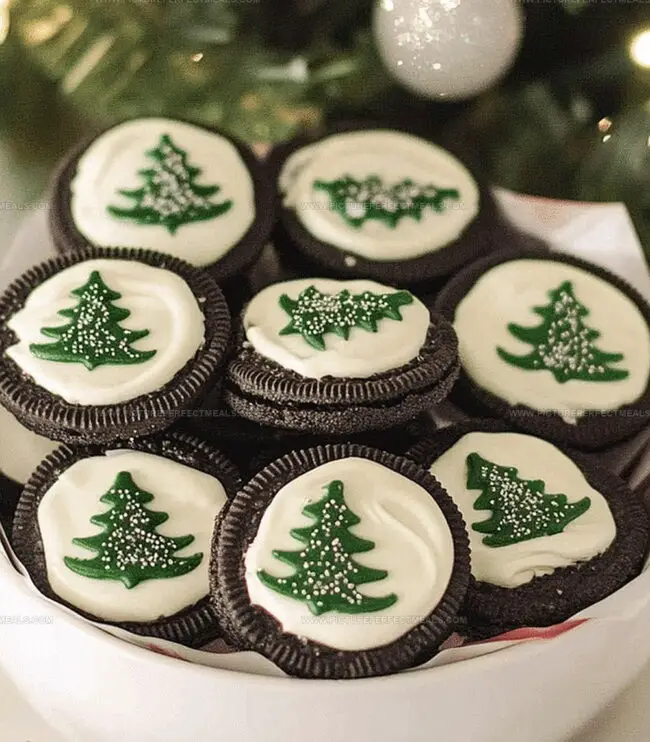
Festive Christmas Oreos bring holiday cheer with a delightful twist on classic cookies. Chocolate-dipped Oreos adorned with peppermint sprinkles and seasonal decorations create a merry treat perfect for sharing with family and friends.
Ingredients
Main Ingredients:
- 1 (14.3 ounces / 405 grams) package Oreo cookies
Coating Ingredients:
- 2 cups white chocolate chips or candy melts
- 2 cups milk or dark chocolate chips or candy melts
Decorative Ingredients:
- Assorted holiday sprinkles
- Crushed candy canes
- Red food coloring
- Green food coloring
Instructions
- Prepare the chocolate coating by carefully melting white and milk/dark chocolate chips in separate microwave-safe bowls, stirring at 30-second intervals until completely smooth. If desired, incorporate food coloring into the white chocolate to create festive hues.
- Utilize a fork or specialized dipping tool to completely immerse each Oreo cookie into the melted chocolate, ensuring full coverage and gently tapping off excess chocolate against the bowl’s edge.
- Transfer the chocolate-coated cookies onto a parchment or wax paper-lined baking sheet, immediately embellishing with holiday-themed sprinkles, crushed candy canes, or creating decorative chocolate drizzle patterns while the coating remains wet.
- Allow the chocolate-dipped Oreos to solidify naturally at room temperature for approximately 12 hours, or accelerate the setting process by placing them in the refrigerator for 20-30 minutes until completely hardened.
- Once the chocolate has fully set, arrange the decorated Oreos on an elegant serving platter or carefully package them in festive gift bags or decorative boxes for sharing with friends and family during the holiday season.
Notes
- Chocolate Melting Mastery: Always use low heat and stir frequently to prevent chocolate from burning or seizing, which can ruin the smooth texture.
- Color Creativity: Experiment with gel food coloring for vibrant, intense holiday colors that won’t thin out the chocolate’s consistency.
- Dipping Technique: Use a dipping fork or slotted spoon to ensure even chocolate coverage and minimize messy drips on the Oreos.
- Sprinkle Strategy: Add decorative elements immediately after dipping while chocolate is still wet to ensure they stick perfectly and create a festive look.
- Storage Wisdom: Store completed Christmas Oreos in an airtight container at room temperature for up to a week, separating layers with parchment paper to prevent sticking.
- Dietary Adaptations: Swap regular Oreos for gluten-free or vegan versions to accommodate different dietary needs without compromising the delicious holiday treat.
- Prep Time: 15 minutes
- Cook Time: 1 hour
- Category: Desserts, Snacks
- Method: Blending
- Cuisine: American
Nutrition
- Serving Size: 12
- Calories: 215
- Sugar: 22 g
- Sodium: 80 mg
- Fat: 10 g
- Saturated Fat: 5 g
- Unsaturated Fat: 4.5 g
- Trans Fat: 0 g
- Carbohydrates: 28 g
- Fiber: 1 g
- Protein: 2 g
- Cholesterol: 0 mg
Daves Miller
Contributing Chef & Culinary Educator
Expertise
Education
Sullivan University, Louisville, Kentucky
White Mountains Community College, Berlin, New Hampshire
Daves is the friendly face guiding you through flavorful, fuss-free recipes at Picture Perfect Meals.
He studied culinary arts at Sullivan University and embraced Baking and Pastry Arts at White Mountains Community College. Daves specializes in comforting meals with vibrant flavors, highlighting fresh, seasonal ingredients.