Fluffy Cotton Candy Cake Recipe: A Sweet Carnival Dream
Sweet dreams come alive with this whimsical cotton candy cake that sparks childhood memories and delights every celebration.
My baking adventure started with a playful twist on classic desserts.
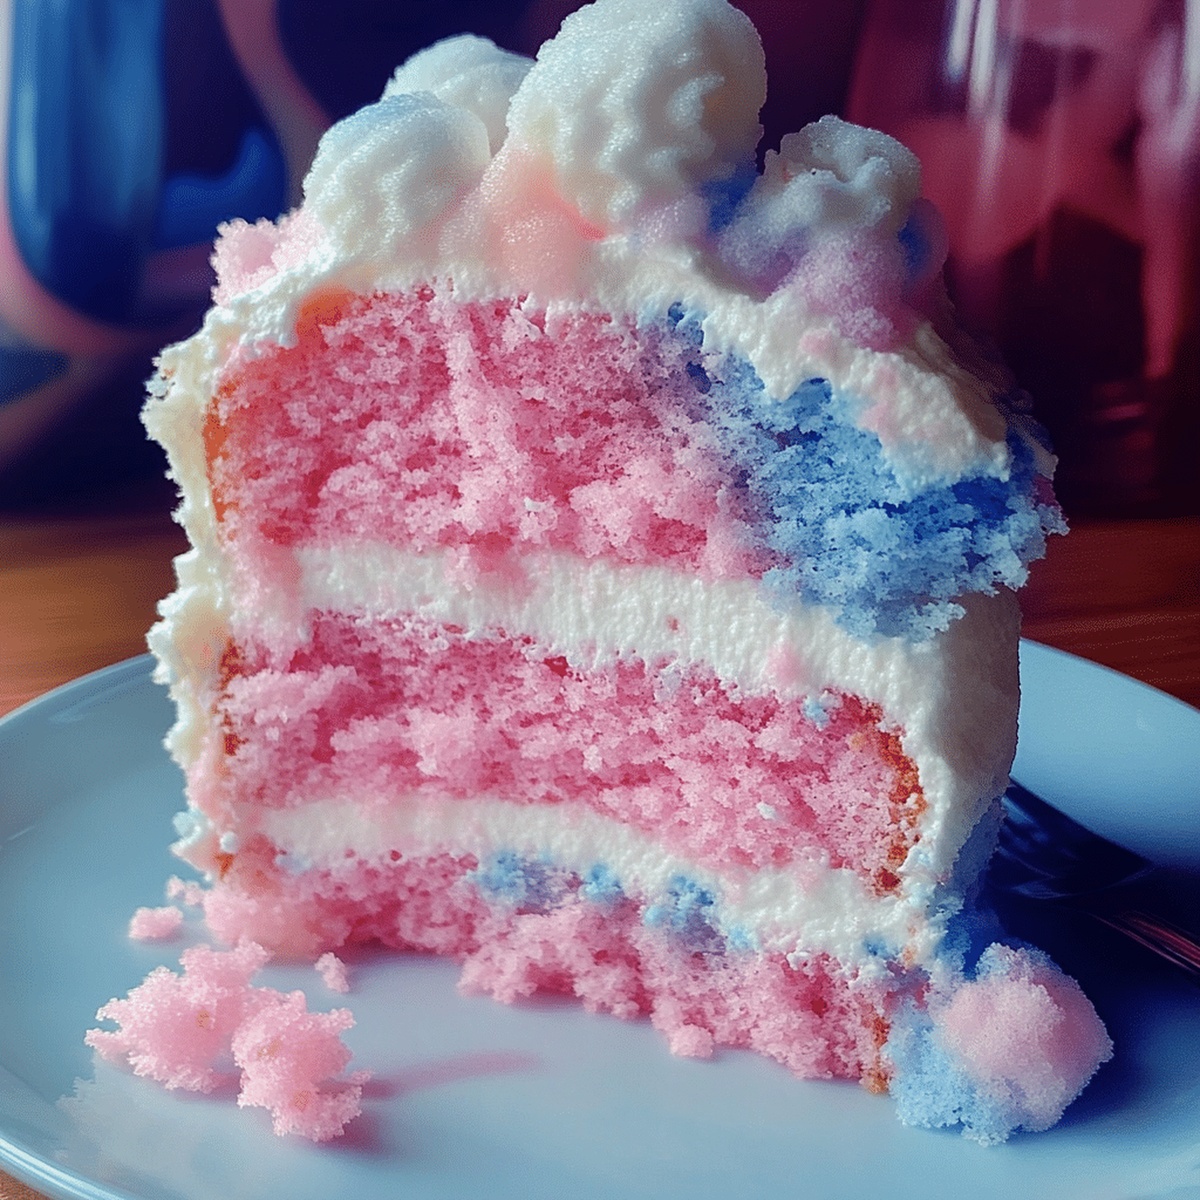
Pastel-colored layers promise a magical experience for anyone seeking something extraordinary.
Pure sugar-spun happiness dances through each fluffy bite of this dreamy creation.
Soft, cloud-like frosting mimics the ethereal texture of carnival treats.
Unexpected flavor combinations will surprise and enchant your taste buds.
Let this cotton candy cake become the star of your next gathering and watch faces light up with pure joy.
Why Cotton Candy Cake Is a Fun Favorite
Your Go-To List for Cotton Candy Cake
Cake Base Ingredients:Wet Ingredients:Flavor Enhancers:Color and Decoration Ingredients:Frosting Ingredients:Make Cotton Candy Cake with Confidence
Step 1: Warm Up the Oven
Crank the oven to 350F. Grab three 8-inch round cake pans and give them a quick spray with cooking oil. Line the bottom of each pan with parchment paper for easy cake removal.
Step 2: Blend Dry Ingredients
Whisk together in a bowl:Set this magical mixture aside for later.
Step 3: Whip Butter and Sugar
Grab an electric mixer and beat butter and sugar until they transform into a fluffy cloud-like texture. This should take about 2-3 minutes of mixing magic.
Step 4: Introduce Wet Ingredients
Drop eggs into the butter mixture one at a time. Pour in vanilla and cotton candy extracts. Mix until everything looks smooth and dreamy.
Step 5: Create Colorful Batter
Slowly fold dry ingredients into the wet mixture. Alternate with milk, starting and ending with dry ingredients. Mix gently until just combined.
Step 6: Paint the Batter
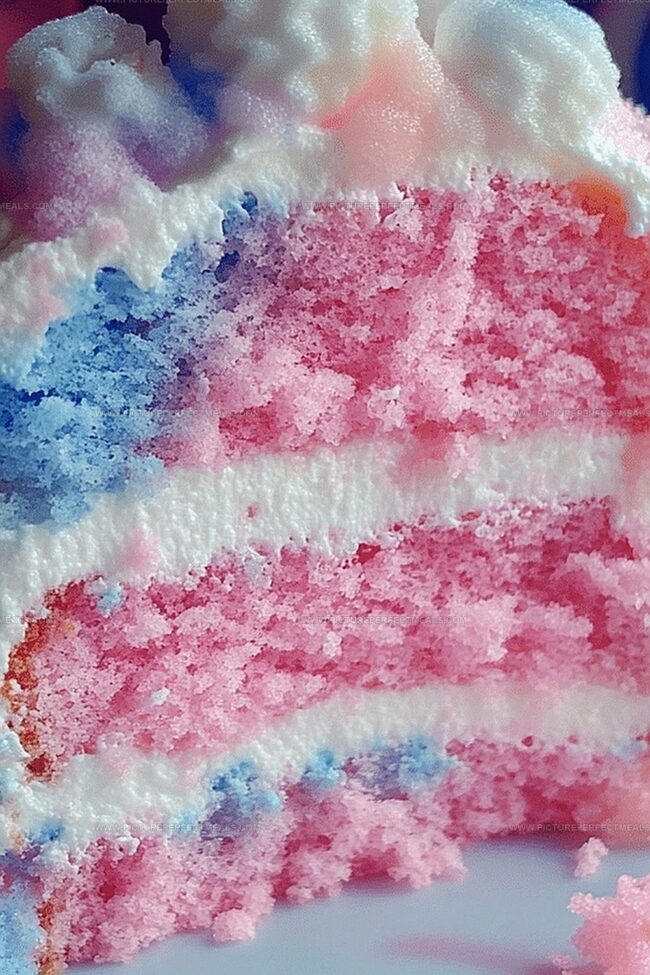
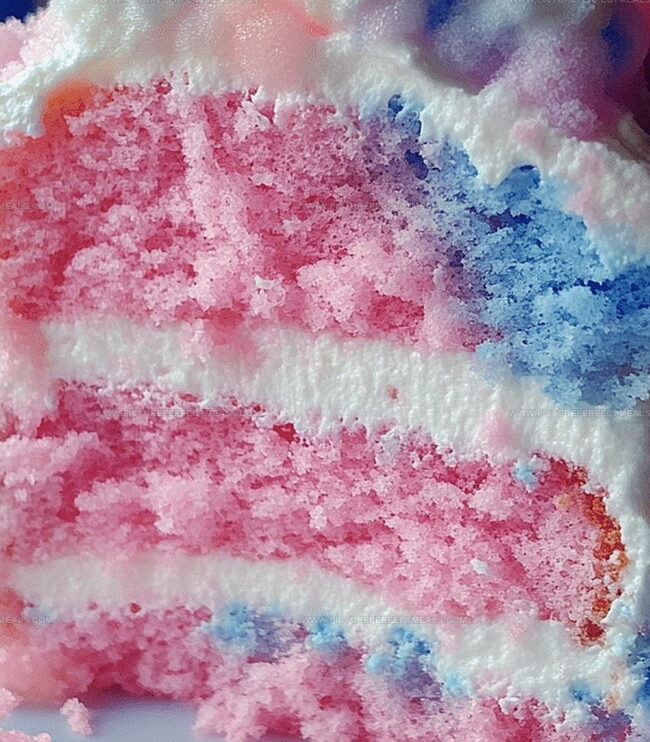
Divide batter into separate bowls. Splash food coloring into each bowl- think vibrant pink and soft blue. Stir colors gently to create a swirled masterpiece.
Step 7: Bake to Perfection
Pour colored batters into prepared pans. Smooth the tops with a spatula. Slide into the preheated oven for 25-30 minutes. Check doneness with a toothpick- it should come out clean.
Let cakes rest in pans for 10 minutes, then transfer to a cooling rack.
Step 8: Whip Up Dreamy Frosting
Beat butter until creamy. Gradually add powdered sugar, mixing with heavy cream. Stir in vanilla and cotton candy extracts. Add food coloring if desired for extra pizzazz.
Step 9: Build Your Cake Tower
Place first cake layer on serving plate. Spread a thin frosting layer. Stack remaining layers, covering entire cake with frosting.
Step 10: Final Flair
Right before serving, crown your cake with wispy cotton candy and a sprinkle shower. The cotton candy will melt quickly, so timing is everything!
Enjoy your magical Cotton Candy Cake Delight!
Tips for Better Cotton Candy Cake Results
Save Cotton Candy Cake for Later Enjoyment
What Goes Great with Cotton Candy Cake
Cotton Candy Cake Variations to Try
Print
Cotton Candy Cake Recipe
- Total Time: 1 hour 30 minutes
- Yield: 12 1x
Description
Magical cotton candy cake brings whimsical childhood memories to life with its playful pink swirls and sweet nostalgia. Delicate layers of fluffy cake crowned with cloud-like frosting promise a delightful celebration that connects generations through pure sugary joy.
Ingredients
Main Ingredients:
- 2 ½ cups (315 g) all-purpose flour
- 4 large eggs
- 1 cup (226 g) unsalted butter
- 2 cups (400 g) granulated sugar
- 1 cup (240 ml) whole milk
Flavoring and Extracts:
- 2 teaspoons vanilla extract
- 1 teaspoon cotton candy extract
- Food coloring (pink and blue or your choice of colors)
Additional Cake Ingredients:
- 2 ½ teaspoons baking powder
- ½ teaspoon salt
Main Frosting Ingredients:
- 1 cup (226 g) unsalted butter
- 4 cups (480 g) powdered sugar
- 2–3 tablespoons heavy cream or milk
Frosting Flavoring:
- 1 teaspoon vanilla extract
- 1 teaspoon cotton candy extract
- Food coloring (optional)
Decoration:
- Cotton candy (store-bought or homemade)
- Sprinkles (optional)
Instructions
- Meticulously prepare the baking environment by heating the oven to 350F (175C). Carefully coat three 8-inch round cake pans with butter and line with parchment paper.
- In a medium mixing vessel, thoroughly combine flour, baking powder, and salt using a whisk. Set the dry ingredient mixture aside for later integration.
- Utilize an electric mixer to transform butter and sugar into a voluminous, airy mixture by beating for approximately 2-3 minutes until the texture becomes light and fluffy.
- Introduce eggs individually into the butter mixture, blending completely after each addition. Incorporate vanilla and cotton candy extracts, mixing until fully integrated.
- Gradually fold dry ingredients into the wet mixture, alternating with milk. Begin and conclude with dry ingredients, stirring minimally to maintain batter’s delicate consistency.
- Separate the batter into multiple mixing bowls, applying vibrant food coloring to create contrasting pastel hues like soft pink and ethereal blue. Gently fold coloring to preserve batter’s airiness.
- Distribute colored batters evenly into prepared pans, smoothing surfaces with a spatula. Bake for 25-30 minutes until a inserted toothpick emerges clean. Allow cakes to rest in pans for 10 minutes before transferring to cooling rack.
- Whip butter until creamy, progressively adding powdered sugar and heavy cream. Beat until achieving a silky, cloud-like frosting. Enhance with vanilla and cotton candy extracts, optionally tinting with food coloring.
- Construct the cake by positioning first layer on serving plate. Spread a delicate frosting layer, repeating with subsequent layers. Enrobe entire cake with remaining frosting, creating smooth, even coverage.
- Moments before presentation, embellish cake with wisps of cotton candy and playful sprinkles to prevent premature melting and maintain visual whimsy.
Notes
- Swap milk with dairy-free alternatives like almond or oat milk for a vegan-friendly version that maintains the cake’s fluffy texture.
- Use gel food coloring instead of liquid to prevent altering the cake’s consistency and achieve vibrant, saturated colors.
- Add a pinch of cream of tartar when whipping butter and sugar to create an extra light and airy cake texture.
- Cool cakes completely before frosting to prevent melting and ensure a smooth, professional-looking finish.
- Prep Time: 30 minutes
- Cook Time: 1 hour
- Category: Desserts
- Method: Baking
- Cuisine: American
Nutrition
- Serving Size: 12
- Calories: 410
- Sugar: 37 g
- Sodium: 220 mg
- Fat: 23 g
- Saturated Fat: 14 g
- Unsaturated Fat: 9 g
- Trans Fat: 1 g
- Carbohydrates: 47 g
- Fiber: 0 g
- Protein: 3 g
- Cholesterol: 90 mg
Daves Miller
Contributing Chef & Culinary Educator
Expertise
Education
Sullivan University, Louisville, Kentucky
White Mountains Community College, Berlin, New Hampshire
Daves is the friendly face guiding you through flavorful, fuss-free recipes at Picture Perfect Meals.
He studied culinary arts at Sullivan University and embraced Baking and Pastry Arts at White Mountains Community College. Daves specializes in comforting meals with vibrant flavors, highlighting fresh, seasonal ingredients.