Buttery Crispy Air Fryer Garlic Bread Recipe You’ll Love
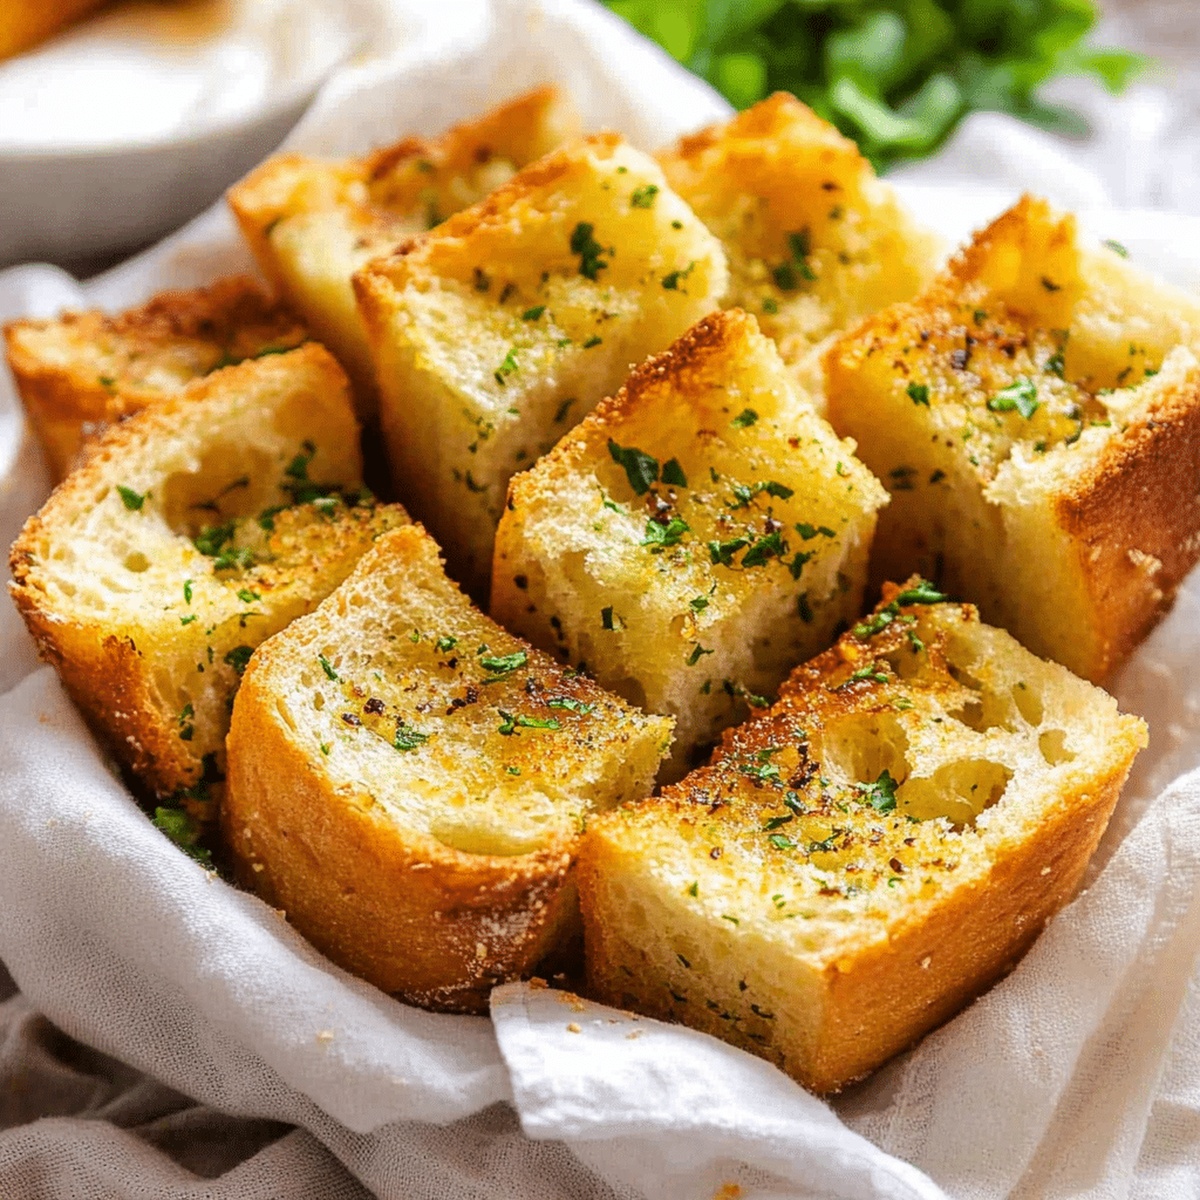
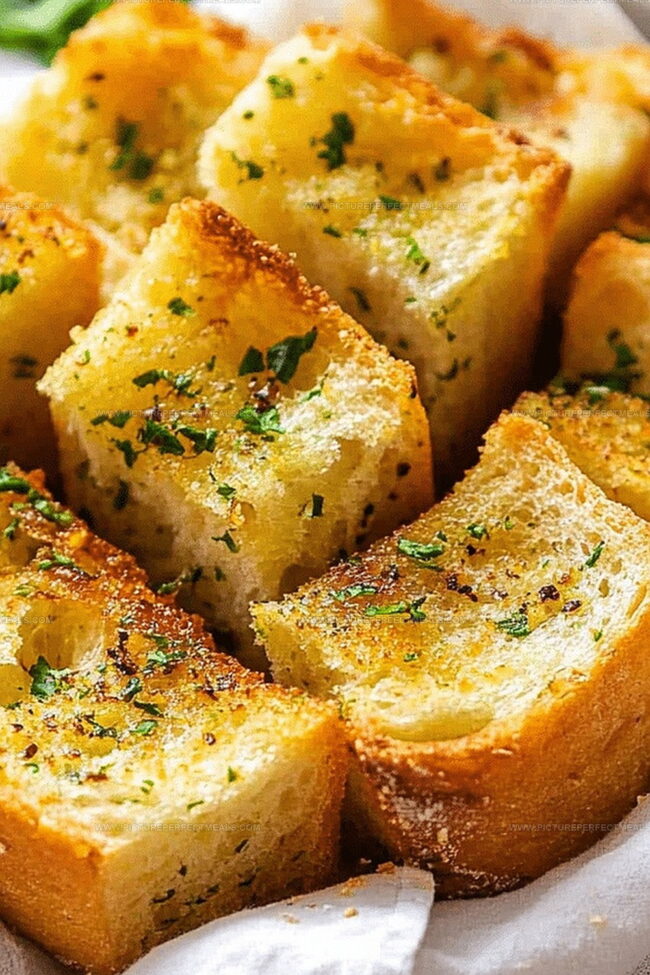
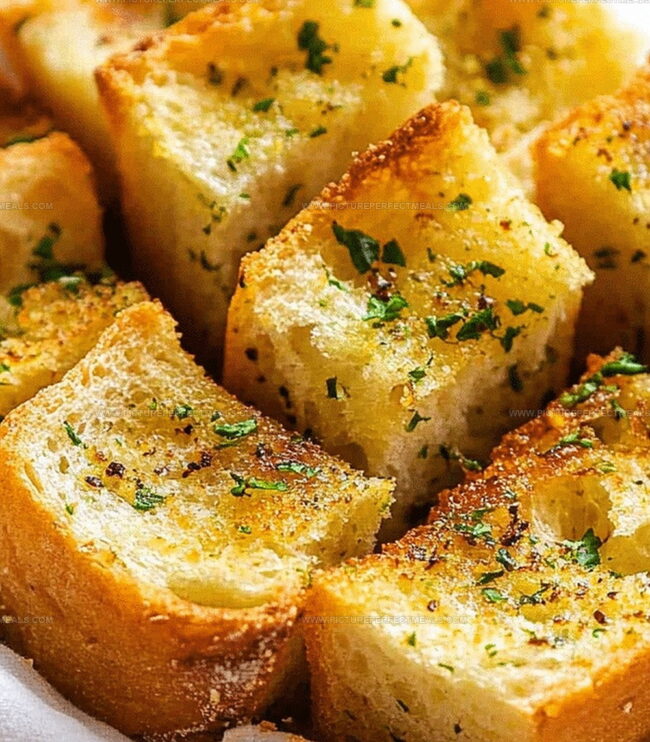
Garlic bread takes on a delightful twist with this air fryer garlic bread that promises a golden, crunchy exterior and soft, buttery center.
The secret weapon of air frying ensures every slice emerges perfectly crisp without excess oil.
Melted butter mingles with fresh garlic and herbs, creating an irresistible aroma that fills your kitchen.
Crusty bread becomes a canvas for rich, savory flavors that dance on your palate.
Each slice offers a satisfying crunch that will have everyone reaching for seconds.
This recipe transforms a classic side dish into a crowd-pleasing appetizer that disappears faster than you can say “more, please!” Prepare to elevate your next meal with this simple yet spectacular garlic bread that brings restaurant-quality taste right to your table.
Quick Recipe Overview
What Goes Into Air Fryer Garlic Bread
For Bread Base:For Garlic Butter Blend:For Optional Finishing Touch:Equipment List for Air Fryer Garlic Bread
Let’s Cook Air Fryer Garlic Bread
Mash together softened butter, crushed garlic, fresh chopped herbs, and a pinch of salt until everything blends into a creamy, aromatic mixture.
Slather the butter generously across bread slices, ensuring every inch gets coated with the garlicky goodness.
Crank your air fryer to a toasty 350F and let it warm up for a couple minutes to create the perfect cooking environment.
Arrange bread slices inside the air fryer basket with buttered sides facing upward. Let them sizzle and crisp for 5-6 minutes until edges turn golden and tempting.
Sprinkle some grated Parmesan cheese over the bread during the last two minutes of cooking for an extra flavor kick.
Carefully remove the garlic bread from the air fryer and serve piping hot. Enjoy these crunchy, aromatic slices alongside your favorite meal or as a standalone snack.
Flavor Tweaks for Air Fryer Garlic Bread
How to Serve Air Fryer Garlic Bread
Keep Air Fryer Garlic Bread Tasting Great
Print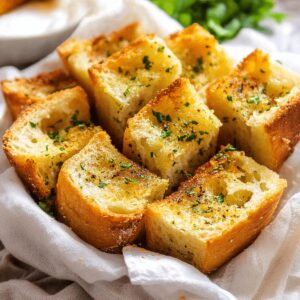
Crispy Air Fryer Garlic Bread Recipe
- Total Time: 11 minutes
- Yield: 5 1x
Description
Crispy air fryer garlic bread brings restaurant-quality flavor to home kitchens with minimal effort. Simple ingredients and quick preparation make this side dish a crowd-pleasing choice for dinner gatherings or casual meals.
Ingredients
- 2 tbsps grated Parmesan cheese (optional)
- ¼ tsp salt
- 2 tbsps fresh parsley, finely chopped
- 1 tsp dried parsley
- 1 tsp garlic powder
- 2 garlic cloves, minced
- 4 tbsps (60 grams) unsalted butter, softened
- 4 slices French bread or Italian bread (about 1-inch thick)
Instructions
- Flavor Fusion: Whip softened butter with minced garlic, chopped parsley, and a hint of salt until the mixture transforms into a luxurious, aromatic spread.
- Bread Preparation: Lavishly coat bread slices with the herbed garlic butter, ensuring each surface receives a thorough, even application of the fragrant mixture.
- Air Fryer Setup: Preheat the air fryer to 350F (175C) for 2-3 minutes, creating an ideal thermal environment for crisp, golden perfection.
- Strategic Placement: Arrange buttered bread slices in a single layer within the air fryer basket, positioning them butter-side up to maximize flavor intensity and ensure uniform cooking.
- Final Flourish and Cooking: Cook for 5-6 minutes, introducing grated Parmesan during the last two minutes to develop a crispy, golden-brown exterior with a melted cheese crown. Remove when edges turn gloriously crisp and the aroma fills the kitchen.
Notes
- Choose Bread Wisely: Select a sturdy, day-old French baguette or Italian bread with a dense texture to achieve maximum crispiness and prevent sogginess in the air fryer.
- Control Butter Thickness: Spread garlic butter evenly but sparingly to prevent dripping and smoking inside the air fryer, ensuring a clean cooking process without excessive grease.
- Watch Cooking Time Carefully: Air fryers vary in power, so check bread at 4 minutes to prevent burning and adjust timing based on your specific appliance’s performance.
- Customize Flavor Variations: Experiment with herbs like oregano, rosemary, or thyme in the butter mixture to create unique flavor profiles that complement different meal styles.
- Prep Time: 5 minutes
- Cook Time: 6 minutes
- Category: Snacks, Appetizer
- Method: Frying
- Cuisine: Italian
Nutrition
- Serving Size: 5
- Calories: 200
- Sugar: 1 g
- Sodium: 120 mg
- Fat: 22 g
- Saturated Fat: 14 g
- Unsaturated Fat: 6 g
- Trans Fat: 0 g
- Carbohydrates: 13 g
- Fiber: 1 g
- Protein: 3 g
- Cholesterol: 40 mg
Jenna Hartley
Founder & Recipe Creator
Expertise
Education
Box Hill Institute, Melbourne
William Angliss Institute, Melbourne
Jenna is the heart of Picture Perfect Meals, turning simple ingredients into beautiful, easy‑to‑make dishes.
Growing up around family meals in Melbourne, she trained at Box Hill Institute and then perfected her pastry skills at William Angliss Institute. She loves mixing classic Australian flavors with fresh ideas to keep cooking fun and stress‑free.