
Crunchiest Oven-Roasted Chicken Tacos Recipe You’ll Love
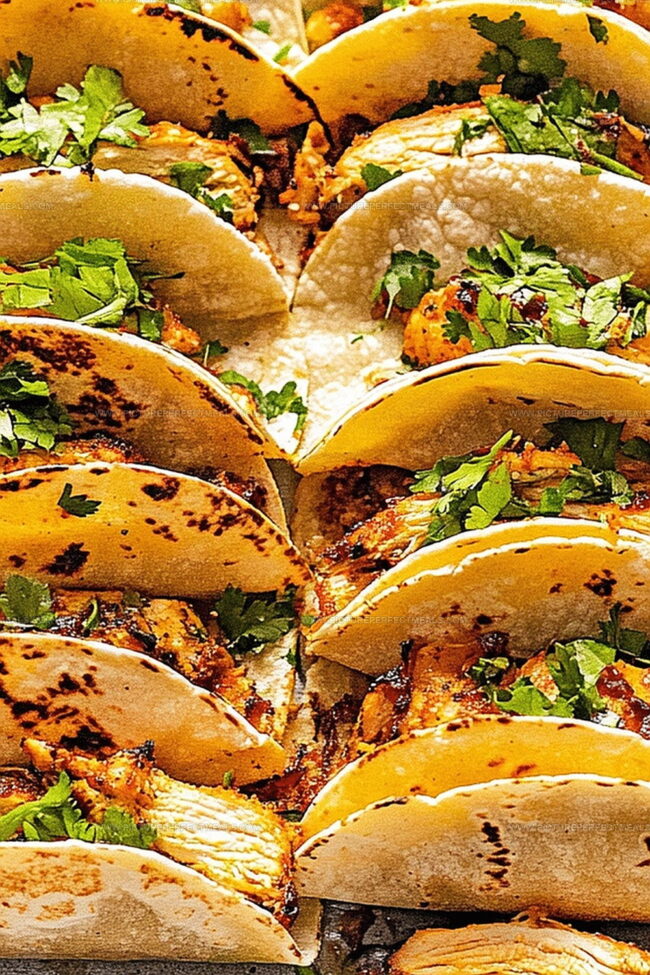
Bursting with flavor and crunch, these homemade crispy baked chicken tacos will transport your taste buds to a Mexican street food paradise.
The secret lies in perfectly seasoned shredded chicken nestled in crispy corn tortillas.
Each bite delivers a harmonious blend of textures and spices that dance on your palate.
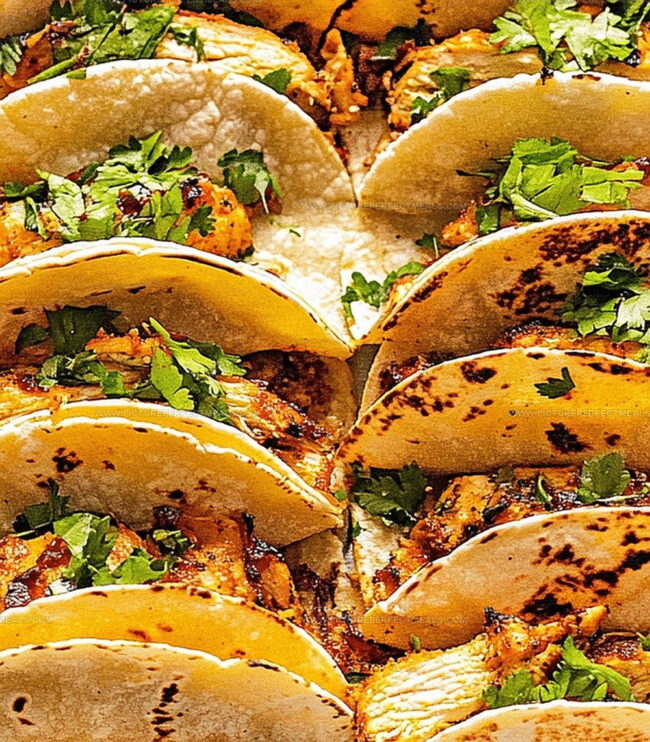
Cheese melts into golden rivers, creating a mouthwatering layer of indulgence.
The oven-baked method ensures a satisfying crispness without excessive oil.
Packed with protein and zesty seasonings, these tacos offer a delightful twist on classic taco night.
Prepare to fall in love with this simple yet irresistible meal that promises to become a quick family favorite.
Quick Recipe Overview
What Goes Into Baked Chicken Tacos
For Filling:For Shell Support:For Topping Finesse:Tools to Stuff and Bake These Crispy Chicken Tacos
How to Bake Chicken Tacos for a Family Favorite Night
Crank your oven to a toasty 400F and let it heat up while you prepare the delicious filling.
Grab a mixing bowl and combine tender shredded chicken with zesty salsa, a sprinkle of taco seasoning, a dash of garlic powder, a hint of cumin, and optional black beans for extra goodness. Stir everything together until the flavors mingle and dance.
Line a baking sheet with taco shells, standing them up like delighted soldiers ready for their flavor adventure.
Lovingly spoon the chicken mixture into each taco shell, making sure every shell gets a generous helping of the tasty blend.
Shower the filled shells with a generous cascade of shredded cheese, creating a melty, golden topping.
Slide the baking sheet into the hot oven and let the tacos bake until the cheese turns golden and bubbly, and the shells become wonderfully crisp, about 10-15 minutes.
Pull the tacos out of the oven and let them rest for a few minutes. Top with fresh cilantro, a dollop of sour cream, or your favorite garnishes before diving in.
Spice It Up With Jalapeños, Salsa, or More Cheese
Serve With Dips, Rice, or Fresh Lime
Store Leftovers Without Losing That Taco Crunch
Print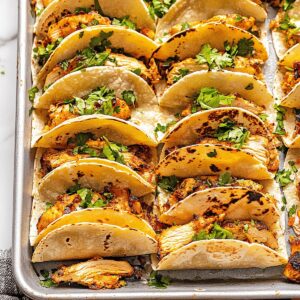
Crispy Baked Chicken Tacos Recipe
- Total Time: 22 minutes
- Yield: 6 1x
Description
Creamy, zesty Baked Chicken Tacos bring Mexican street flavor to home kitchens with crisp tortilla shells and juicy seasoned meat. Cheese melts perfectly while fresh toppings add crisp contrast and delightful texture.
Ingredients
- 2 cups (473 ml) shredded chicken, cooked
- 10 hard taco shells
- 1 cup (237 ml) Mexican cheese blend, shredded
- ½ cup (118 ml) salsa
- ½ cup (118 ml) black beans or corn
- 1 tbsp (15 ml) taco seasoning
- ½ tsp (2.5 ml) garlic powder
- ½ tsp (2.5 ml) cumin
- 1 cup (237 ml) lettuce, shredded
- ½ cup (118 ml) tomatoes, diced
- ½ cup (118 ml) sour cream
- ¼ cup (59 ml) cilantro, fresh, chopped
- 1 jalapeno, sliced
Instructions
- Preparation: Preheat the oven to 400°F (200°C), creating an optimal environment for crafting golden, crispy taco shells.
- Filling Creation: Blend shredded chicken with salsa, taco seasoning, garlic powder, cumin, and black beans in a mixing bowl, ensuring a robust and flavorful mixture that will tantalize taste buds.
- Shell Arrangement: Position taco shells upright on a rimmed baking sheet, preparing them to receive the savory chicken filling with precision and care.
- Assembly and Cheese Topping: Distribute the chicken mixture evenly into each shell, then lavishly cover with shredded cheese, allowing it to melt and create a luxurious, gooey surface.
- Baking Process: Slide the tray into the preheated oven, transforming the tacos for 10-15 minutes until the cheese bubbles and shells turn a perfect golden-brown, signaling they’re ready to devour.
- Final Touches: Garnish the hot tacos with fresh cilantro, diced onions, and tomatoes, adding a vibrant layer of color and fresh flavor to the dish.
- Serving: Present the baked tacos immediately, accompanied by optional side condiments like salsa, sour cream, or guacamole to enhance the dining experience.
Notes
- Shred Chicken Precisely: Ensure chicken is finely shredded for even distribution and better texture inside taco shells.
- Balance Moisture Carefully: Use salsa sparingly to prevent soggy shells; drain excess liquid before mixing with chicken.
- Customize Cheese Selection: Opt for Mexican blend or sharp cheddar for enhanced melting and richer flavor profile.
- Prep Ahead Strategy: Prepare chicken filling in advance and refrigerate to streamline assembly and reduce cooking time.
- Prep Time: 10 minutes
- Cook Time: 12 minutes
- Category: Lunch, Dinner
- Method: Baking
- Cuisine: Mexican
Nutrition
- Serving Size: 6
- Calories: 410
- Sugar: 3 g
- Sodium: 680 mg
- Fat: 20 g
- Saturated Fat: 10 g
- Unsaturated Fat: 9 g
- Trans Fat: 0 g
- Carbohydrates: 36 g
- Fiber: 5 g
- Protein: 24 g
- Cholesterol: 75 mg
Jenna Hartley
Founder & Recipe Creator
Expertise
Education
Box Hill Institute, Melbourne
William Angliss Institute, Melbourne
Jenna is the heart of Picture Perfect Meals, turning simple ingredients into beautiful, easy‑to‑make dishes.
Growing up around family meals in Melbourne, she trained at Box Hill Institute and then perfected her pastry skills at William Angliss Institute. She loves mixing classic Australian flavors with fresh ideas to keep cooking fun and stress‑free.