Quick & Crispy Boneless Chicken Wings Recipe Everyone Will Love
Weeknight dinners demand a crowd-pleasing solution that combines crispy texture and irresistible flavor with boneless chicken wings that never disappoint.
Crafted with a perfect blend of seasonings and cooking techniques, these wings deliver a satisfying crunch in every bite.
Restaurant-quality results are within reach for home cooks eager to master this delectable dish.
The crispy exterior gives way to tender, juicy meat that melts in your mouth.
Sharp spices and a golden-brown coating elevate these wings from ordinary to extraordinary.
Salt, pepper, and a secret blend of herbs create a mouthwatering aroma that draws everyone to the table.
Prepare to savor every delicious morsel of these wings that promise to become your new favorite comfort food.
Quick Recipe Overview
Boneless Chicken Wings Recipe: What You’ll Need
For Coating and Marinating:For Breading:For Frying and Finishing:Tools That Help You Fry, Bake, or Air Crisp Boneless Wings
How to Coat and Cook Boneless Chicken Wings Just Right
Dunk chicken pieces into a creamy buttermilk and egg bath, letting them soak up the moisture for maximum tenderness and flavor. This magical bath will set the stage for incredibly juicy wings.
Combine your favorite seasonings with flour to create a zesty, crunchy breading that’ll make these wings irresistible. Mix the dry ingredients thoroughly to ensure every inch of chicken gets covered in delicious goodness.
Carefully lift each chicken piece from the buttermilk bath, letting excess liquid drip off. Roll and press the meat into the seasoned flour mixture, making sure to coat every nook and cranny for that perfect crispy exterior.
Heat oil in a deep skillet or fryer until it’s sizzling hot. Gently lower the breaded chicken pieces into the oil, cooking until they turn a gorgeous golden brown and reach a safe internal temperature.
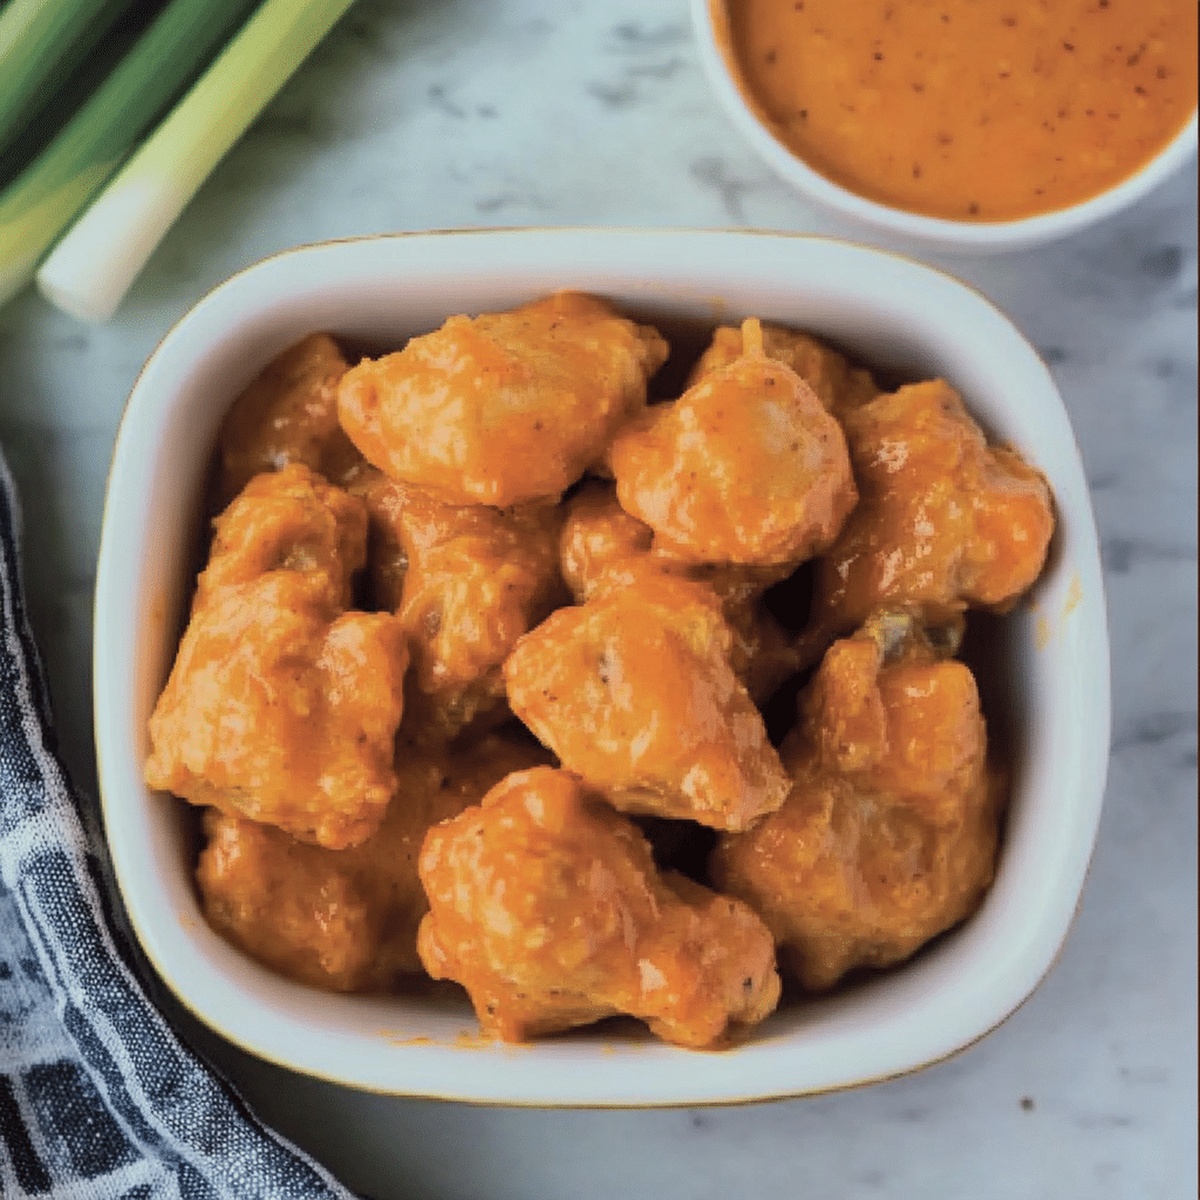
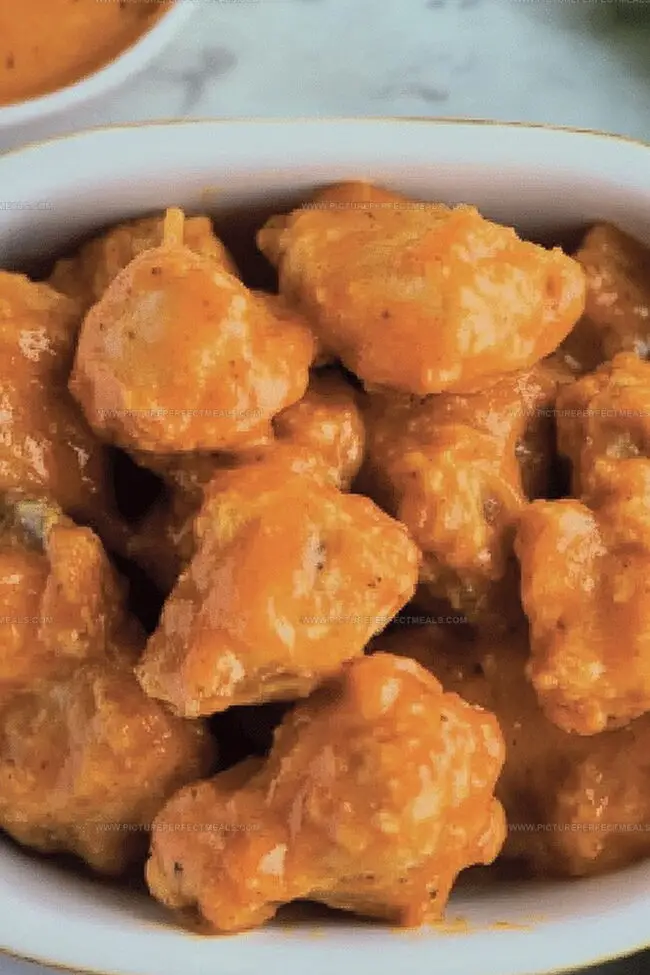
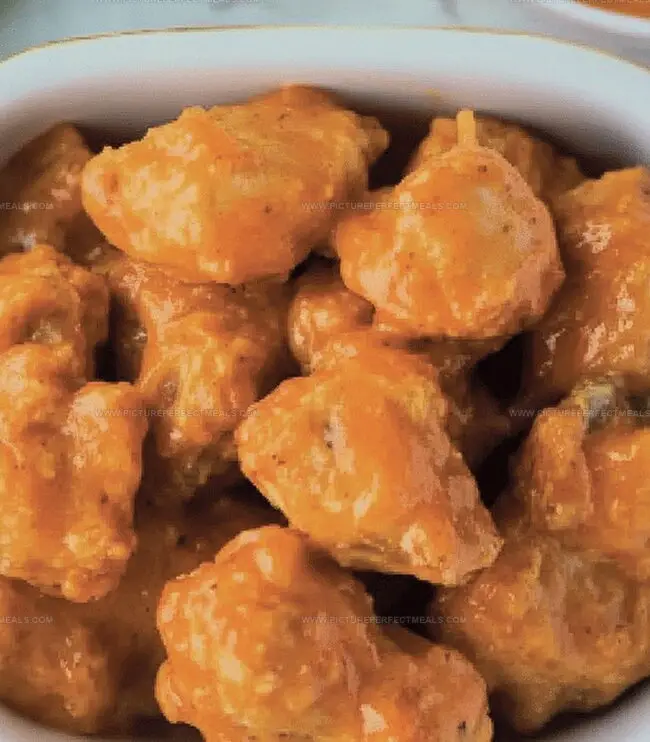
Transfer the crispy wings to a paper towel-lined plate to remove excess oil. Let them rest for a moment, then serve hot with your favorite dipping sauce. Watch as everyone devours these mouthwatering boneless chicken wings!
Flavor Ideas for Sauces and Rubs
Serve Boneless Wings for Game Day or Weeknight Cravings
Store and Reheat Without Losing the Crunch
Print
Crispy Boneless Chicken Wings Recipe
- Total Time: 30 minutes
- Yield: 5 1x
Description
Homemade boneless chicken wings deliver crispy, irresistible flavor straight from your kitchen. Delightful coating and zesty sauce create an easy crowd-pleasing meal you’ll savor with friends and family.
Ingredients
- 2 chicken breasts, boneless, skinless (cut into bite-sized pieces)
- 1 cup (120 g) all-purpose flour
- 1 cup (240 ml) buttermilk (or regular milk + 1 tsp vinegar)
- 1 egg
- 1 tsp salt
- ½ tsp black pepper
- ½ tsp garlic powder
- ½ tsp paprika
- ½ tsp baking powder
- 2 cups (500 ml) vegetable oil (for frying)
- ½ cup (120 ml) hot sauce (Franks RedHot or similar)
- ¼ cup (60 g) melted butter
- 1 tsp honey (optional)
- ½ cup (120 ml) BBQ sauce
- 2 tbsps honey
- 1 tsp Worcestershire sauce
- ¼ cup (60 ml) honey
- 2 tbsps soy sauce
- 2 garlic cloves, minced
- 1 tbsp butter
Instructions
- Marinate: Whisk buttermilk and egg in a spacious bowl, creating a tenderizing liquid bath for the chicken pieces, ensuring complete submersion for 15-30 minutes at room temperature.
- Prepare Coating: Combine seasoned flour mixture in a wide, shallow dish, ready to transform chicken into a crispy delicacy by thoroughly dredging each piece, pressing flour firmly to create a uniform exterior.
- Heat Cooking Surface: Warm oil to optimal frying temperature, maintaining consistent heat to guarantee even cooking and golden-brown perfection.
- Fry to Crispy Completion: Carefully lower flour-coated chicken into hot oil, cooking until exterior turns deep golden and internal temperature signals thorough doneness.
- Finish and Serve: Transfer crispy chicken to a wire rack or paper towel-lined plate to drain excess oil, then optionally toss in sauce or plate with preferred dipping condiments for a flavor-packed culinary experience.
Notes
- Maximize Marinade Absorption: Let chicken soak in buttermilk for full 30 minutes to ensure deep flavor penetration and maximum tenderness.
- Control Oil Temperature: Keep oil consistently around 350°F to prevent burning and achieve perfectly crispy, golden-brown exterior without raw interior.
- Drain Excess Oil Properly: Always use wire rack instead of paper towels to prevent soggy bottom and maintain crisp coating’s texture.
- Customize for Dietary Needs: Swap wheat flour with gluten-free alternatives like rice or almond flour for celiac or gluten-sensitive individuals without compromising crunchiness.
- Prep Time: 15 minutes
- Cook Time: 15 minutes
- Category: Lunch, Dinner, Appetizer, Snacks
- Method: Frying
- Cuisine: American
Nutrition
- Serving Size: 5
- Calories: 600
- Sugar: 10 g
- Sodium: 1200 mg
- Fat: 35 g
- Saturated Fat: 15 g
- Unsaturated Fat: 20 g
- Trans Fat: 0 g
- Carbohydrates: 45 g
- Fiber: 2 g
- Protein: 30 g
- Cholesterol: 100 mg
Jenna Hartley
Founder & Recipe Creator
Expertise
Education
Box Hill Institute, Melbourne
William Angliss Institute, Melbourne
Jenna is the heart of Picture Perfect Meals, turning simple ingredients into beautiful, easy‑to‑make dishes.
Growing up around family meals in Melbourne, she trained at Box Hill Institute and then perfected her pastry skills at William Angliss Institute. She loves mixing classic Australian flavors with fresh ideas to keep cooking fun and stress‑free.