Crispy Chicken Caesar Wrap Recipe

Simple & Crunchy Chicken Caesar Wrap Recipe That Wows

Crafting the perfect crispy chicken caesar wrap brings joy to lunch routines and satisfies midday hunger pangs.

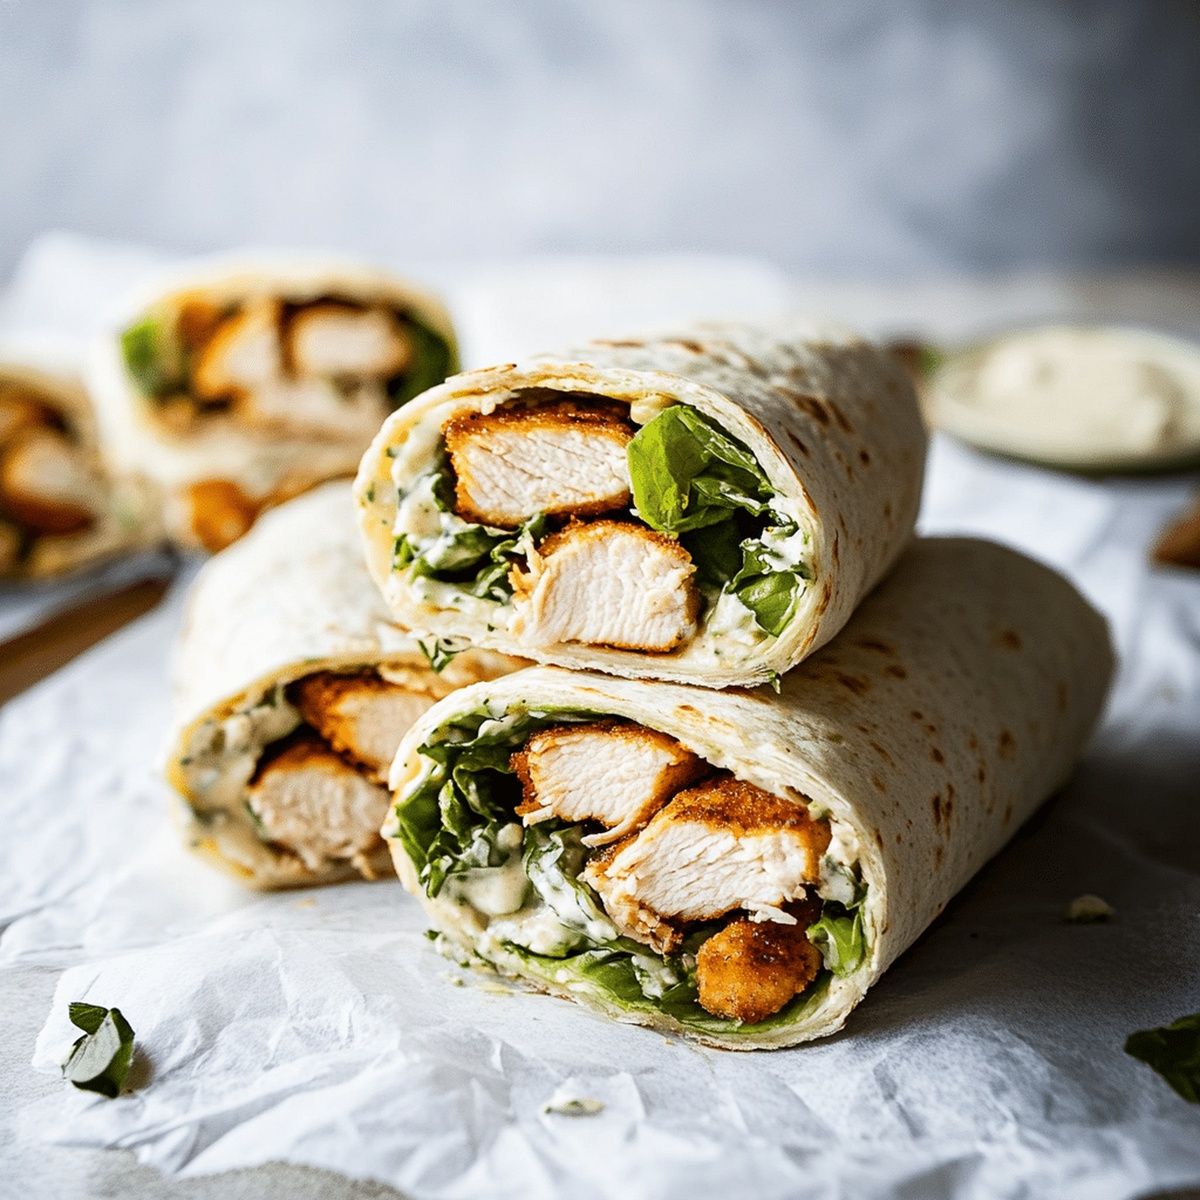
A classic caesar wrap packed with zesty flavors combines tender chicken and crisp lettuce in one delectable package.

Restaurants have long celebrated this crowd-pleasing favorite that delivers maximum taste with minimal effort.

Our simple recipe ensures you can recreate this restaurant-style lunch right in your own kitchen.

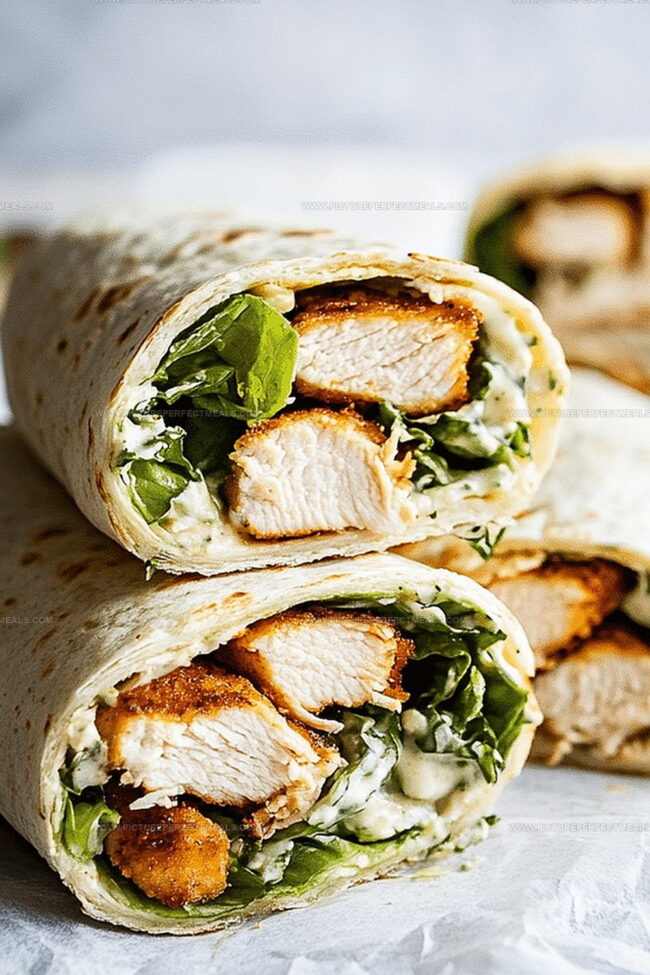
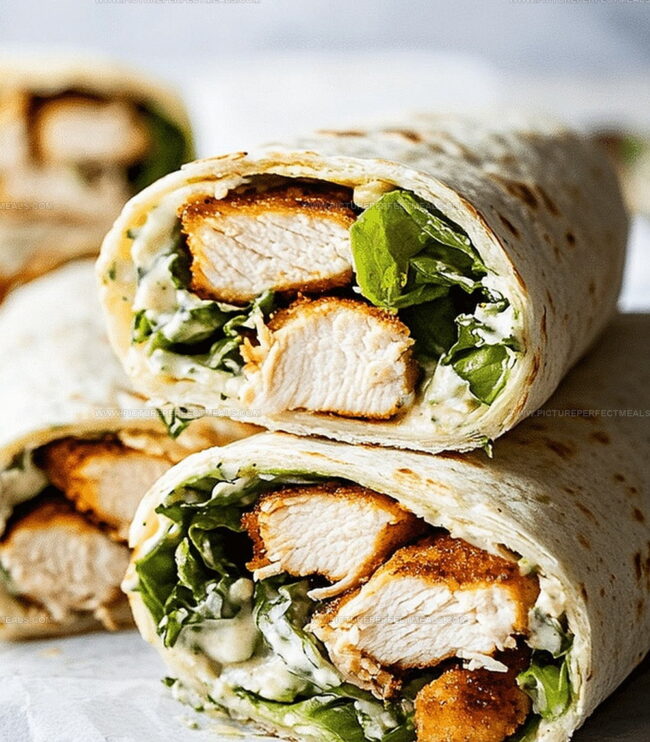
Crisp romaine, seasoned chicken, and tangy caesar dressing come together in a soft tortilla that promises pure deliciousness.

The magic happens when each ingredient complements the others, creating a balanced and mouthwatering meal.

Prepare to elevate your lunch game with this irresistible wrap that’s sure to become a new personal favorite.

How to Make Chicken Caesar Wraps Crisp and Filling

  • Prepare Chicken

Coat chicken breasts with a light drizzle of olive oil and sprinkle with savory seasonings to enhance flavor.

  • Cook Chicken

Grill chicken over medium heat until golden and thoroughly cooked, ensuring it reaches perfect tenderness.

  • Rest and Slice

Allow chicken to rest briefly, then slice into delicate strips that will blend beautifully with the salad.

  • Create Caesar Mixture

Combine crisp romaine lettuce with tangy Parmesan, crunchy crouton bits, and creamy Caesar dressing in a large mixing bowl.

  • Add Protein

Gently fold sliced chicken into the fresh salad mixture, distributing flavors evenly.

  • Wrap and Roll

Place tortilla flat, spoon the zesty chicken Caesar filling in the center, carefully fold sides, and roll from bottom to top.

  • Serve and Enjoy

Cut wrap diagonally for an appetizing presentation, and optionally toast for an extra crispy exterior if desired.

Swap the Protein or Dressing for a Fun Twist

  • Perfect Grilling Technique: Use a meat thermometer to ensure chicken reaches exactly 165°F for safe, juicy results without overcooking.
  • Protein Swap Option: Replace chicken with grilled shrimp, tofu, or sliced turkey for a delightful protein variation that keeps the Caesar wrap exciting.
  • Low-Carb Alternative: Swap tortillas with large lettuce leaves like butter lettuce or romaine for a lighter, carb-conscious version that's equally delicious.
  • Make-Ahead Magic: Prepare chicken and salad mixture separately and store in refrigerator for up to 2 days, assembling wraps just before serving to maintain maximum freshness and crunch.
  • Vegetarian Twist: Substitute chicken with grilled portobello mushrooms or roasted chickpeas seasoned with similar spices for a plant-based Caesar wrap that doesn't compromise on flavor.

Serve With Chips or a Light Side Salad

  • Picnic Perfect Companion: Pack these wraps in an insulated lunch bag with an ice pack for a delightful outdoor meal that stays fresh and cool.
  • Dipping Delight: Serve alongside extra Caesar dressing or marinara sauce for guests who love additional flavor and dipping options.
  • Side Kick Selections: Complement the wrap with crisp potato chips, a light garden salad, or fresh cucumber slices to balance the rich chicken and creamy dressing.
  • Party Platter Potential: Cut the wraps into bite-sized pinwheels for appetizers at gatherings, making them easy to grab and enjoy during social events.

Store Your Wraps So They Stay Fresh

  • Smart Refrigeration Strategy: Store wrapped chicken Caesar mixture in an airtight container within the refrigerator for up to 3 days. Keep chicken and lettuce separately to maintain crispness and prevent soggy texture.
  • Quick Prep Tip: Prepare chicken and chop ingredients in advance during meal prep sessions. Store components in separate sealed containers for fast assembly during busy weekdays.
  • Freezing Wisdom: Cooked chicken can be frozen flat in ziplock bags for 2-3 months. Thaw overnight in refrigerator before using in wraps. Avoid freezing dressed salad mixture to prevent watery consistency.
  • Temperature Safety: Always refrigerate chicken caesar wrap ingredients below 40°F (4°C). Discard any mixture left at room temperature for over 2 hours to prevent potential bacterial growth and ensure food safety.

Quick Recipe Overview

Prep Time: 10 minutes

Cook Time: 10 minutes

Total Time: 20 minutes

Calories: 590 kcal

Servings: 4

Chicken Caesar Wrap Recipe Essentials

For Protein Base:
  • Chicken Breast: Lean protein that provides a hearty, satisfying foundation for the wrap, choosing fresh, organic cuts ensures the best flavor and texture.
  • Parmesan Cheese: Adds a sharp, tangy punch of salty richness that elevates the entire dish's flavor profile.
For Crunch and Freshness:
  • Romaine Lettuce: Crisp, green base that delivers a refreshing crunch and essential nutrients, selecting crisp, bright green leaves guarantees maximum texture.
  • Croutons: Crunchy bread pieces that introduce a delightful textural contrast and traditional Caesar salad authenticity, homemade or premium store-bought versions work best.
For Wrapping and Finishing:
  • Tortilla: Soft, flexible vessel that holds the wrap together, choosing larger, pliable wheat tortillas ensures easy rolling and maximum filling capacity.
  • Olive Oil: Helps season and enhance chicken's moisture, using extra virgin ensures rich, smooth coating.
  • Caesar Dressing: Creamy, zesty sauce that binds ingredients and provides signature tangy flavor, selecting high-quality, authentic dressing makes a significant difference.
  • Garlic Powder: Adds aromatic depth to chicken seasoning, fresh ground provides more intense flavor.
  • Salt and Pepper: Essential seasonings that enhance and balance overall taste, using freshly ground black pepper maximizes flavor complexity.

Tools That Help Roll and Toast Caesar Wraps

  • Grill or grill pan: Perfect for cooking chicken with beautiful char marks.
  • Cutting board: Needed for slicing chicken and preparing ingredients.
  • Sharp knife: Essential for cutting chicken into thin, even strips.
  • Large mixing bowl: Great for tossing salad ingredients and chicken together.
  • Tongs: Helpful for flipping chicken on the grill and handling tortillas.
  • Measuring spoons: Useful for seasoning chicken accurately with garlic powder, salt, and pepper.
  • Kitchen towel: Handy for resting and patting dry the cooked chicken.
Print
clock clock iconcutlery cutlery iconflag flag iconfolder folder iconinstagram instagram iconpinterest pinterest iconfacebook facebook iconprint print iconsquares squares iconheart heart iconheart solid heart solid icon
Crispy Chicken Caesar Wrap Recipe

Crispy Chicken Caesar Wrap Recipe


5 Stars 4 Stars 3 Stars 2 Stars 1 Star

4.6 from 28 reviews

  • Total Time: 20 minutes
  • Yield: 5 1x

Description

Crispy chicken caesar wrap brings together classic Italian-American flavors in a handheld delight. Creamy dressing, romaine lettuce, and grilled chicken create a perfect lunchtime companion you’ll crave again and again.


Ingredients

Scale
  • 2 chicken breasts (boneless, skinless)
  • 4 flour tortillas (burrito-size)
  • 2 cups (480 ml/16 fl oz) romaine lettuce (chopped)
  • ½ cup (120 ml/4 fl oz) Caesar dressing
  • ¼ cup (60 g/2 oz) Parmesan cheese (grated)
  • ½ cup (60 g/2 oz) croutons (crushed)
  • 1 tbsp (15 ml/0.5 fl oz) olive oil
  • 1 tsp (5 g/0.2 oz) garlic powder
  • ½ tsp (2.5 g/0.1 oz) salt
  • ½ tsp (2.5 g/0.1 oz) black pepper
  • ½ tsp (2.5 ml/0.1 fl oz) lemon juice (optional)

Instructions

  1. Season Chicken: Generously coat chicken with olive oil, garlic powder, salt, and pepper for robust flavor infusion.
  2. Grill Chicken: Cook on medium-heat grill until golden-brown and internal temperature reaches 165°F / 75°C, approximately 5-6 minutes per side, ensuring complete cooking and juicy texture.
  3. Prepare Filling: Allow grilled chicken to rest briefly, then slice into thin strips; combine with crisp romaine lettuce, grated Parmesan cheese, crushed croutons, and creamy Caesar dressing, mixing thoroughly for a harmonious blend.
  4. Assemble Wrap: Lay tortilla flat, distribute chicken Caesar mixture centrally, fold sides inward, and roll tightly from bottom upward to create a compact, sealed wrap.
  5. Finish and Serve: Optional: lightly grill or toast wrap for crispy exterior; slice diagonally and present immediately to preserve optimal temperature and flavor integrity.

Notes

  • Optimize Chicken Tenderness: Rest grilled chicken for 5 minutes to lock in juices and prevent dryness, ensuring each slice remains moist and flavorful.
  • Perfect Wrap Technique: Fold tortilla sides inward before rolling to prevent filling spillage and create a tight, secure wrap that holds together during eating.
  • Enhance Flavor Depth: Toast or grill the assembled wrap for 1-2 minutes to develop a crispy exterior and slightly caramelize the tortilla, adding textural complexity.
  • Customize Dietary Needs: Swap regular tortilla with gluten-free or low-carb alternatives, use Greek yogurt-based Caesar dressing for lighter version, or replace chicken with grilled tofu for vegetarian option.
  • Prep Time: 10 minutes
  • Cook Time: 10 minutes
  • Category: Lunch, Snacks
  • Method: Grilling
  • Cuisine: Italian

Nutrition

  • Serving Size: 5
  • Calories: 645
  • Sugar: 2 g
  • Sodium: 1030 mg
  • Fat: 34 g
  • Saturated Fat: 8 g
  • Unsaturated Fat: 22 g
  • Trans Fat: 0 g
  • Carbohydrates: 50 g
  • Fiber: 3 g
  • Protein: 37 g
  • Cholesterol: 85 mg
Jenna Hartley

Jenna Hartley

Founder & Recipe Creator

Expertise

  • Recipe development with a focus on single-dish meals.
  • Fusion of traditional and modern Australian cuisines.
  • Food styling and photography for digital platforms.​

Education

Box Hill Institute, Melbourne

  • Degree: Advanced Diploma of Hospitality Management
  • Focus: Specialized in practical food and beverage service, responsible alcohol and hygiene compliance, legal risk management, and hands‑on experience in a simulated restaurant environment.

William Angliss Institute, Melbourne

  • Program: Certificate IV in Patisserie
  • Focus: Specialized in pastry and bakery techniques, cookery and specialty food preparation, recipe planning and costing, commercial kitchen operations, sustainable and inclusive work practices, food safety and hygiene compliance, and workplace health and safety.

Jenna is the heart of Picture Perfect Meals, turning simple ingredients into beautiful, easy‑to‑make dishes. 

Growing up around family meals in Melbourne, she trained at Box Hill Institute and then perfected her pastry skills at William Angliss Institute. She loves mixing classic Australian flavors with fresh ideas to keep cooking fun and stress‑free.

Leave a Reply

Your email address will not be published. Required fields are marked *

Recipe rating 5 Stars 4 Stars 3 Stars 2 Stars 1 Star