Crunchy Dill Delights: Irresistible Crispy Fried Pickles Recipe
Pickles take center stage in this crispy fried pickles recipe that transforms ordinary appetizers into a crunchy delight.
Southern kitchens have long celebrated these golden, tangy bites that crackle with every bite.
The secret lies in a perfectly seasoned batter that clings to each pickle slice.
Zesty dill pickles get coated in a light, crisp breading that turns them into irresistible morsels.
A simple dipping sauce complements the rich, savory crunch of these addictive pickles.
Anyone who loves bold flavors and textural contrasts will fall head over heels for this crowd-pleasing snack.
Prepare to elevate your appetizer game with these irresistible crispy fried pickle slices that are sure to disappear quickly.
Quick Recipe Overview
What Goes Into Fried Pickles Crispiness
For Coating Layers:For Binding:For Crispy Exterior:For Frying and Preparation:For Serving:Set Your Kitchen Up for Fried Pickles
Directions to Fry Pickles Like a Snack Star
Pat each pickle slice dry with paper towels to remove extra moisture.
Set up three separate bowls: one with seasoned flour, another with egg and buttermilk mixture, and the last with breadcrumb blend.
Dunk each pickle slice into flour, then egg mixture, and finally coat completely with breadcrumbs, pressing gently to help coating stick.
Pour vegetable oil into a deep skillet, warming it to 375F until it shimmers and looks ready for frying.
Carefully lower pickle slices into hot oil, cooking for 2-3 minutes until they turn a gorgeous golden brown and become wonderfully crispy.
Transfer fried pickles onto paper towels to remove excess oil and let them cool slightly.
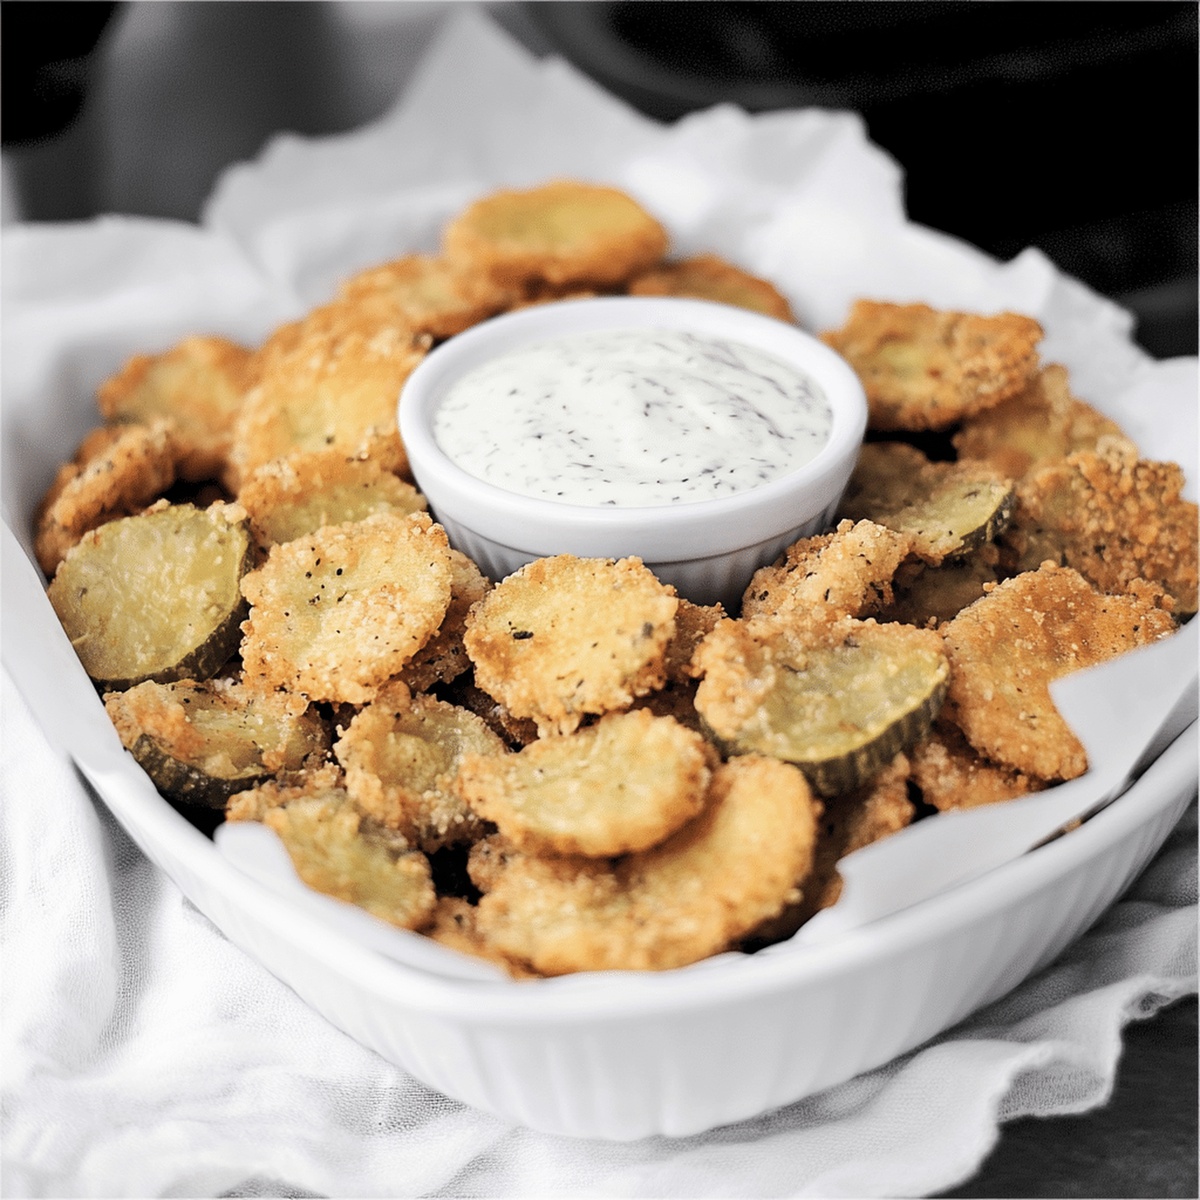
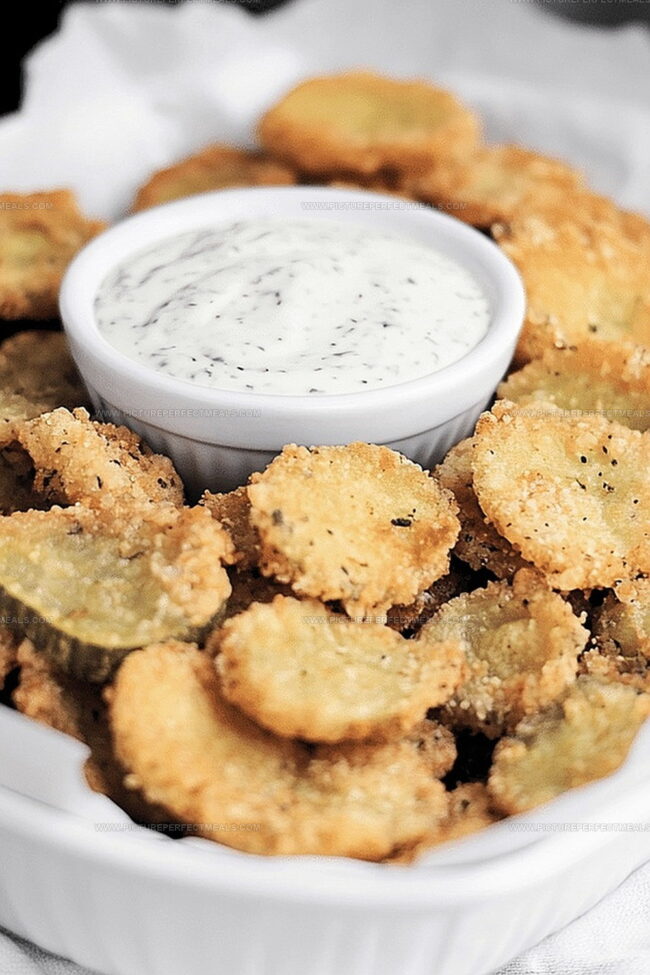
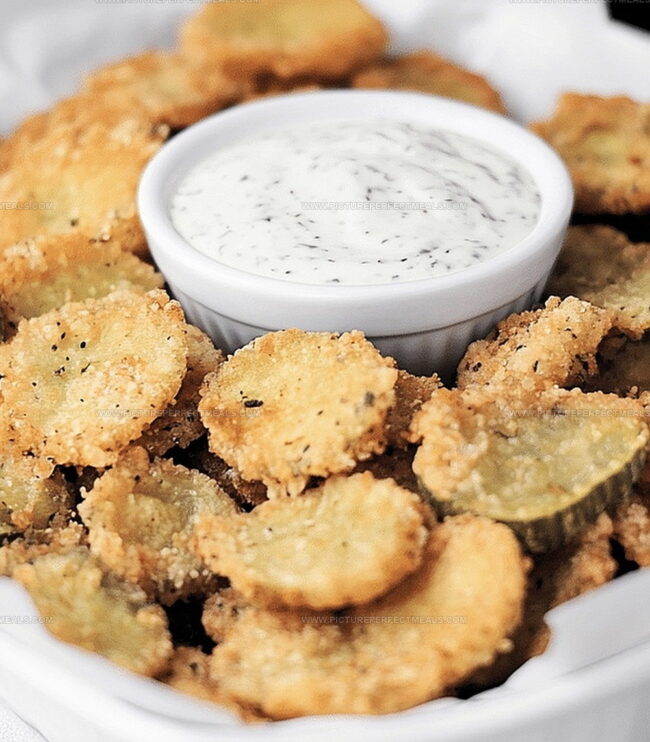
Place crispy pickles on a serving plate and pair with ranch dressing or your favorite dipping sauce for a delightful snack that’ll make taste buds dance.
Change Things Up with Pickle Breading Ideas
Serve Fried Pickles With Crowd-Pleasing Style
Fried Pickle Storage That Works
Print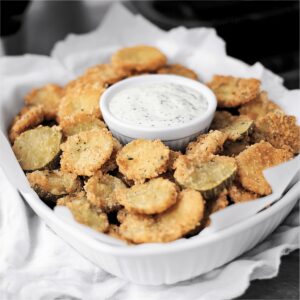
Crispy Fried Pickles Recipe
- Total Time: 25 minutes
- Yield: 5 1x
Description
Southern classic fried pickles deliver crispy, tangy perfection from classic dill rounds coated in seasoned cornmeal batter. Crunchy pickle slices offer irresistible appetizer delight you’ll savor with zesty ranch dipping sauce.
Ingredients
- 1 jar (16 oz / 454 g) dill pickle chips or slices, drained and patted dry
- 2 large eggs
- 1 cup breadcrumbs (panko or regular)
- 1 cup all-purpose flour
- ½ cup buttermilk (or regular milk)
- ½ cup cornmeal
- ½ tsp garlic powder
- ½ tsp smoked paprika
- ¼ tsp cayenne pepper
- ½ tsp salt
- ¼ tsp black pepper
- Vegetable oil, for frying
- Ranch dressing or spicy mayo (for serving)
Instructions
- Prep Pickle Base: Drain pickle slices thoroughly and pat completely dry with paper towels to guarantee a perfectly crisp coating.
- Create Seasoned Flour Blend: Whisk flour with garlic powder, smoked paprika, cayenne pepper, salt, and black pepper in a wide container to develop robust flavor profiles.
- Develop Dredging Stations: Prepare three distinct stations – seasoned flour, egg-buttermilk mixture, and breadcrumb-cornmeal coating – positioning them strategically for efficient breading process.
- Coating Technique: Methodically dredge each pickle slice through flour, then egg mixture, and finally roll in breadcrumb-cornmeal blend, ensuring complete and uniform coverage for maximum crunchiness.
- Preheating Oil: Warm vegetable oil in a deep skillet to 375F, using a cooking thermometer to maintain precise temperature for optimal frying conditions.
- Frying Process: Gently lower breaded pickles into hot oil in small batches, rotating occasionally to achieve uniform golden-brown exterior, typically cooking for 2-3 minutes until crisp and delectable.
- Finishing Touch: Remove fried pickles with a slotted spoon, drain on paper towel-lined plate to eliminate excess oil, and serve immediately alongside ranch dressing for maximum flavor enjoyment.
Notes
- Drain Thoroughly: Remove excess moisture from pickle slices using paper towels to guarantee maximum crispiness and prevent soggy coating.
- Maintain Oil Temperature: Keep oil consistently at 375F using a cooking thermometer to ensure even, golden-brown frying without burning or undercooking.
- Prevent Overcrowding: Fry pickles in small batches to maintain oil temperature and allow each slice space for proper browning and crisp texture.
- Customize Seasonings: Experiment with different spice blends in flour mixture like smoked paprika, cayenne, or herbs to personalize flavor profile and match dietary preferences.
- Prep Time: 10 minutes
- Cook Time: 15 minutes
- Category: Appetizer, Snacks
- Method: Frying
- Cuisine: American
Nutrition
- Serving Size: 5
- Calories: 267
- Sugar: 2 g
- Sodium: 530 mg
- Fat: 12 g
- Saturated Fat: 2 g
- Unsaturated Fat: 9 g
- Trans Fat: 0 g
- Carbohydrates: 36 g
- Fiber: 2 g
- Protein: 6 g
- Cholesterol: 62 mg
Jenna Hartley
Founder & Recipe Creator
Expertise
Education
Box Hill Institute, Melbourne
William Angliss Institute, Melbourne
Jenna is the heart of Picture Perfect Meals, turning simple ingredients into beautiful, easy‑to‑make dishes.
Growing up around family meals in Melbourne, she trained at Box Hill Institute and then perfected her pastry skills at William Angliss Institute. She loves mixing classic Australian flavors with fresh ideas to keep cooking fun and stress‑free.