Heavenly Crispy Sopaipillas Recipe: Sweet Puffy Delights!
Golden, pillowy sopaipillas steeped in Latin American culinary tradition bring a delightful crunch to your table.
These delectable pastries dance with a perfect crispy sopaipillas recipe that captures authentic flavor and texture.
Wheat flour, baking powder, and a touch of salt form the simple foundation of this beloved treat.
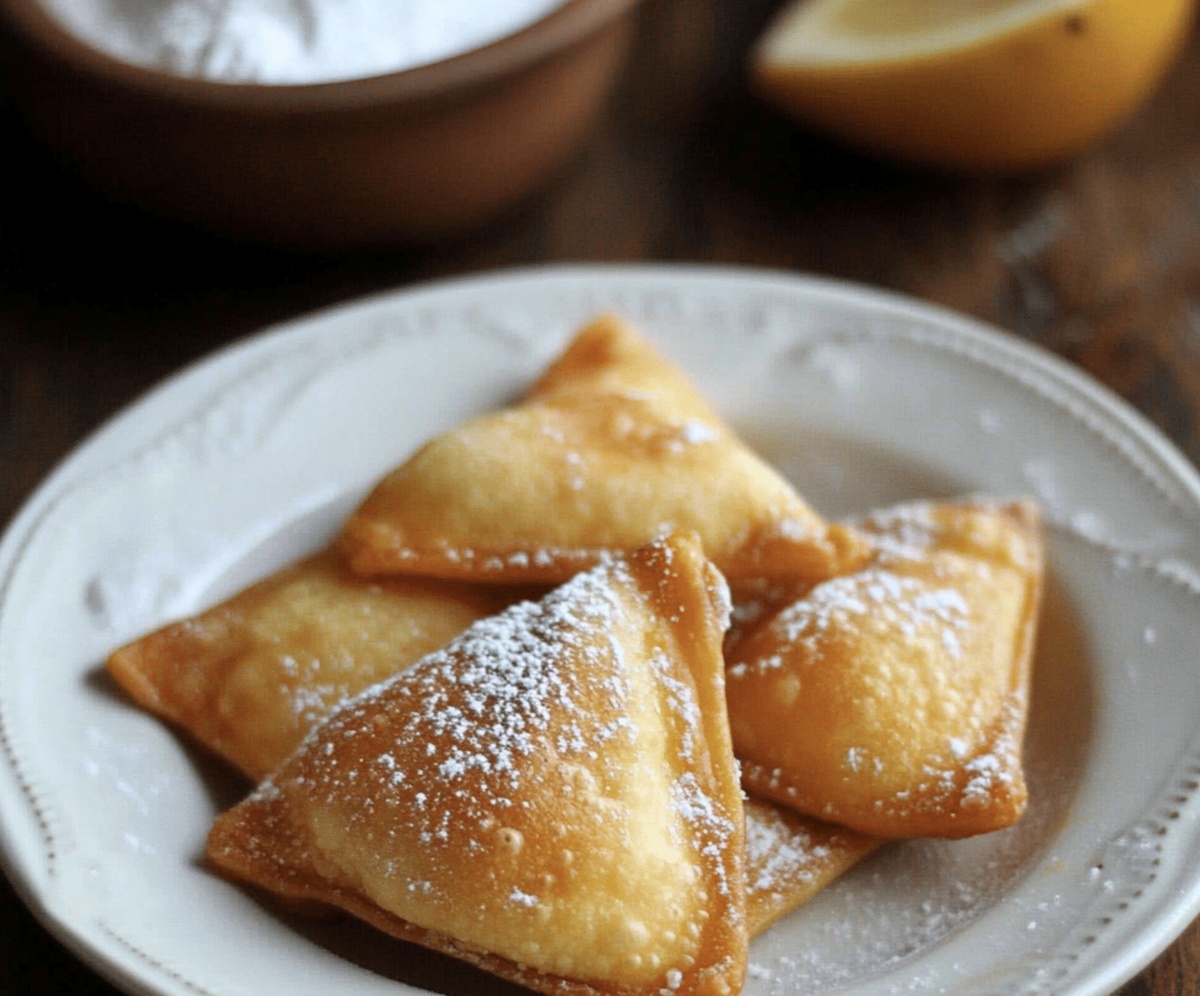
Fried to golden perfection, sopaipillas offer a magical blend of crisp exterior and soft interior that melts in your mouth.
The aroma of freshly fried dough fills the kitchen with warmth and comfort.
Drizzle with honey or dust with powdered sugar for an irresistible finish that transforms a simple pastry into a memorable experience.
Savor each bite and let these sopaipillas transport you to the heart of traditional Latin American cuisine.
Quick Recipe Overview

Ingredients for the Most Authentic Sopaipillas
For Base Ingredients:For Binding Ingredients:For Frying Ingredients:What You’ll Need for Frying Puffy Sopaipillas
How to Fry Up a Batch Like the Southwest

Grab a big bowl and combine your dry ingredients. Crumble in soft butter using your fingertips until the mixture looks like sandy crumbs. Pour warm water gradually and blend until a soft, supple dough emerges.
Spread some flour on your countertop and knead the dough until it feels smooth and bouncy. Let the dough chill and relax under a kitchen towel for about 30 minutes.
Split the dough into two portions. Roll each section into a thin, delicate sheet. Slice the dough into playful squares or triangular shapes using a sharp knife.
Fill a deep skillet with vegetable oil, heating it to a sizzling 375F. Use a cooking thermometer to nail the perfect temperature.
Gently slide dough pieces into the bubbling oil. Fry each side until they puff up and turn a gorgeous golden brown. Use tongs to flip them carefully.
Transfer crispy sopaipillas to a paper towel-lined plate. Drizzle with sweet honey, dust with powdered sugar, or stuff with savory fillings like beans and cheese. Serve immediately while warm and irresistible.
Pro Fry Tips for Golden Sopaipillas
Serving Ideas—From Honey Drizzle to Savory Fillings
How to Store Sopaipillas for Later Enjoyment
Print
Crispy Sopaipillas Recipe
- Total Time: 45 minutes
- Yield: 5 1x
Description
Sopaipillas, a cherished Chilean pastry, offers a crispy, golden delight that melts in your mouth. Pillowy squares of fried dough bring comfort and joy to those who savor this traditional treat.
Ingredients
- 2 cups (250 g) all-purpose flour
- 2 tsps baking powder
- ½ tsp salt
- 2 tbsps unsalted butter, softened
- ¾ cup (180 mL) warm water
- Vegetable oil, for frying
- Honey or agave syrup
- Powdered sugar
- Cinnamon sugar
Instructions
- Mixture Preparation: Whisk flour, baking powder, and salt in a large mixing bowl until thoroughly combined.
- Dough Formation: Integrate softened butter into dry ingredients using fingertips, creating a sandy texture, then pour warm water and knead until a smooth, elastic dough develops.
- Resting Phase: Cover dough with a kitchen towel and let it relax for 25 minutes, allowing gluten to settle and enhance texture.
- Dough Rolling: Divide dough into two portions, roll each section into a thin sheet on a floured surface, and cut into triangular or rectangular shapes.
- Oil Heating: Warm oil in a deep skillet or heavy pot to 375°F, ensuring proper temperature for perfect golden-brown sopaipillas.
- Frying Process: Carefully lower dough pieces into hot oil, turning once to achieve uniform golden coloration and puffy texture, typically 30-45 seconds per side.
- Draining and Serving: Remove sopaipillas with a slotted spoon, drain excess oil on paper towels, and serve immediately with honey, powdered sugar, or desired toppings.
Notes
- Dough Consistency Check: Aim for a soft, pliable dough that’s not too sticky or dry. Test by gently pressing the dough – it should spring back slightly without cracking.
- Temperature Precision: Maintain oil at 375°F for perfect golden-brown sopaipillas. Use a cooking thermometer to ensure consistent heat for even frying.
- Resting Technique: Allow dough to rest for exactly 25 minutes to develop gluten and improve texture. Cover with a damp cloth to prevent surface drying.
- Cutting Pro Tip: Roll dough thin (about 1/8 inch) and cut into uniform triangles or squares for consistent cooking and professional presentation.
- Prep Time: 15 minutes
- Cook Time: 30 minutes
- Category: Breakfast, Snacks, Desserts
- Method: Frying
- Cuisine: Mexican
Nutrition
- Serving Size: 5
- Calories: 200
- Sugar: 1 g
- Sodium: 150 mg
- Fat: 8 g
- Saturated Fat: 4 g
- Unsaturated Fat: 3 g
- Trans Fat: 0 g
- Carbohydrates: 30 g
- Fiber: 1 g
- Protein: 3 g
- Cholesterol: 15 mg
Jenna Hartley
Founder & Recipe Creator
Expertise
Education
Box Hill Institute, Melbourne
William Angliss Institute, Melbourne
Jenna is the heart of Picture Perfect Meals, turning simple ingredients into beautiful, easy‑to‑make dishes.
Growing up around family meals in Melbourne, she trained at Box Hill Institute and then perfected her pastry skills at William Angliss Institute. She loves mixing classic Australian flavors with fresh ideas to keep cooking fun and stress‑free.