
Crackly-Good Sweet and Sour Chicken Recipe for Dinner Joy
Weeknight dinners come alive with this irresistible sweet and sour chicken that brings restaurant-quality flavor right to your kitchen.
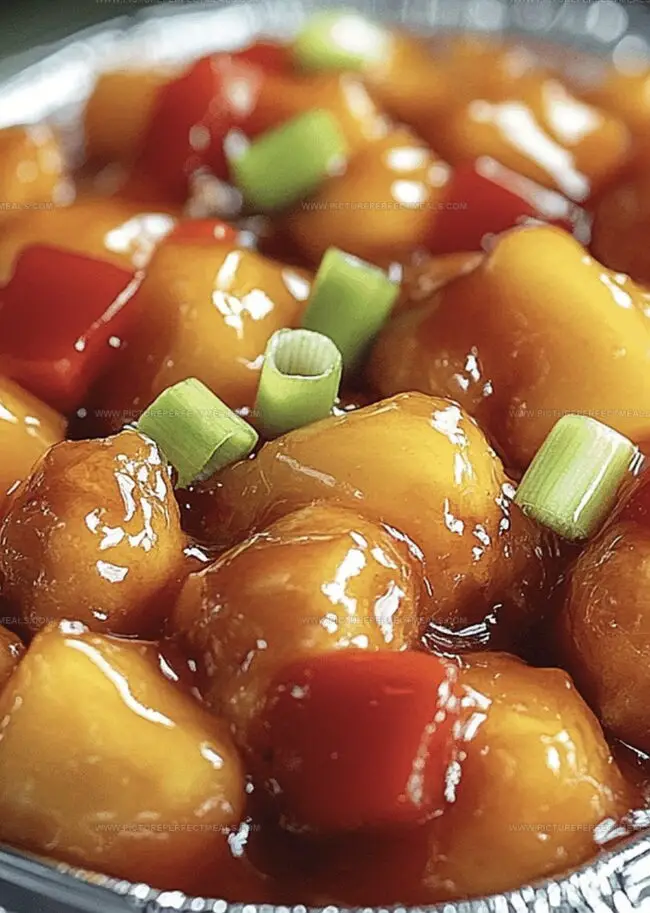
Every bite of this crispy sweet and sour chicken promises a perfect balance of tangy and sweet notes that dance across your palate.
Golden-brown chicken pieces coated in a glossy, vibrant sauce make this dish a true crowd-pleaser.
The recipe combines simple ingredients with an easy cooking technique that guarantees delicious results every single time.
Fresh vegetables add color and crunch to complement the succulent chicken pieces.
Each serving delivers a mouthwatering blend of textures that will have everyone at the table asking for seconds.
You’ll want to bookmark this recipe for those nights when only a spectacular meal will do.
Quick Recipe Overview
What Goes Into Baked Sweet And Sour Chicken
For Chicken Base:For Sauce Components:For Cooking and Finishing:Must Have Tools For Baked Sweet And Sour Chicken
How To Bake Baked Sweet And Sour Chicken The Right Way
Get your oven toasty at 200C (400F). Gently coat a baking dish with cooking spray or parchment paper.
Sprinkle salt and pepper on chicken pieces. Create a crispy coating by rolling each piece in cornstarch, then giving it a quick egg bath.
In a sizzling skillet, quickly fry chicken chunks until they turn a beautiful golden color. You’re not cooking them completely, just creating a gorgeous outer layer.
Mix vinegar, ketchup, sugar, soy sauce, and garlic powder in a pan. Bring to a gentle bubble and stir until sugar melts. Add a quick cornstarch mixture to thicken the sauce.
Pour the tangy sauce over the chicken, making sure every piece gets cozy. Slide into the oven and bake for 25-30 minutes, giving everything a quick toss halfway through.
Serve your masterpiece over fluffy rice. Sprinkle some green onions or sesame seeds on top for an extra flavor punch.
Ideas For Enhancing Baked Sweet And Sour Chicken Flavor
Presentation Tips For Baked Sweet And Sour Chicken
Storage Strategies For Baked Sweet And Sour Chicken Leftovers
Print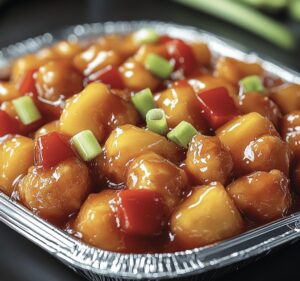
Crispy Sweet And Sour Chicken Recipe
- Total Time: 45 minutes
- Yield: 5 1x
Description
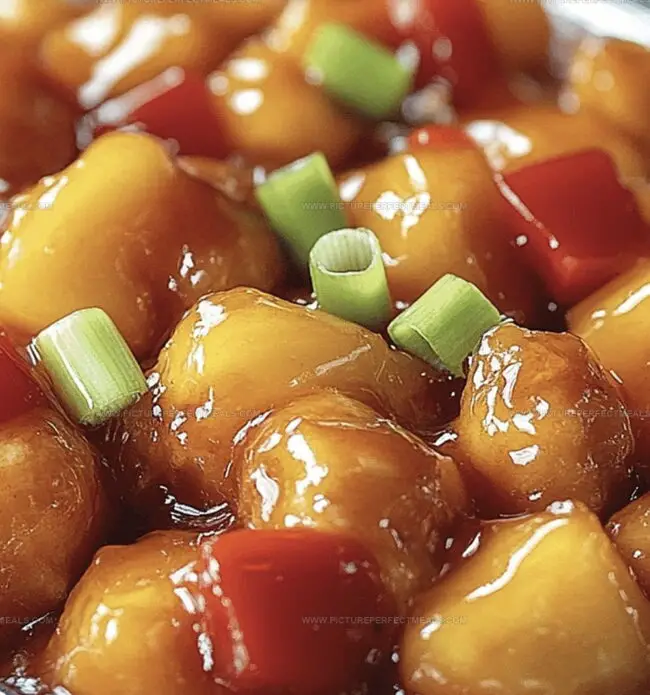
Baked sweet and sour chicken brings classic Chinese-American flavors to home kitchens with crispy, tender meat. Tangy sauce and golden-brown chicken pieces create a restaurant-quality meal you can enjoy without complicated preparation techniques.
Ingredients
- 1 lb (500 g) chicken breast, cut into bite-sized cubes
- ½ cup (65 g) cornstarch
- 2 large eggs, beaten
- 2 tbsps vegetable oil
- Salt, to taste
- Pepper, to taste
- ½ cup (120 ml) white vinegar
- ⅓ cup (80 ml) ketchup
- ½ cup (100 g) granulated sugar
- 1 tbsp soy sauce
- 1 tsp garlic powder
- 1 tsp cornstarch
- 1 tbsp water
Instructions
- Oven Preparation: Preheat oven to 200C (400F) and line a baking dish with parchment paper.
- Chicken Coating: Dredge chicken pieces in cornstarch, then dip into whisked eggs, creating a crisp protective layer.
- Initial Searing: Heat vegetable oil in a skillet over medium-high heat and quickly brown chicken pieces until they develop a golden exterior, working in rotating batches.
- Sauce Creation: Combine vinegar, ketchup, sugar, soy sauce, and garlic powder in a saucepan, bringing to a gentle simmer while whisking continuously; thicken with cornstarch slurry until the mixture transforms into a glossy glaze.
- Baking Process: Transfer seared chicken to prepared baking dish, generously coat with sweet and sour sauce, and bake uncovered for 25-30 minutes, pausing midway to redistribute sauce and ensure even cooking.
- Serving Presentation: Plate the baked chicken over steamed rice, garnishing with chopped green onions or a delicate sprinkle of sesame seeds for an elevated culinary experience.
Notes
- Optimize Cornstarch Coating: Shake off excess cornstarch before egg dipping to prevent clumpy, uneven breading and ensure a crisp, light exterior.
- Control Oil Temperature: Maintain medium-high heat when searing chicken to achieve golden-brown color without burning, which preserves juiciness and prevents tough meat.
- Sauce Consistency Trick: Adjust cornstarch slurry gradually to reach perfect thickness – add slowly while whisking to prevent lumps and create a glossy, smooth sauce.
- Prevent Soggy Bottom: Space chicken pieces apart on baking dish to allow heat circulation, ensuring crispy texture and even sauce distribution during baking.
- Prep Time: 15 minutes
- Cook Time: 30 minutes
- Category: Dinner, Lunch
- Method: Baking
- Cuisine: Chinese
Nutrition
- Serving Size: 5
- Calories: 452
- Sugar: 24 g
- Sodium: 267 mg
- Fat: 10 g
- Saturated Fat: 1.5 g
- Unsaturated Fat: 8 g
- Trans Fat: 0 g
- Carbohydrates: 65 g
- Fiber: 0.5 g
- Protein: 26 g
- Cholesterol: 186 mg
Jenna Hartley
Founder & Recipe Creator
Expertise
Education
Box Hill Institute, Melbourne
William Angliss Institute, Melbourne
Jenna is the heart of Picture Perfect Meals, turning simple ingredients into beautiful, easy‑to‑make dishes.
Growing up around family meals in Melbourne, she trained at Box Hill Institute and then perfected her pastry skills at William Angliss Institute. She loves mixing classic Australian flavors with fresh ideas to keep cooking fun and stress‑free.