Golden Crispy Taquitos Recipe: Crunchy Joy on Your Plate!
Weeknight dinners transform with this mouthwatering crispy taquitos recipe that promises pure comfort and flavor.
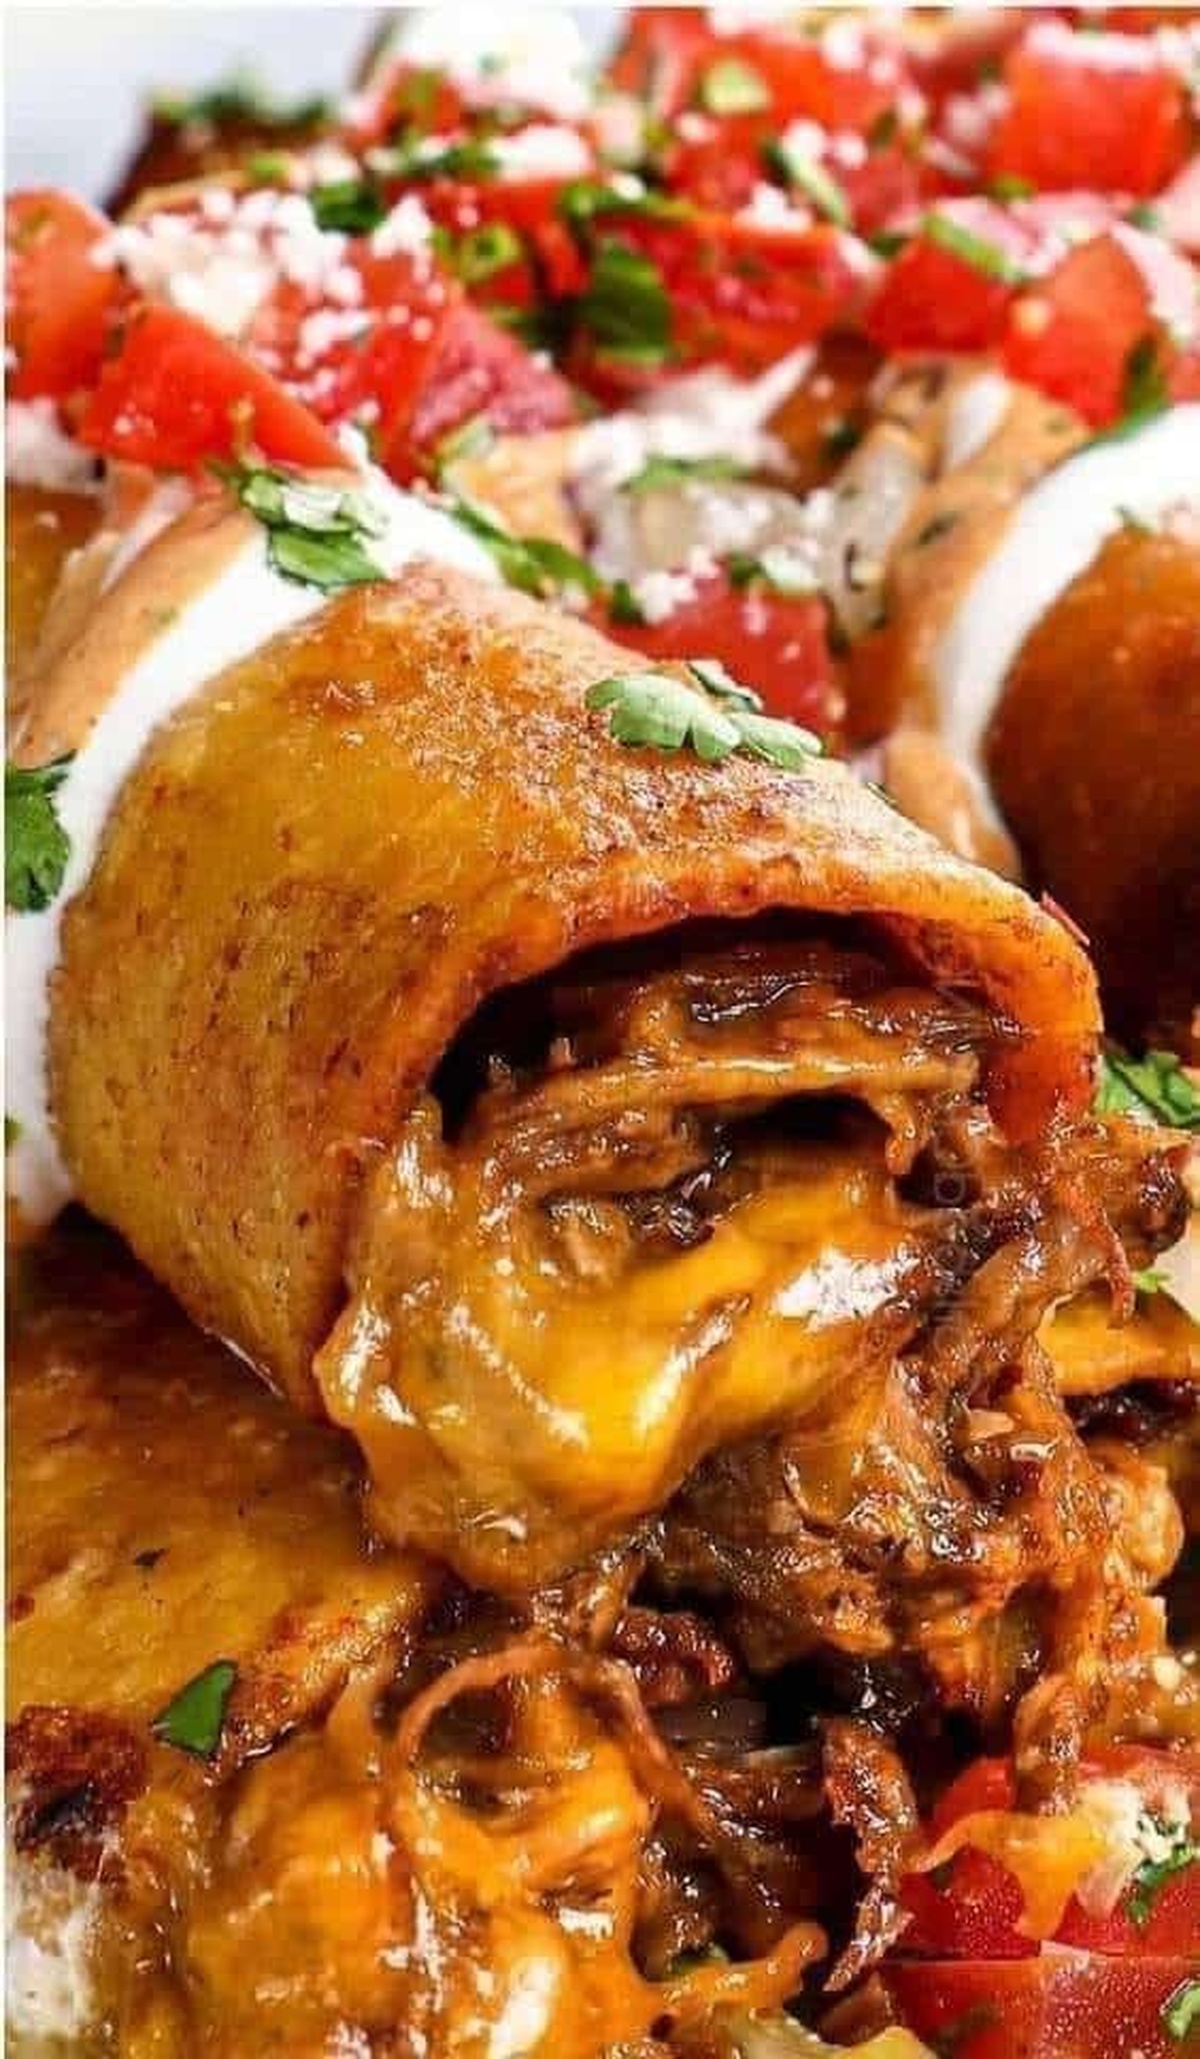
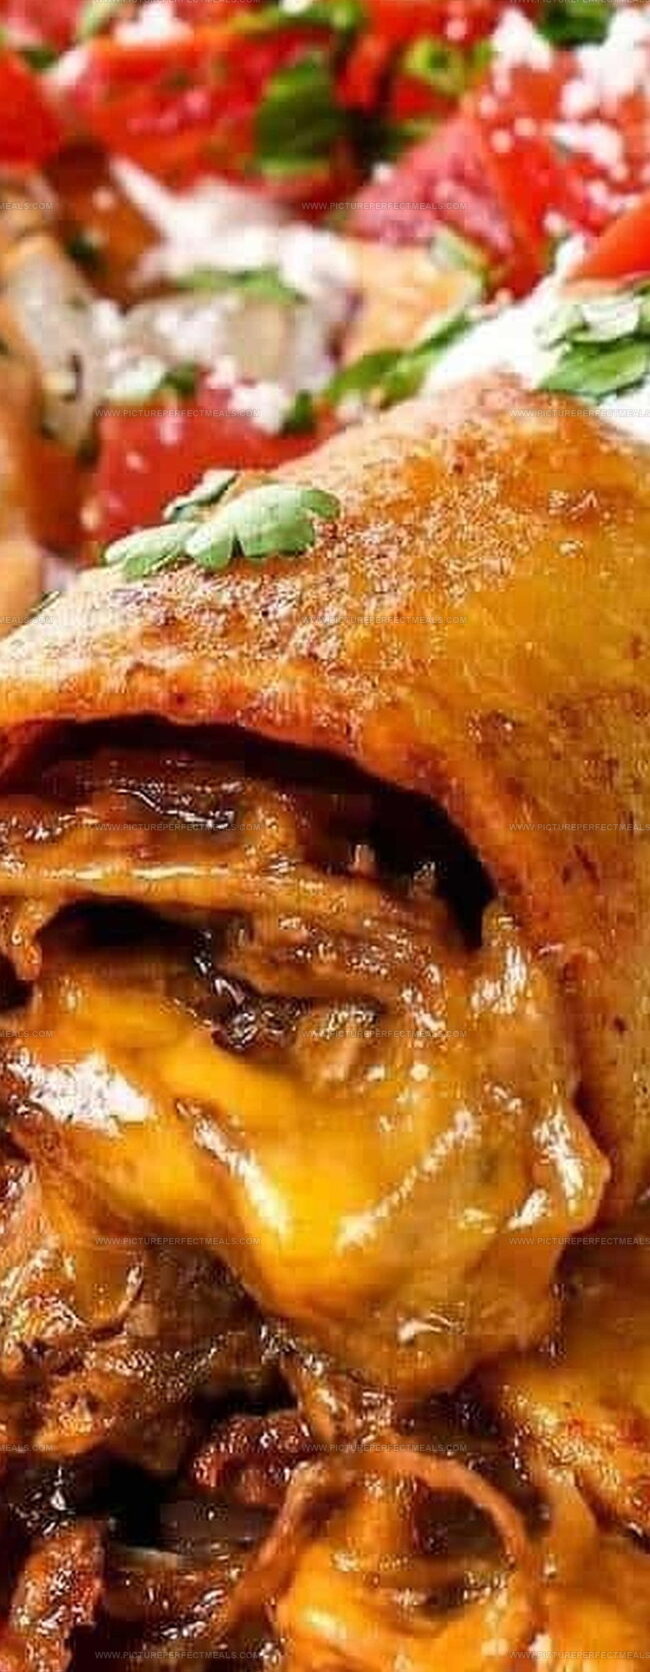
Golden tortillas crackle with each delightful bite, stuffed with savory fillings that dance on your palate.
Rolled tightly and fried to perfection, these little bundles of joy bring Mexican-inspired excitement to your table.
The crisp exterior gives way to a tender, flavorful interior that surprises and satisfies.
Minimal ingredients and simple techniques make this dish a weeknight champion for busy cooks.
Each taquito delivers a crunch that echoes with rich, authentic taste.
You’ll want to serve these irresistible bites straight from the pan, while they’re at their absolute golden best.
Quick Recipe Overview
Taquito Ingredient Breakdown
For Filling:For Seasonings:Tools to Roll and Fill Taquitos
How to Make Homemade Taquitos

Grab your mixing bowl and toss in shredded chicken with a burst of cheese, zesty salsa, and bold seasonings. Blend everything together until the flavors dance and mingle.
Heat tortillas until they’re soft and pliable, ready to cradle your delicious filling. A quick spin in the microwave or gentle skillet warm-up works perfectly.
Place a generous spoonful of your flavor-packed mixture near the edge of each tortilla. Roll tightly, creating those classic cigar-shaped taquitos that promise crunch and excitement.
Lay your rolled taquitos seam-side down to keep them sealed. Choose your cooking adventure: deep frying for maximum golden crispiness or baking for a lighter touch.
Fry in hot oil until the exterior turns a gorgeous golden brown and becomes delightfully crispy. If baking, brush with a touch of oil to ensure a beautiful, crunchy exterior.
Transfer your taquitos to a plate lined with paper towels to catch any extra oil. Serve immediately with your favorite dipping sauces like creamy guacamole or zesty salsa.
Add-On Ideas for Taquito Flavor
Serve Taquitos with Tasty Sides
Taquito Storage You Can Count On
Print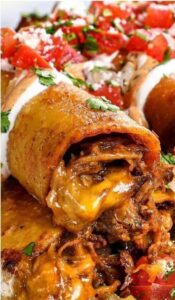
Crispy Taquitos Recipe
- Total Time: 35 minutes
- Yield: 5 1x
Description
Mexican taquitos showcase crispy rolled tortillas filled with savory meat or beans. Crunchy exterior and rich flavors make these small rolls a perfect appetizer or quick snack you’ll enjoy with salsa and guacamole.
Ingredients
- 2 cups (473 ml) cooked shredded chicken, beef, or beans
- ½ cup (118 ml) shredded cheese (cheddar, Monterey Jack, or a blend)
- 12 small corn tortillas
- ¼ cup (59 ml) vegetable oil (for brushing or frying)
- ¼ cup (59 ml) salsa or enchilada sauce
- 1 tsp chili powder
- ½ tsp ground cumin
- ½ tsp garlic powder
- ½ tsp onion powder
- Salt and pepper, to taste
- Guacamole
- Sour cream
- Salsa
- Shredded lettuce
- Diced tomatoes
- Chopped cilantro
Instructions
- Preparation: Thoroughly shred cooked chicken into fine, uniform pieces, eliminating any substantial chunks for consistent texture.
- Mixing: Blend shredded chicken with grated cheese, creating a harmonious base that provides richness and structural integrity to the filling.
- Flavor Enhancement: Introduce salsa into the chicken-cheese mixture, allowing the liquid to infuse moisture and elevate the overall taste profile.
- Seasoning: Gently fold in selected spices, ensuring complete and even distribution throughout the filling for balanced flavor.
- Tortilla Handling: Warm tortillas to increase pliability, preventing potential cracking during the rolling technique.
- Rolling: Position a controlled portion of filling near the tortilla’s edge, then tightly roll into compact cylinders, securing with toothpicks if needed.
- Cooking Method: Select preferred preparation technique – deep frying for a crisp exterior or baking for a lighter approach – ensuring thorough heating and golden-brown coloration.
- Serving: Allow taquitos to rest briefly after cooking, permitting the filling to stabilize and the exterior to achieve maximum crispness before serving.
Notes
- Prevent Tortilla Cracking: Warm tortillas briefly to increase flexibility, reducing the chance of splitting during rolling.
- Optimize Filling Distribution: Shred chicken finely and mix thoroughly to ensure even flavor and texture in every bite.
- Control Portion Size: Use consistent filling amounts to guarantee uniform cooking and prevent overstuffing or underfilling.
- Achieve Crispy Texture: Choose between deep frying for maximum crunch or baking for a healthier alternative, monitoring cooking time to prevent burning.
- Prep Time: 15 minutes
- Cook Time: 20 minutes
- Category: Lunch, Snacks, Appetizer
- Method: Baking
- Cuisine: Mexican
Nutrition
- Serving Size: 5
- Calories: 400
- Sugar: 2 g
- Sodium: 600 mg
- Fat: 22 g
- Saturated Fat: 6 g
- Unsaturated Fat: 16 g
- Trans Fat: 0 g
- Carbohydrates: 36 g
- Fiber: 4 g
- Protein: 20 g
- Cholesterol: 60 mg
Jenna Hartley
Founder & Recipe Creator
Expertise
Education
Box Hill Institute, Melbourne
William Angliss Institute, Melbourne
Jenna is the heart of Picture Perfect Meals, turning simple ingredients into beautiful, easy‑to‑make dishes.
Growing up around family meals in Melbourne, she trained at Box Hill Institute and then perfected her pastry skills at William Angliss Institute. She loves mixing classic Australian flavors with fresh ideas to keep cooking fun and stress‑free.