Crispy Granola Cups with Frozen Yogurt Recipe: Snap & Enjoy!
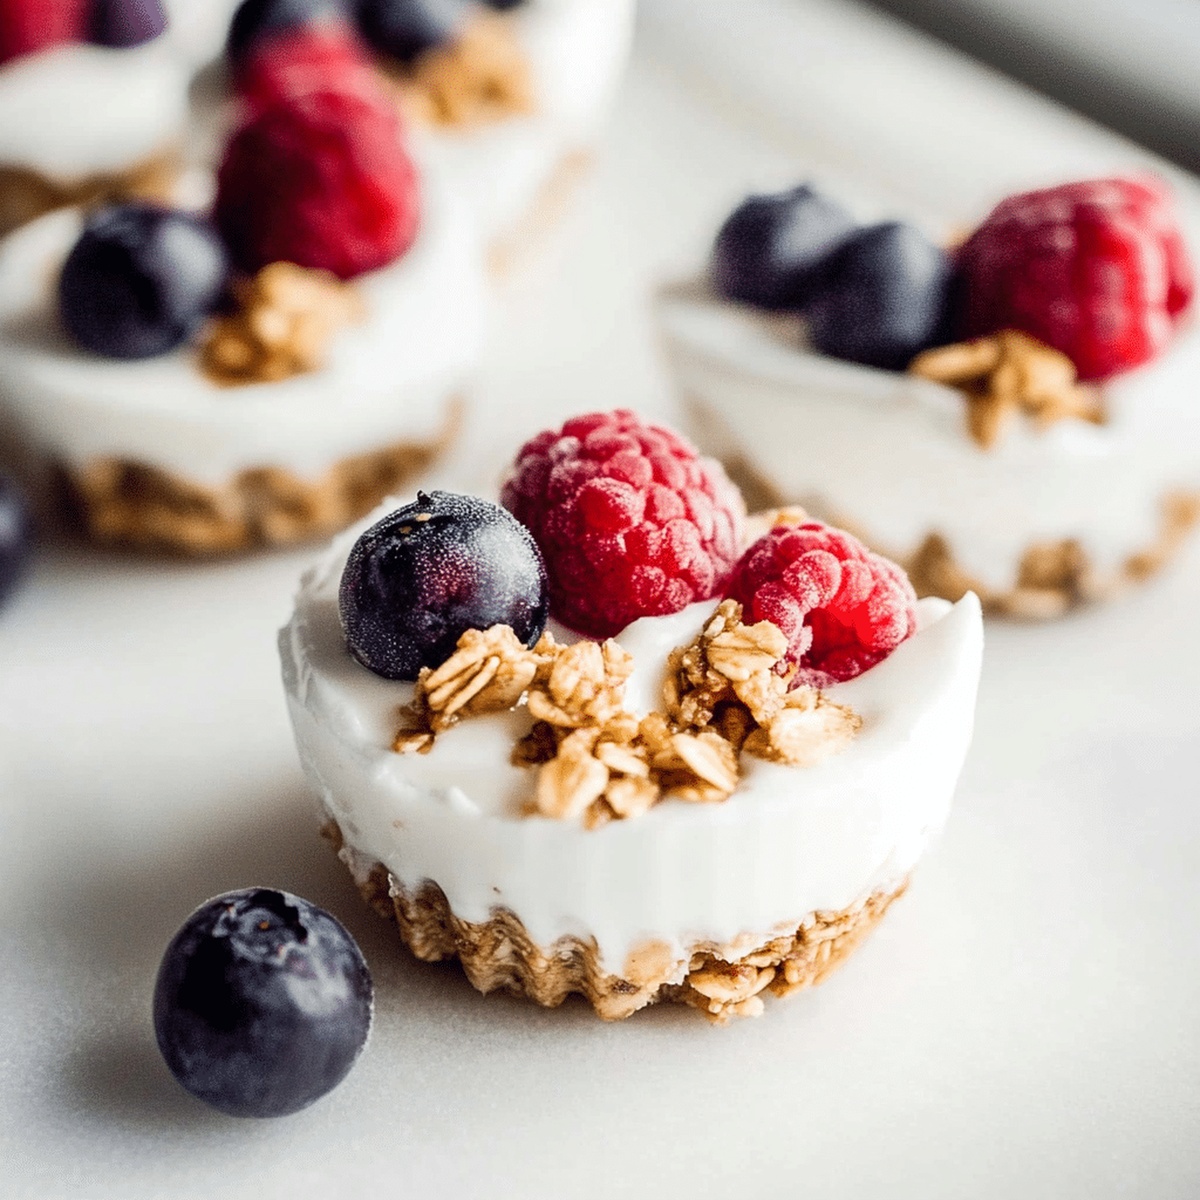
Dessert enthusiasts adore these delightful frozen yogurt granola cups that blend creamy and crunchy textures.
Homemade frozen yogurt granola cups offer a perfect balance of sweetness and nutrition for any occasion.
The simple recipe creates elegant handheld treats bursting with fresh flavors and wholesome ingredients.
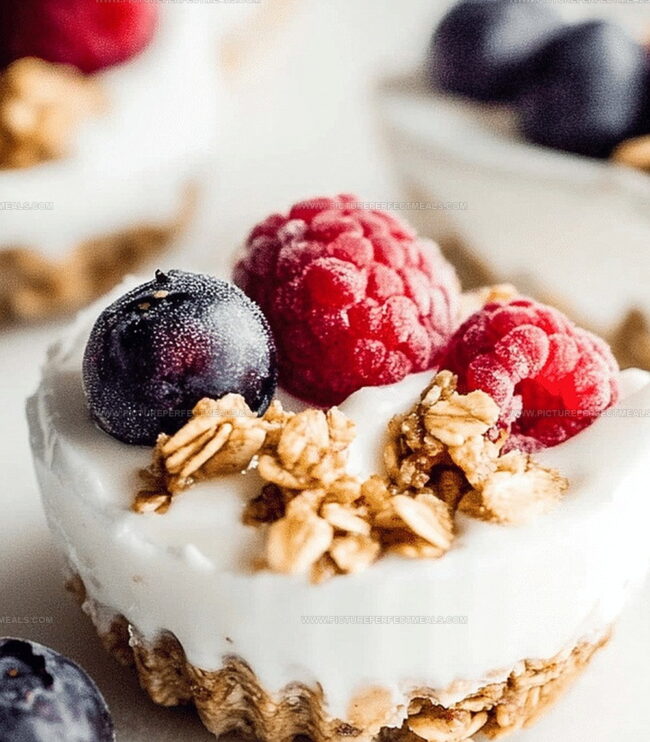
Each bite combines tangy yogurt with nutty granola in a delectable miniature package.
These cups work brilliantly as a quick breakfast, afternoon snack, or light summer dessert.
Preparation takes minimal effort and delivers maximum satisfaction.
You’ll love how these colorful cups transform ordinary ingredients into something extraordinary.
Quick Recipe Overview

Ingredients for Frozen Yogurt Granola Cups
For Base Layer:For Yogurt Layer:For Optional Garnish:Tools for Frozen Yogurt Granola Cups
How to Make Frozen Yogurt Granola Cups
Grab your muffin tin and slide in some soft silicone or paper liners. These will help keep your yogurt cups looking neat and tidy.
Toss your granola into a mixing bowl and drizzle in honey and melted coconut oil. Give everything a good mix until the ingredients are buddy-buddy and totally blended.
Scoop about a tablespoon of your granola mixture into each muffin cup. Use your fingers or the back of a spoon to press down firmly, creating a solid, compact base that’ll hold your yogurt perfectly.
Pop the muffin tin into the refrigerator for about 15 minutes. This helps the granola base set and become super sturdy.
Pull out your chilled tin and carefully spoon your favorite yogurt over the granola base. Smooth the surface with the back of a spoon to make it look gorgeous.
Place the tin in the freezer for a couple of hours until the yogurt is completely solid. Once frozen, gently pop out your cups and savor these cool, crunchy treats.
Flavor Ideas & Tips for Granola Cups
Serving Frozen Yogurt Granola Cups
Storage for Yogurt Granola Cups
Print
Crunchy Frozen Yogurt Granola Cups
- Total Time: 3 hours 10 minutes
- Yield: 13 1x
Description
Refreshing frozen yogurt granola cups blend creamy yogurt with crunchy granola for a delightful summer treat. Greek yogurt, honey, and fresh berries create a simple, nutritious dessert you’ll crave after every meal.
Ingredients
- 1 ½ cups (360 ml) granola (store-bought or homemade)
- 2 tbsps (30 ml) honey or maple syrup
- 2 tbsps (30 ml) melted coconut oil or peanut butter
- 1 ½ cups (360 ml) Greek yogurt (vanilla or plain)
- 2 tbsps (30 ml) honey or maple syrup (optional, for sweetness)
- 1 tsp (5 ml) vanilla extract (optional for extra flavor)
- Fresh berries (strawberries, blueberries, raspberries, etc.)
- Chopped nuts (almonds, walnuts, or pistachios)
- Mini chocolate chips or coconut flakes (optional)
Instructions
- Crust Preparation: Blend granola, honey, and melted coconut oil in a mixing bowl until the mixture becomes cohesive and compact, ensuring all ingredients adhere together seamlessly.
- Muffin Tin Setup: Line a 12-cup muffin tin with silicone or paper liners, then evenly distribute the granola mixture across each cup, pressing firmly to create a solid foundational layer.
- Chilling Base: Refrigerate the muffin tin for 10-15 minutes, allowing the granola crust to set and stabilize, creating a robust base for the yogurt filling.
- Yogurt Layering: Carefully spread Greek yogurt over the chilled granola base, filling each cup to approximately three-quarters full, creating a smooth and even surface.
- Decorative Topping: Garnish the yogurt layer with fresh berries, sliced almonds, or additional granola to enhance both visual appeal and textural complexity.
- Freezing Process: Transfer the muffin tin to the freezer, allowing the yogurt cups to solidify completely for 2-3 hours until they reach a firm, frozen consistency.
- Serving Technique: Remove the tin from the freezer and let the cups rest at room temperature for 2-3 minutes to slightly soften, then gently extract each cup from its liner and serve immediately for optimal flavor and texture.
Notes
- Chill Granola Base Thoroughly: Refrigerate the granola mixture for 10-15 minutes to create a firm, stable foundation that prevents crumbling and ensures a crisp texture.
- Select Thick Yogurt: Use Greek yogurt or strained yogurt with higher protein content for a creamier, more stable frozen treat that holds its shape better.
- Control Freezing Time: Monitor freezing duration carefully; 2-3 hours prevents over-hardening and maintains a smooth, scoopable consistency for easy enjoyment.
- Customize Toppings Strategically: Choose fresh berries or nuts that won’t freeze rock-solid, ensuring a pleasant texture and preventing potential dental challenges when biting.
- Prep Time: 10 minutes
- Cook Time: 2-3 hours
- Category: Breakfast, Snacks, Desserts
- Method: Baking
- Cuisine: American
Nutrition
- Serving Size: 13
- Calories: 200
- Sugar: 10 g
- Sodium: 50 mg
- Fat: 8 g
- Saturated Fat: 5 g
- Unsaturated Fat: 3 g
- Trans Fat: 0 g
- Carbohydrates: 30 g
- Fiber: 2 g
- Protein: 6 g
- Cholesterol: 10 mg
Jenna Hartley
Founder & Recipe Creator
Expertise
Education
Box Hill Institute, Melbourne
William Angliss Institute, Melbourne
Jenna is the heart of Picture Perfect Meals, turning simple ingredients into beautiful, easy‑to‑make dishes.
Growing up around family meals in Melbourne, she trained at Box Hill Institute and then perfected her pastry skills at William Angliss Institute. She loves mixing classic Australian flavors with fresh ideas to keep cooking fun and stress‑free.