
Irresistible Crunchy Peanut Butter Butterfinger Cookies Recipe
Bakers rejoice when classic chocolate chip cookies meet the irresistible crunch of Butterfinger peanut butter cookies that tantalize every sweet tooth.
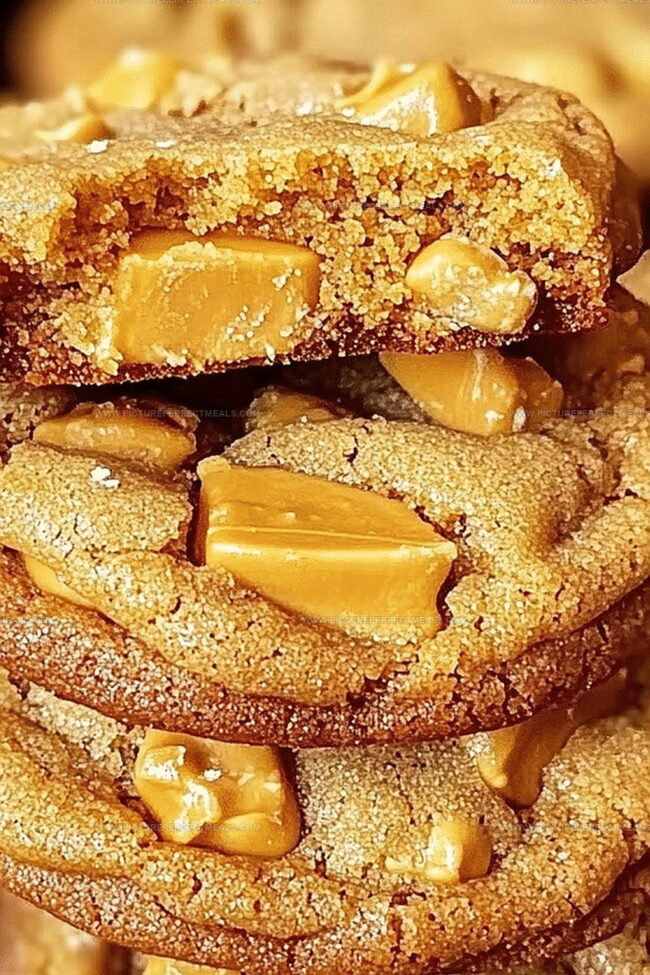
These delectable treats blend rich, creamy peanut butter with chocolate-covered candy bar pieces for an extraordinary dessert experience.
Chocolate chips dance alongside crushed Butterfinger fragments, creating a symphony of textures and flavors.
Each bite promises a delightful crunch that melts perfectly in your mouth.
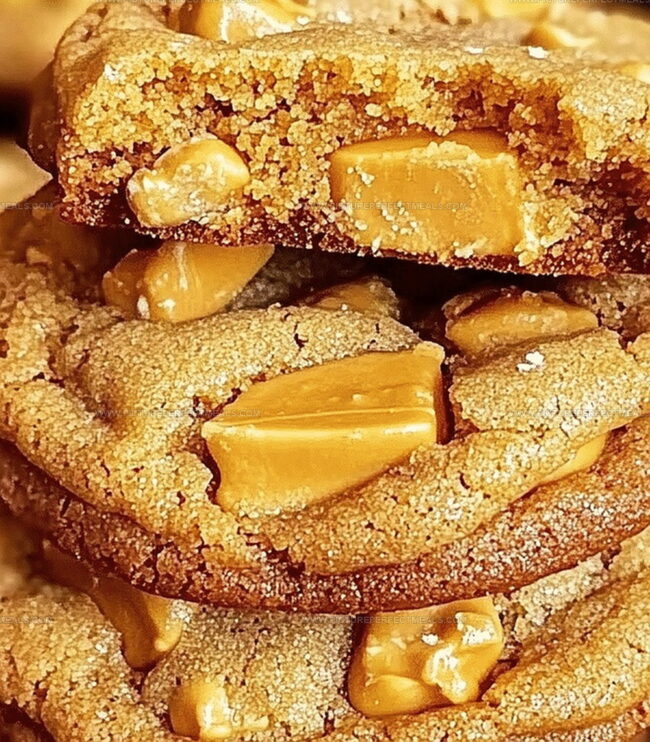
The combination of smooth peanut butter and crispy candy pieces makes these cookies an instant crowd-pleaser.
Simple ingredients transform into an indulgent masterpiece that will have everyone asking for seconds.
Prepare to embark on a mouthwatering baking adventure that celebrates pure cookie bliss.
Quick Recipe Overview
Peanut Butter Butterfinger Cookies Ingredient Rundown
For Creamy Base:For Binding and Flavor:For Dry Ingredients and Texture:For Crunch and Extra Delight:Gear to Help Bake These Chunky, Chewy Cookies
How to Make Peanut Butter Butterfinger Cookies from Scratch
Crank the oven to a toasty 350°F and line baking sheets with parchment paper for easy cleanup.
Blend butter, peanut butter, and sugars in a large bowl until super creamy and fluffy.
Add egg and vanilla, stirring until everything looks smooth and combined.
Gently mix flour, baking soda, baking powder, and salt in a separate bowl, then slowly fold into the wet mixture.
Break up Butterfinger pieces and softly fold into the cookie dough for crunchy bursts of flavor.
Roll dough into small balls and space them evenly on the baking sheets.
Press each cookie ball down with a fork to make those signature crisscross patterns.
Slide cookies into the oven and bake for 10-12 minutes until edges turn a light golden brown.
Let cookies rest on the baking sheet for 5 minutes, then transfer to a wire rack to cool completely before devouring.
Add-Ins to Make These Cookies Even More Fun
Serve Warm With a Glass of Milk (Trust Me)
Store Cookies So They Stay Chewy and Crispy
Print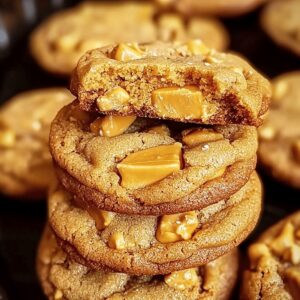
Crunchy Peanut Butter Butterfinger Cookies Recipe
- Total Time: 27 minutes
- Yield: 13 1x
Description
Rich peanut butter butterfinger cookies combine classic American candy bar crunch with homemade cookie comfort. Candy pieces deliver unexpected texture and sweet nostalgia for chocolate and peanut butter enthusiasts.
Ingredients
- 1 cup chopped Butterfinger candy bars
- ½ cup (1 stick or 113 g) unsalted butter, softened
- ½ cup creamy peanut butter
- 1 large egg
- ½ cup granulated sugar
- ½ cup brown sugar, packed
- 1 ¼ cups all-purpose flour
- 1 tsp vanilla extract
- ½ tsp baking soda
- ¼ tsp baking powder
- ¼ tsp salt
Instructions
- Preparation: Preheat oven to 350F and line baking sheets with parchment paper or silicone mats.
- Mixing Base: Cream butter, peanut butter, white and brown sugars in a mixing bowl until light and fluffy, then blend in egg and vanilla extract until smooth and well-incorporated.
- Dry Ingredients: Sift flour, baking soda, baking powder, and salt, then gradually fold into wet mixture, stirring until just combined.
- Butterfinger Integration: Gently fold crushed Butterfinger pieces throughout the dough, ensuring even distribution.
- Shaping Cookies: Roll dough into uniform balls, placing them 2 inches apart on prepared sheets, and create classic crosshatch patterns using fork tines.
- Baking Process: Bake for 10-12 minutes, watching for golden-brown edges and slightly soft centers, understanding cookies will continue setting during cooling.
- Cooling Technique: Let cookies rest on baking sheet for 5 minutes, then transfer to wire rack to cool completely before serving or storing.
Notes
- Prevent Overmixing: Stop stirring cookie dough as soon as dry and wet ingredients combine to maintain tender, soft texture.
- Crush Butterfinger Carefully: Chop candy bars into small, uniform pieces to ensure even distribution and consistent crunch throughout cookies.
- Temperature Matters: Use room temperature butter and egg for smoother blending and better cookie consistency.
- Cooling is Crucial: Let cookies rest on baking sheet for 5 minutes to help them set and prevent breaking when transferring to cooling rack.
- Prep Time: 15 minutes
- Cook Time: 12 minutes
- Category: Desserts, Snacks
- Method: Baking
- Cuisine: American
Nutrition
- Serving Size: 13
- Calories: 210
- Sugar: 14 g
- Sodium: 150 mg
- Fat: 10 g
- Saturated Fat: 4 g
- Unsaturated Fat: 6 g
- Trans Fat: 0 g
- Carbohydrates: 29 g
- Fiber: 1 g
- Protein: 3 g
- Cholesterol: 20 mg
Jenna Hartley
Founder & Recipe Creator
Expertise
Education
Box Hill Institute, Melbourne
William Angliss Institute, Melbourne
Jenna is the heart of Picture Perfect Meals, turning simple ingredients into beautiful, easy‑to‑make dishes.
Growing up around family meals in Melbourne, she trained at Box Hill Institute and then perfected her pastry skills at William Angliss Institute. She loves mixing classic Australian flavors with fresh ideas to keep cooking fun and stress‑free.