
Sinfully Rich Chocolate Brownie Cookies Recipe for Sweet Tooths
Warm chocolate aromas drift through kitchens when baking these irresistible chocolate brownie cookies that blend two beloved desserts into one delectable treat.
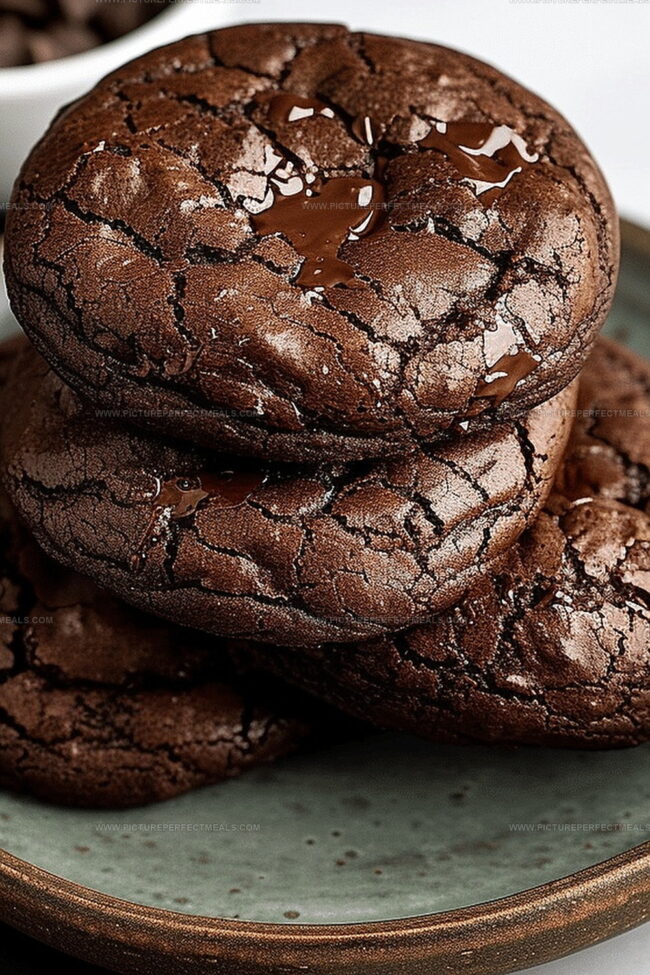
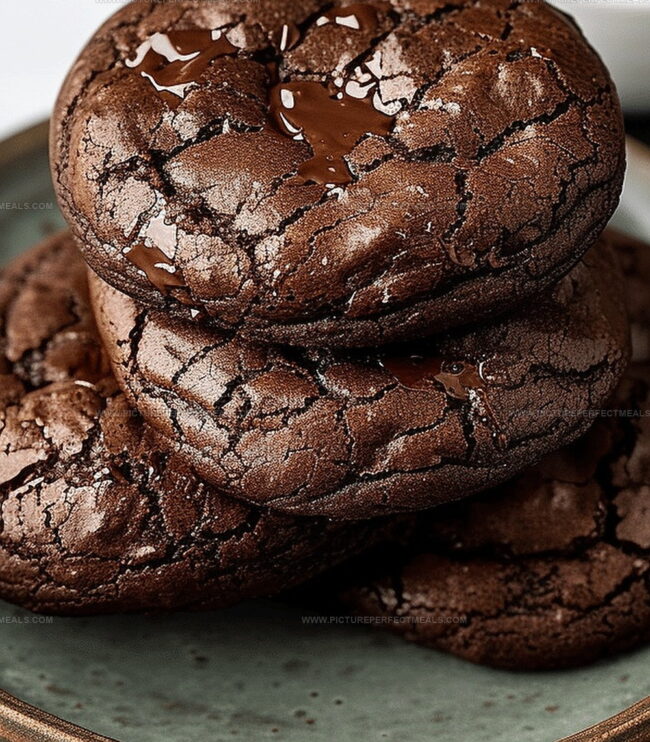
Packed with rich chocolate brownie characteristics, these cookies deliver an extraordinary flavor profile that melts in your mouth.
Dense chocolate chunks create surprising pockets of gooey goodness within each soft, chewy bite.
The recipe combines the best qualities of fudgy brownies and classic cookies, resulting in an indulgent dessert that’s impossible to resist.
Chocolate lovers will swoon over the intense cocoa depth and crisp edges of these remarkable cookies.
These heavenly morsels promise to become your new favorite go-to sweet indulgence.
Prepare to fall in love with every single crumbly, chocolatey bite.
Quick Recipe Overview
Ingredients for Chocolate Brownie Cookies
For Chocolatey Base:For Dry Ingredients:For Sweet and Binding Components:Tools for Chocolate Brownie Cookies
Instructions for Chocolate Brownie Cookies
Gently melt together rich chocolate and creamy butter using a double boiler method. Let the mixture cool down and develop a smooth, glossy texture.
Whisk eggs and sugar until they become light and fluffy. Fold the melted chocolate mixture into the egg blend, creating a luxurious and velvety consistency.
Combine flour, cocoa powder, and a pinch of salt in a separate bowl. Gently incorporate these dry elements into the wet mixture, stirring until just combined.
Drop spoonfuls of the decadent batter onto a lined baking sheet. Space them evenly to allow room for spreading during baking.
Slide the baking sheet into a preheated oven at 180C (350F). Bake for 10-12 minutes until the edges look crisp but the centers remain slightly soft.
Remove the cookies from the oven and let them rest on the baking sheet for a few minutes. Transfer to a wire rack to cool completely. Watch them transform into irresistible, fudgy treats with crackling tops.
Baking Tips for Chocolate Brownie Cookies
Serving Chocolate Brownie Cookies
Storage Guide for Brownie Cookies
Print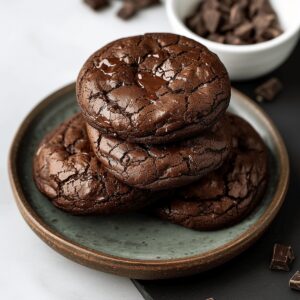
Decadent Chocolate Brownie Cookies Recipe
- Total Time: 30 minutes
- Yield: 13 1x
Description
Indulgent chocolate brownie cookies blend rich cocoa with classic bakery charm. Crisp edges and fudgy centers create an irresistible treat you’ll savor with pure chocolate delight.
Ingredients
- 200 g (7 oz) dark chocolate (60-70% cocoa, chopped)
- 100 g (½ cup) chocolate chips or chunks
- 20 g (¼ cup) unsweetened cocoa powder
- 150 g (¾ cup) granulated sugar
- 50 g (¼ cup) brown sugar
- 2 large eggs
- 50 g (¼ cup) unsalted butter
- 1 tsp vanilla extract
- 65 g (½ cup) all-purpose flour
- ½ tsp baking powder
- ¼ tsp salt
Instructions
- Oven Preparation: Preheat oven to 180C (350F) and line a baking sheet with parchment paper.
- Chocolate Melting: Create a silky chocolate base by melting chocolate and butter using a double boiler or microwave, stirring intermittently to achieve a uniform consistency.
- Egg Emulsion: Whip sugar and eggs together until the mixture transforms into a light, voluminous blend with a pale, creamy appearance.
- Ingredient Integration: Gently fold the tepid chocolate mixture into the egg mixture, maintaining a smooth, homogeneous texture.
- Dry Ingredient Incorporation: Sift flour, cocoa powder, and salt together, then delicately fold into the chocolate mixture using sweeping motions to preserve the batter’s airiness.
- Flavor Enhancement: Introduce vanilla extract and mix thoroughly to elevate the cookie’s aromatic complexity.
- Portioning and Baking: Distribute rounded tablespoons of batter onto the prepared sheet, allowing space between cookies. Bake for 10-12 minutes until surfaces develop slight cracks and centers remain soft.
- Cooling Process: Allow cookies to rest on the baking sheet momentarily before transferring to a wire rack for complete cooling and setting.
Notes
- Manage Chocolate Melting: Use low, gentle heat to prevent burning or seizing, which can ruin texture and flavor.
- Control Egg Whisking: Whip sugar and eggs until they become pale and fluffy, creating a light, airy base that enhances cookie structure.
- Preserve Batter Airiness: Fold dry ingredients gently to maintain the delicate air bubbles, ensuring a soft, tender cookie texture.
- Watch Baking Time Carefully: Remove cookies when edges are slightly cracked but centers remain soft, preventing over-baking and maintaining a fudgy consistency.
- Prep Time: 10 minutes
- Cook Time: 20 minutes
- Category: Desserts, Snacks
- Method: Baking
- Cuisine: American
Nutrition
- Serving Size: 13
- Calories: 200
- Sugar: 15 g
- Sodium: 100 mg
- Fat: 9 g
- Saturated Fat: 5 g
- Unsaturated Fat: 4 g
- Trans Fat: 0 g
- Carbohydrates: 27 g
- Fiber: 1 g
- Protein: 3 g
- Cholesterol: 50 mg
Jenna Hartley
Founder & Recipe Creator
Expertise
Education
Box Hill Institute, Melbourne
William Angliss Institute, Melbourne
Jenna is the heart of Picture Perfect Meals, turning simple ingredients into beautiful, easy‑to‑make dishes.
Growing up around family meals in Melbourne, she trained at Box Hill Institute and then perfected her pastry skills at William Angliss Institute. She loves mixing classic Australian flavors with fresh ideas to keep cooking fun and stress‑free.