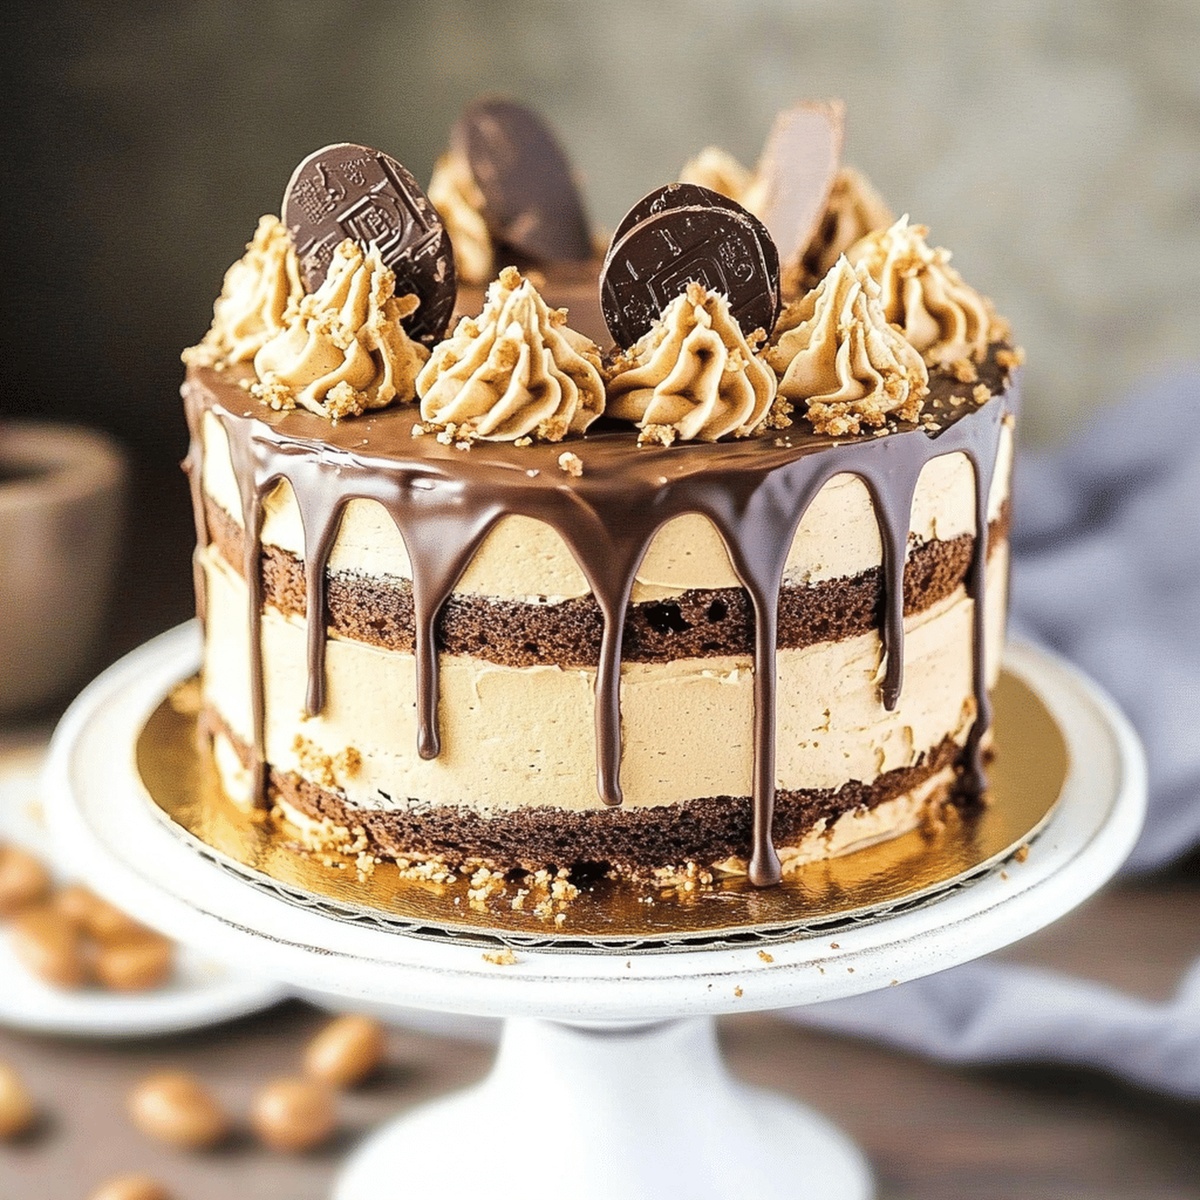
Dreamy Peanut Butter Chocolate Layer Cake Recipe for Dessert
Sweet memories flood back when combining rich chocolate and creamy peanut butter layer cake in this irresistible dessert.
Chocolate lovers will swoon over every decadent bite of this indulgent treat.
The layers meld together in a symphony of smooth, velvety textures that dance across your palate.
Each slice promises a perfect balance between deep cocoa notes and nutty peanut butter richness.
Soft, moist cake combines with silky frosting for a dessert that feels like a warm embrace.
Baking this cake turns an ordinary afternoon into a celebration of pure deliciousness.
You’ll want to share every heavenly slice with those closest to your heart.
Quick Recipe Overview

Peanut Butter Chocolate Layer Cake Ingredient List
For Cake Base:For Moisture and Binding:For Liquid and Depth:Tools That Help Layer This Dessert Like a Pro
How to Make Peanut Butter and Chocolate Cake That Stuns

Crank your oven to a toasty 350°F and give your cake pans a quick spray and parchment paper hug.
Grab a big bowl and whisk together the powdery ingredients, blending them into a rich chocolate canvas.
In another bowl, dance together the sugars, eggs, oil, vanilla, and buttermilk until they become best friends.
Gently fold the wet and dry ingredients, then splash in some hot coffee to create a silky smooth batter that’ll make your taste buds do a happy dance.
Pour the batter into your prepared pans and slide them into the oven. Let them bake for 30-35 minutes, or until a toothpick comes out clean and your kitchen smells like chocolate heaven.
Take the cakes out and let them chill completely before you start decorating – patience is key to cake magic!
Add Crunch or Salt for a Bold Flavor Hit
Serve With a Glass of Milk or a Spoon
Store With Care to Keep It Moist and Rich
Print
Decadent Peanut Butter Chocolate Layer Cake Recipe
- Total Time: 1 hour
- Yield: 13 1x
Description
Classic peanut butter chocolate layer cake delivers rich, indulgent flavors from smooth chocolate layers and creamy peanut butter frosting. Rich dessert delights chocolate and peanut butter enthusiasts with its balanced, irresistible combination.
Ingredients
- 2 lg eggs
- 1 cup (200 g) granulated sugar
- ½ cup (100 g) brown sugar
- 1 ¾ cups (220 g) all-purpose flour
- ¾ cup (75 g) unsweetened cocoa powder
- 2 tsps baking powder
- 1 tsp baking soda
- ½ tsp salt
- ½ cup (120 ml) vegetable oil
- 1 tsp vanilla extract
- 1 cup (240 ml) buttermilk (or milk + 1 tsp vinegar)
- ½ cup (120 ml) hot coffee or hot water
- 1 cup (225 g) unsalted butter, softened
- 1 cup (250 g) creamy peanut butter
- 3 cups (360 g) powdered sugar
- ½ tsp salt
- ¼ cup (60 ml) heavy cream or milk
- 1 tsp vanilla extract
- ½ cup (120 ml) heavy cream
- ½ cup (85 g) semi-sweet chocolate chips
- 1 tsp butter (for extra shine)
Instructions
- Oven Preparation: Preheat the oven to 350°F (175°C) and meticulously line two 9-inch cake pans with parchment paper, ensuring thorough greasing to prevent sticking.
- Dry Ingredient Fusion: In a spacious mixing bowl, whisk cocoa powder, flour, baking powder, baking soda, and salt until achieving a uniform, lump-free powder blend that promises a velvety cake texture.
- Wet Ingredient Amalgamation: Create a silky mixture by combining sugars, eggs, vegetable oil, vanilla extract, and buttermilk in a separate bowl, whisking until the composition reaches a smooth, glossy consistency.
- Batter Integration: Delicately fold the liquid ingredients into the dry mixture, stirring methodically to prevent clumping and create a luxurious chocolate batter with a satiny finish.
- Liquid Enhancement: Incorporate hot coffee or water, stirring until the batter transforms into a rich, glossy chocolate canvas with deep, complex flavor undertones.
- Baking Process: Distribute the batter evenly between prepared pans, smoothing the surfaces, then bake for 30-35 minutes until a toothpick inserted centrally emerges clean, indicating perfect doneness.
- Cooling and Preparation: Remove cakes from the oven and transfer to wire racks, allowing complete cooling to room temperature, which stabilizes the cake’s structure and prepares it for frosting and layering.
Notes
- Temperature Precision: Use an accurate oven thermometer to ensure exact 350°F for consistent cake texture and even baking.
- Mixing Technique: Fold wet and dry ingredients gently to prevent overmixing, which can lead to dense, tough cake layers.
- Coffee Enhancement: Use freshly brewed hot coffee to intensify chocolate flavor and create deeper, more complex cake moisture.
- Room Temperature Ingredients: Bring eggs, buttermilk, and other liquid ingredients to room temperature for smoother batter integration and better cake rise.
- Prep Time: 30 minutes
- Cook Time: 30 minutes
- Category: Desserts
- Method: Baking
- Cuisine: American
Nutrition
- Serving Size: 13
- Calories: 420
- Sugar: 36 g
- Sodium: 250 mg
- Fat: 24 g
- Saturated Fat: 10 g
- Unsaturated Fat: 14 g
- Trans Fat: 0 g
- Carbohydrates: 48 g
- Fiber: 2 g
- Protein: 6 g
- Cholesterol: 40 mg
Jenna Hartley
Founder & Recipe Creator
Expertise
Education
Box Hill Institute, Melbourne
William Angliss Institute, Melbourne
Jenna is the heart of Picture Perfect Meals, turning simple ingredients into beautiful, easy‑to‑make dishes.
Growing up around family meals in Melbourne, she trained at Box Hill Institute and then perfected her pastry skills at William Angliss Institute. She loves mixing classic Australian flavors with fresh ideas to keep cooking fun and stress‑free.