
Heavenly Mini Fruit Tarts Recipe: Sweet Bites of Joy
Sweet, buttery crusts cradle a delightful mini fruit tarts recipe that dances with vibrant colors and rich flavors.
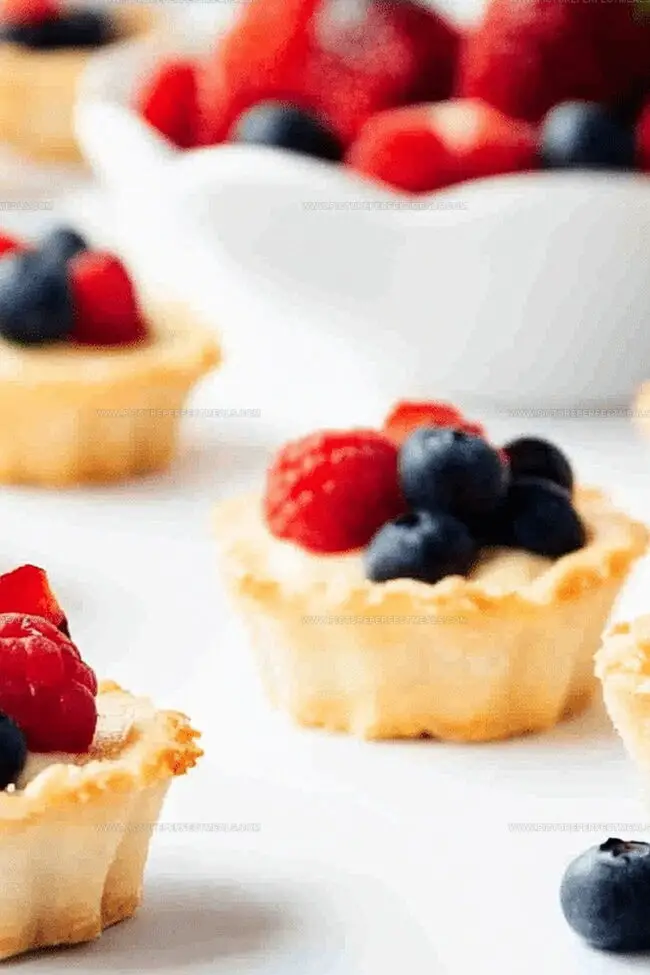
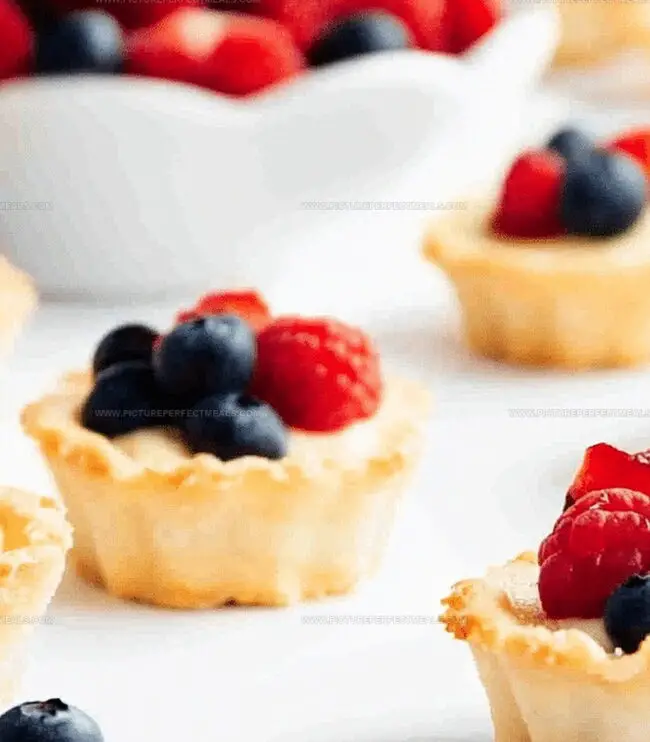
These petite desserts blend delicate pastry with fresh, seasonal berries in a harmonious culinary symphony.
Crisp tart shells provide the perfect canvas for creamy fillings and jewel-like fruit arrangements.
Each bite promises a burst of sweetness balanced by subtle layers of texture and taste.
Elegant yet simple, these mini tarts transform ordinary moments into delectable celebrations.
Pastry chefs and home bakers alike will adore this straightforward approach to creating stunning desserts that impress without overwhelming.
Prepare to delight your senses with these irresistible miniature treats that elevate any gathering.
Quick Recipe Overview
Ingredients That Go Into Mini Fruit Tarts
For Tart Crust:For Baking Preparation:For Serving:Tools to Build Tarts That Are Cute and Crispy
How to Fill and Bake Mini Fruit Tarts Just Right
Grab your food processor and toss in flour and powdered sugar. Blend these dry ingredients until they’re perfectly combined and looking light and airy.
Drop in cold butter chunks and pulse quickly. Watch the mixture transform into delicate, grainy crumbs that look like soft sand. Drizzle egg yolk, vanilla, and tiny splashes of ice water. Keep mixing until everything magically comes together into a smooth dough.
Shape your dough into a round disk, wrap it tenderly in plastic wrap, and let it relax in the refrigerator for half an hour. This cooling time helps develop incredible texture.
Warm up your oven to a toasty 350F. Roll out the chilled dough and gently press it into mini tart pans. Use a fork to poke little holes in the bottom, then line with parchment paper and sprinkle pie weights to keep the shape perfect.
Slide your tart shells into the oven and bake for 12-15 minutes. Watch for those beautiful golden edges that signal they’re ready. Let them cool completely before adding your favorite fruity fillings.
Flavor Twists and Fruit Combos to Try
Presentation Tips for Colorful Tartlets
How to Store Tarts Without Losing That Fresh Bite
Print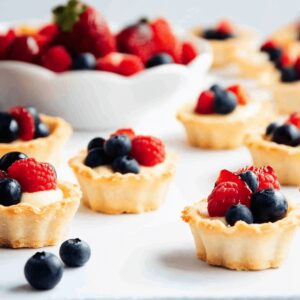
Divine Mini Fruit Tarts Recipe
- Total Time: 1 hour
- Yield: 13 1x
Description
Delightful mini fruit tarts showcase seasonal fruits nestled in buttery pastry shells. Crisp crusts and creamy fillings create an irresistible dessert you’ll savor with pure culinary joy.
Ingredients
- 1 ¼ cups (156 g) all-purpose flour
- ½ cup (113 g) unsalted butter, cold & cubed
- ½ tsp vanilla extract
- ¼ cup (30 g) powdered sugar
- 1 large egg yolk
- 12 tbsps (180 mL) ice water
- 1 ¼ cups (296 mL) whole milk
- 2 large egg yolks
- ¼ cup (50 g) granulated sugar
- 2 tbsps cornstarch
- 1 tsp vanilla extract
- 1 tbsp (14 g) unsalted butter
- 1 cup fresh fruit, sliced (strawberries, kiwi, blueberries, raspberries, etc.)
- ¼ cup (80 g) apricot or strawberry jam (for glaze)
- 1 tbsp water
Instructions
- Dough Preparation: Pulse flour and powdered sugar in a food processor until uniformly combined, then integrate cold butter until the mixture resembles coarse breadcrumbs.
- Liquid Integration: Add egg yolk, vanilla extract, and ice water, mixing until the dough transforms into a cohesive, smooth texture without overworking.
- Chilling Phase: Shape the dough into a compact disk, wrap in plastic, and refrigerate for 30 minutes to stabilize the gluten and solidify butter.
- Tart Shell Formation: Preheat oven to 350F (175C), roll out chilled dough, and gently press into mini tart pans, creating thin, even shells by pricking the base with a fork.
- Blind Baking Process: Line shells with parchment paper, distribute pie weights, and bake for 12-15 minutes until edges achieve a delicate golden hue, ensuring structural integrity and preventing soggy bottoms.
- Cooling and Final Preparation: Remove tart shells from oven, allow complete cooling on a wire rack, then delicately extract from pans, preparing them for elegant fruit filling and garnishing.
Notes
- Chill Dough Thoroughly: Refrigerate for at least 30 minutes to prevent shrinkage and ensure a flaky, crisp tart shell during baking.
- Prevent Soggy Bottom: Dock the pastry base with a fork and use pie weights to maintain structural integrity and create a crisp foundation.
- Temperature Precision: Maintain a consistent 350F oven temperature for even golden-brown coloration without burning delicate pastry edges.
- Flexible Filling Options: Swap fresh fruits with seasonal variations or consider dairy-free pastry cream for alternative dietary preferences.
- Prep Time: 30 minutes
- Cook Time: 30 minutes
- Category: Desserts, Snacks
- Method: Baking
- Cuisine: French
Nutrition
- Serving Size: 13
- Calories: 178
- Sugar: 10 g
- Sodium: 48 mg
- Fat: 8 g
- Saturated Fat: 5 g
- Unsaturated Fat: 2 g
- Trans Fat: 0 g
- Carbohydrates: 23 g
- Fiber: 1 g
- Protein: 3 g
- Cholesterol: 51 mg
Jenna Hartley
Founder & Recipe Creator
Expertise
Education
Box Hill Institute, Melbourne
William Angliss Institute, Melbourne
Jenna is the heart of Picture Perfect Meals, turning simple ingredients into beautiful, easy‑to‑make dishes.
Growing up around family meals in Melbourne, she trained at Box Hill Institute and then perfected her pastry skills at William Angliss Institute. She loves mixing classic Australian flavors with fresh ideas to keep cooking fun and stress‑free.