Heavenly No Bake Peanut Butter Oatmeal Bars Recipe to Swoon Over
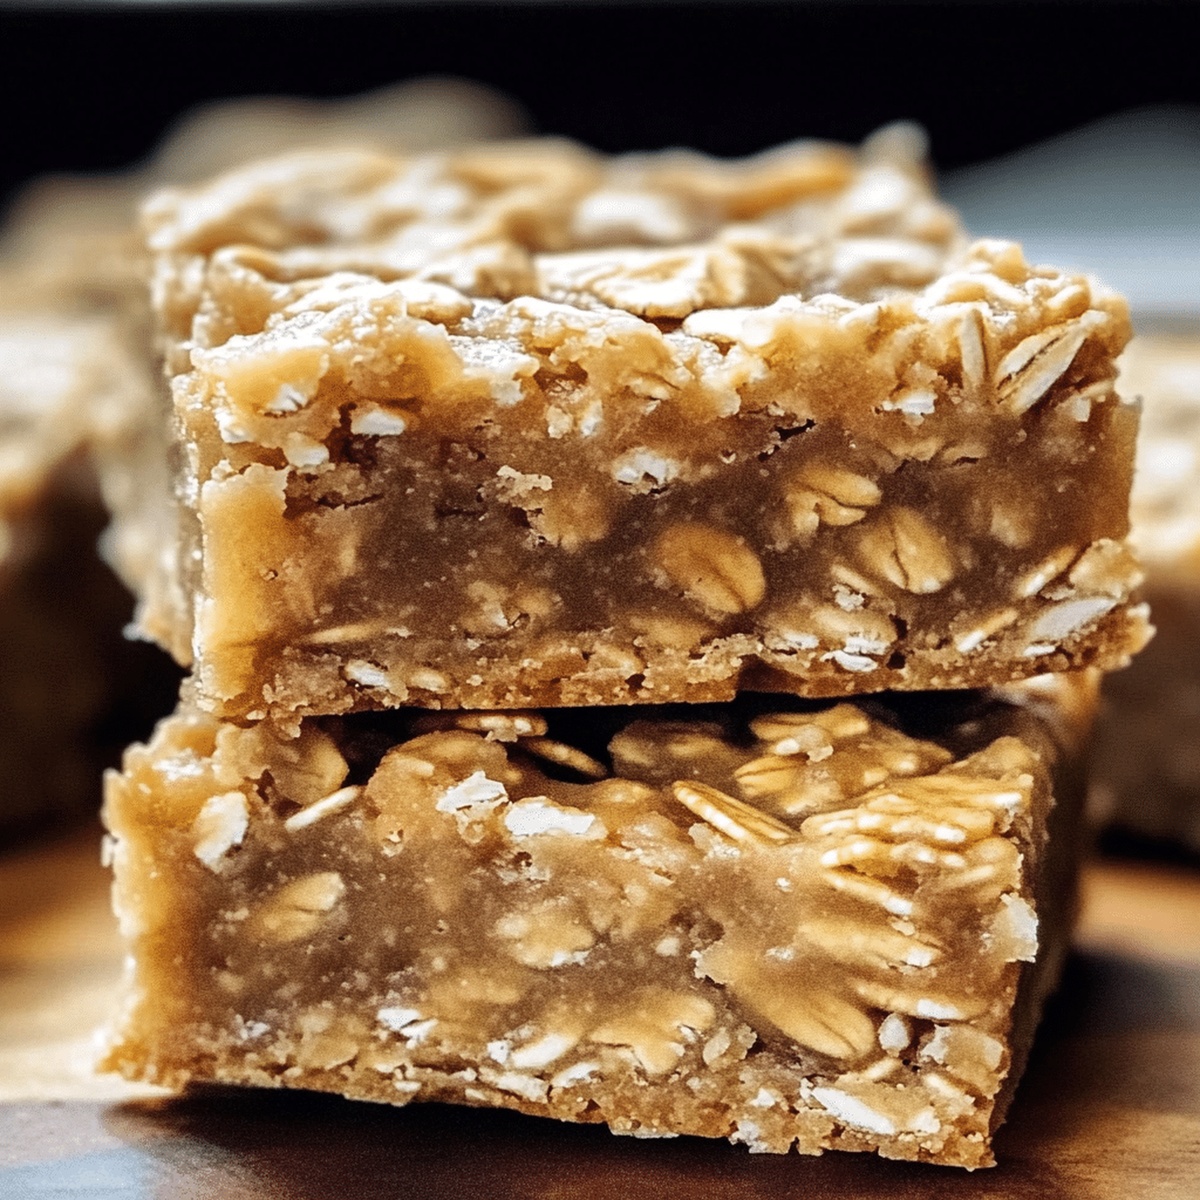
Decadent no bake peanut butter oatmeal bars deliver pure dessert bliss with minimal effort.
Chocolate and peanut butter create an irresistible combination that melts hearts instantly.
Sweet layers of creamy goodness stack perfectly in this simple treat.
These bars require zero oven time, making them a quick and delightful snack for any moment.
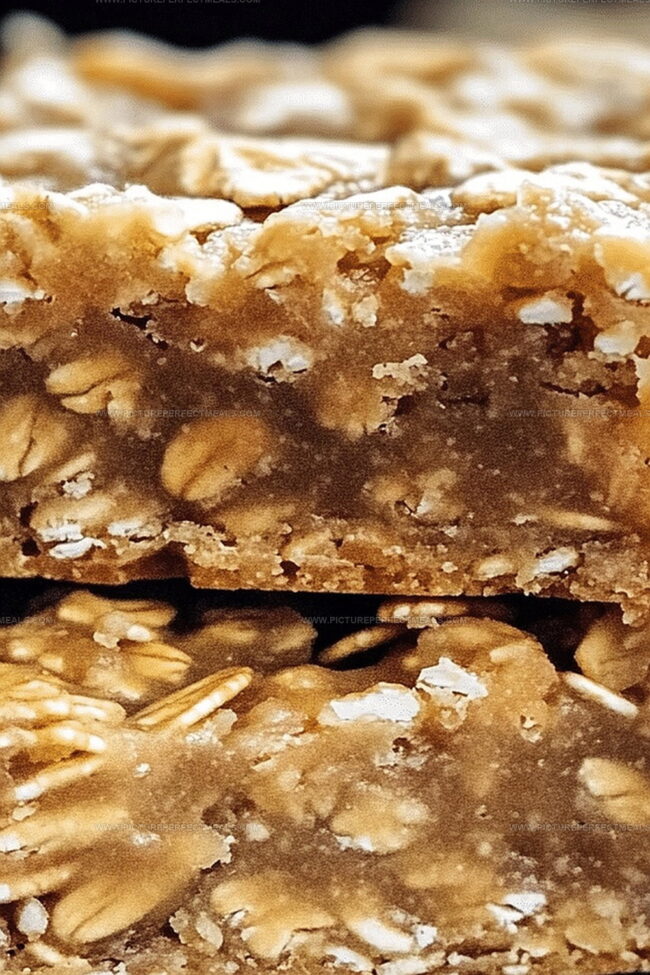
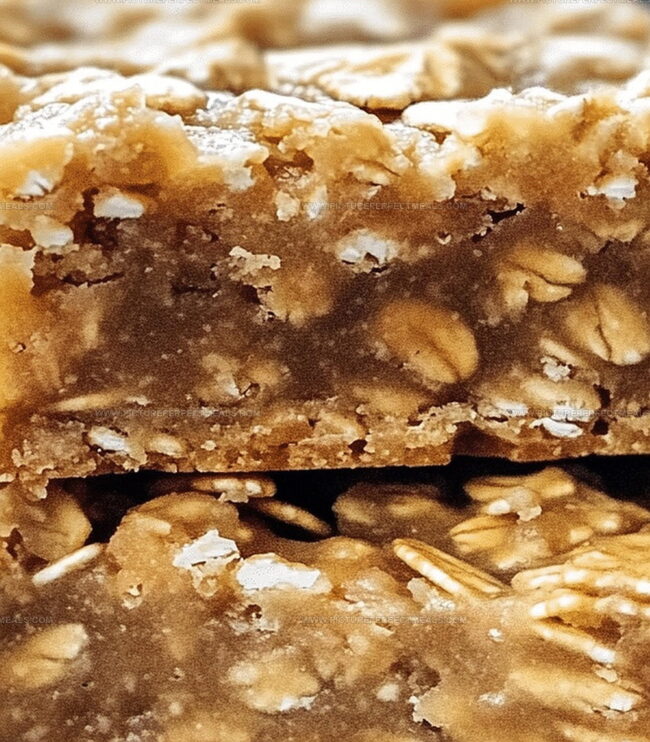
Chilled and rich, they promise a smooth texture that dance across your taste buds.
Each bite brings a harmonious blend of nutty and sweet flavors.
Whip up this effortless recipe and watch everyone’s eyes light up with pure joy.
Quick Recipe Overview
Pantry Picks for No Bake Peanut Butter Oatmeal Bars
For Base And Binding Ingredients:For Texture Ingredients:For Optional Enhancement Ingredients:Utensils for No Bake Oatmeal Bar Prep
Mix and Set Your Peanut Butter Oatmeal Bars
Get a baking dish and line it with parchment paper. Create some overhang so you can easily lift out your delicious creation later.
Grab your peanut butter and honey, toss them in a microwave-safe bowl. Zap them briefly, stirring every few seconds until they become a silky smooth mixture. Splash in some vanilla for an extra flavor punch.
Pour your oats into a big bowl and drizzle the warm peanut butter concoction over them. Mix everything together until the oats are completely coated. Feel free to toss in some chocolate chips or nuts for extra excitement.
Transfer your mixture into the prepared pan. Use your hands or a spoon to press everything down firmly, creating a solid, compact layer of deliciousness.
Pop the pan into the refrigerator and let it hang out for a couple of hours. This helps everything set and become perfectly firm.
Pull out your pan using the parchment paper edges. Slice into whatever size bars make you happy and dive right in!
No Bake Bar Tips: Texture, Mix-Ins, and More
Serve These Bars with a Glass of Cold Milk
Keep Oatmeal Bars Fresh on the Counter or Fridge
Print
Dreamy No Bake Peanut Butter Oatmeal Bars Recipe
- Total Time: 2 hours 10 minutes
- Yield: 17 1x
Description
Classic no bake peanut butter oatmeal bars blend creamy peanut butter with hearty rolled oats for a quick, delightful dessert. Rich chocolate layers and simple ingredients make these bars a perfect sweet treat you’ll crave again and again.
Ingredients
- 1 cup (240 ml) creamy peanut butter
- 2 cups (480 ml) old-fashioned rolled oats
- ½ cup (170 g) honey (or maple syrup for vegan option)
- ¼ cup (40 g) chopped nuts (almonds or walnuts)
- 1 tsp (5 ml) vanilla extract
- ½ cup (85 g) dark or semi-sweet chocolate chips
Instructions
- Preparation: Line an 8-inch square dish with parchment paper, allowing slight overhang for easy removal.
- Mixture Creation: Melt peanut butter and honey in a microwave-safe container, stirring until smooth. Blend in vanilla extract thoroughly, creating a glossy liquid base.
- Ingredient Incorporation: Fold rolled oats into the warm peanut butter mixture, ensuring complete and even coating. Gently integrate chocolate chips and chopped nuts for added dimension and texture.
- Compression: Transfer the oat mixture into the prepared pan, pressing firmly with a spatula or hands to create a compact, even layer that fills the entire surface of the dish.
- Chilling and Setting: Refrigerate the pan for approximately two hours, allowing the bars to solidify into a firm, sliceable consistency that holds its shape perfectly.
- Serving: Extract the chilled block using parchment paper overhang, then slice into uniform rectangles or squares, presenting a delectable no-bake treat ready to be savored.
Notes
- Adjust Sweetness Strategically: Control honey quantity based on personal preference, ensuring the bars aren’t overly sweet while maintaining proper binding consistency.
- Master Texture Control: Press mixture firmly and evenly to prevent crumbly bars, using gentle but consistent pressure during preparation for compact, sturdy results.
- Customize Nutritional Profile: Substitute traditional honey with alternative sweeteners like maple syrup or agave for different dietary needs, maintaining similar liquid-to-dry ingredient ratios.
- Temperature Matters: Ensure peanut butter and honey are warm but not scorching hot when mixing with oats to preserve ingredient integrity and prevent potential ingredient separation.
- Prep Time: 10 minutes
- Cook Time: 2 hours
- Category: Breakfast, Snacks, Desserts
- Method: None
- Cuisine: American
Nutrition
- Serving Size: 17
- Calories: 201
- Sugar: 9 g
- Sodium: 60 mg
- Fat: 10 g
- Saturated Fat: 2 g
- Unsaturated Fat: 8 g
- Trans Fat: 0 g
- Carbohydrates: 24 g
- Fiber: 3 g
- Protein: 5 g
- Cholesterol: 0 mg
Jenna Hartley
Founder & Recipe Creator
Expertise
Education
Box Hill Institute, Melbourne
William Angliss Institute, Melbourne
Jenna is the heart of Picture Perfect Meals, turning simple ingredients into beautiful, easy‑to‑make dishes.
Growing up around family meals in Melbourne, she trained at Box Hill Institute and then perfected her pastry skills at William Angliss Institute. She loves mixing classic Australian flavors with fresh ideas to keep cooking fun and stress‑free.