Dreamy No-Bake Buckeye Cheesecake Bars Recipe

Magical No-Bake Buckeye Cheesecake Bars Recipe for Sweet Bliss

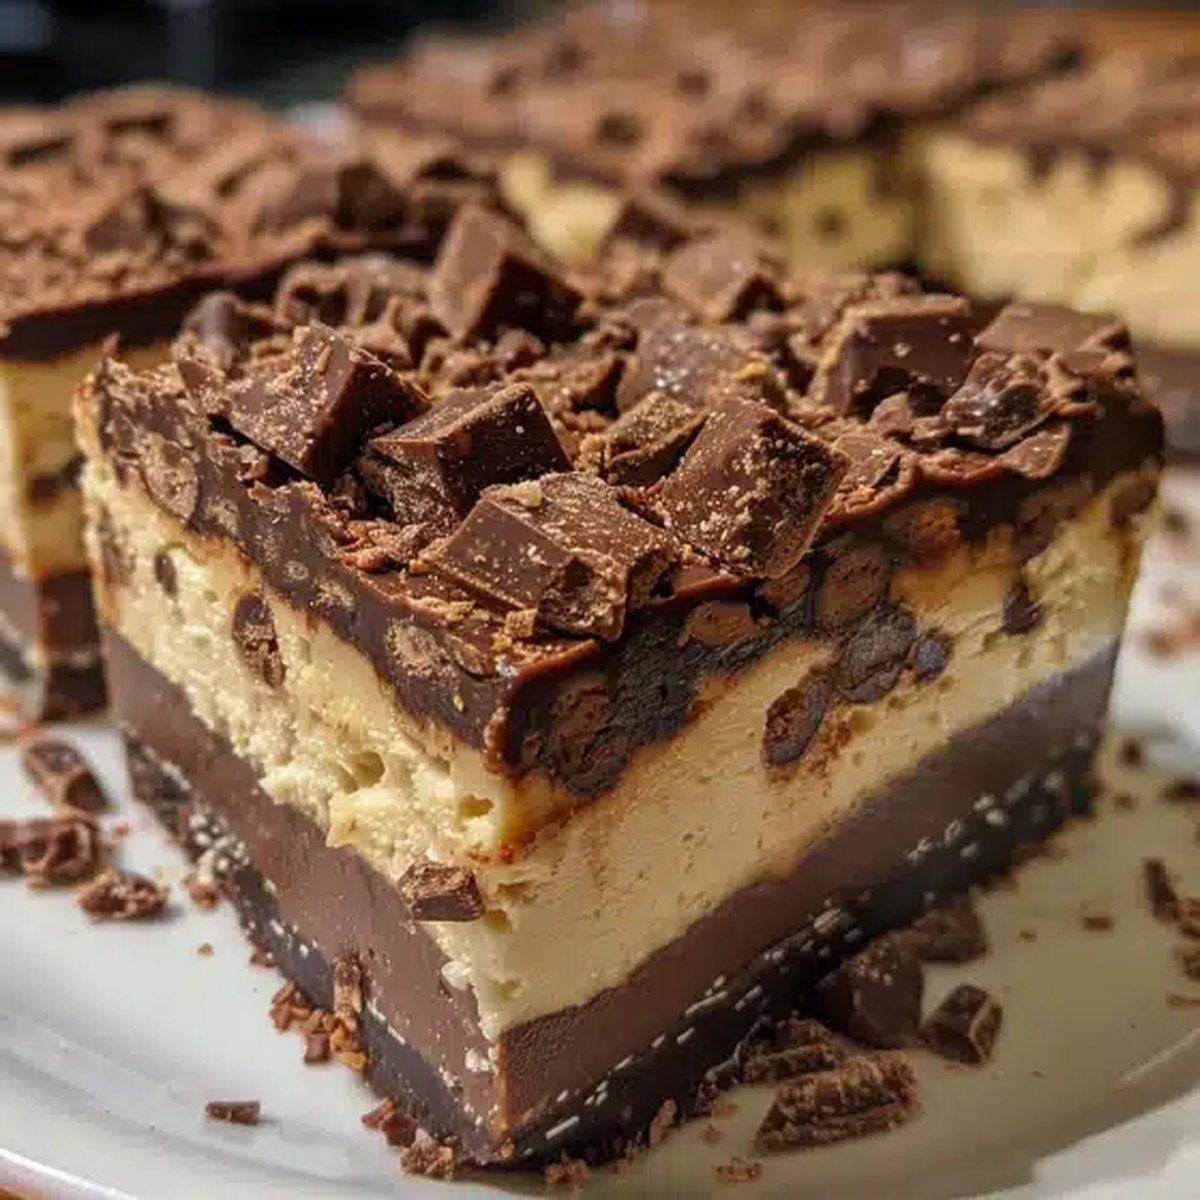
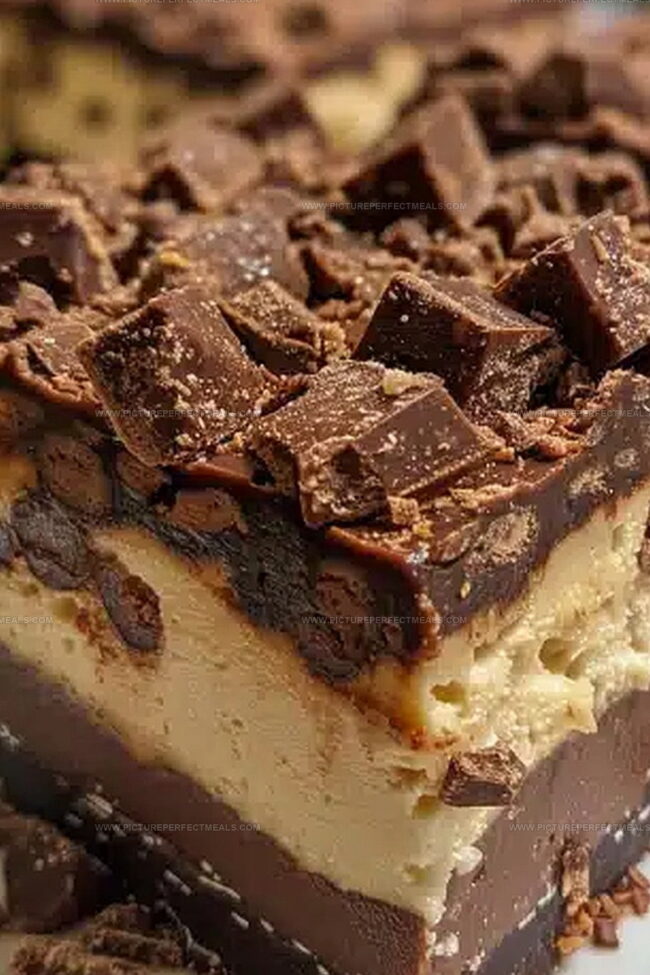
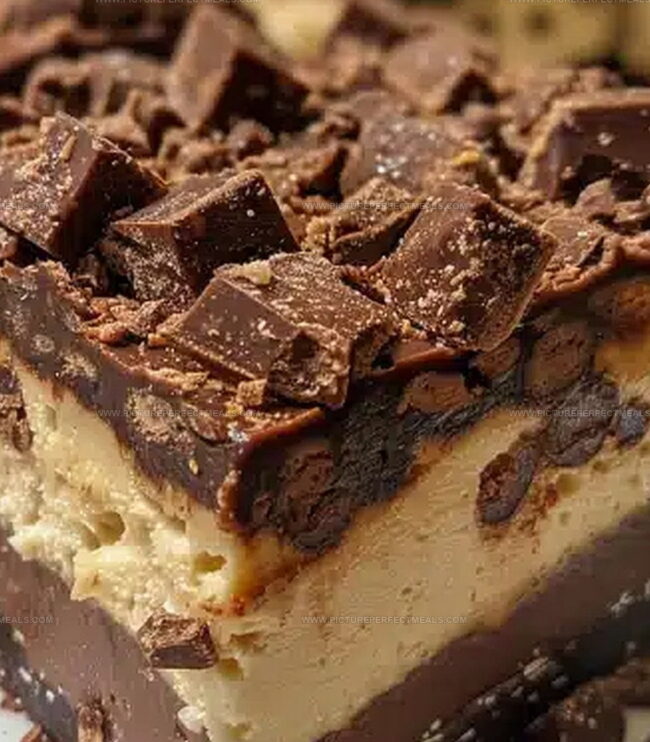
Chocolate and peanut butter dance together in these decadent no-bake buckeye cheesecake bars that promise pure indulgence.

Rich layers of creamy goodness combine classic flavors for an irresistible dessert experience.

The silky smooth cheesecake base melts effortlessly on your tongue, while generous chocolate and peanut butter swirls create a luxurious texture.

Sweet notes of peanut butter complement the deep chocolate undertones, making each bite a heavenly treat.

No oven required means less hassle and more enjoyment for anyone craving a spectacular dessert.

These bars deliver maximum flavor with minimal effort, perfect for satisfying sudden sweet cravings.

Prepare to fall in love with this simple yet spectacular dessert that will have everyone asking for seconds.

Instructions For Preparing No Bake Buckeye Cheesecake Bars

  • Create Chocolate Base

Crush graham crackers into fine crumbs and blend with melted butter until perfectly combined. Press the mixture firmly into a lined baking pan, creating a smooth, compact foundation that will hold your creamy cheesecake layers.

  • Whip Creamy Filling

Beat cream cheese until silky and soft, then gently fold in powdered sugar and vanilla. Ensure the mixture is completely smooth and free of lumps for a luxurious texture.

  • Swirl Peanut Butter Magic

Melt peanut butter and drizzle it across the cream cheese mixture. Use a knife to create beautiful, mesmerizing swirls that blend the rich, nutty flavor throughout the cheesecake.

  • Craft Chocolate Topping

Melt chocolate chips and drizzle them elegantly over the surface. Allow the chocolate to set slightly, creating a stunning marbled effect that promises delicious flavor in every bite.

  • Chill and Set

Refrigerate the cheesecake bars for several hours until they become firm and perfectly sliceable. The cooling process allows the flavors to meld and the texture to become wonderfully creamy.

Flavor Adjustments For No Bake Buckeye Cheesecake Bars

  • Crust Crumb Secret: Use a flat-bottomed measuring cup or glass to press the graham cracker mixture evenly, creating a compact and stable base for your cheesecake bars.
  • Peanut Butter Perfection: Ensure your peanut butter is at room temperature for smoother mixing and easier blending with cream cheese, preventing lumpy textures.
  • Chocolate Drizzle Magic: For a professional finish, use a squeeze bottle or piping bag to create clean, elegant chocolate lines across the cheesecake surface.
  • Dietary Swap Options: Replace graham crackers with gluten-free cookies for a celiac-friendly version, or use almond flour for a lower-carb alternative that maintains the delicious nutty flavor profile.
  • Make-Ahead Magic: These bars can be prepared up to 3 days in advance and stored in an airtight container in the refrigerator, making them perfect for stress-free entertaining or meal prep.

Presentation Tips For No Bake Buckeye Cheesecake Bars

  • Chocolate Lover's Dream Plate: Drizzle melted chocolate over the bars and sprinkle crushed peanut butter cups for an extra decadent touch that chocolate enthusiasts will adore.
  • Nutty Garnish Glory: Top each bar with chopped roasted peanuts or a light dusting of chocolate shavings to add delightful crunch and elevate the visual appeal of the dessert.
  • Elegant Serving Style: Arrange bars on a beautiful white platter with fresh mint leaves for a sophisticated presentation that makes the chocolate and peanut butter colors pop dramatically.
  • Cool Companion Suggestion: Serve chilled alongside a scoop of vanilla bean ice cream or a small shot of espresso to complement the rich, creamy texture of the cheesecake bars.

Best Ways To Store No Bake Buckeye Cheesecake Bars

  • Refrigeration Technique: Store these delightful bars in an airtight container inside the refrigerator for up to 5 days, keeping them fresh and maintaining their creamy texture.
  • Freezing Strategy: Wrap individual bars tightly in plastic wrap, then place in a freezer-safe container to enjoy for up to 3 months. Thaw overnight in the refrigerator before serving.
  • Make-Ahead Magic: Prepare the entire dessert 1-2 days before your event, allowing flavors to meld and saving precious preparation time when you're ready to serve.
  • Portion Protection: Cut bars into squares before chilling to ensure clean, precise slices and easier serving. Use a sharp knife wiped with hot water between cuts for smooth edges.

Quick Recipe Overview

Prep Time: 20 minutes

Cook Time: 4 hours

Total Time: 4 hours 20 minutes

Calories: 400 kcal

Servings: 16

What’s Inside No Bake Buckeye Cheesecake Bars

For Crust:
  • Chocolate Graham Cracker Crumbs: Rich chocolate base that adds deep, indulgent flavor and creates a sturdy foundation for the cheesecake bars.
  • Melted Butter: Binds the crumbs together, ensuring a compact and cohesive crust that holds its shape perfectly.
For Filling:
  • Cream Cheese: Smooth, tangy base that provides the classic cheesecake texture and rich, creamy consistency.
  • Powdered Sugar: Adds sweetness and helps create a silky smooth filling without granular texture.
  • Vanilla Extract: Enhances overall flavor with warm, aromatic notes that complement the cream cheese.
  • Peanut Butter: Delivers signature buckeye flavor and creates a luxurious, nutty undertone.
  • Heavy Cream: Helps achieve light, fluffy texture and adds extra richness to the filling.
For Topping:
  • Chocolate Chips: Provide a glossy, decadent coating that melts beautifully and adds intense chocolate flavor.
  • Vegetable Oil: Helps create a smooth, glossy chocolate coating that sets perfectly and prevents cracking.

Tools You’ll Need For No Bake Buckeye Cheesecake Bars

  • 9×9-inch square baking pan: Essential for creating perfectly sized cheesecake bars.
  • Parchment paper: Helps easily remove bars from the pan and prevents sticking.
  • Medium mixing bowl: Perfect for combining crust ingredients and creating a uniform texture.
  • Spatula or wooden spoon: Helps mix graham cracker crumbs and butter smoothly.
  • Electric mixer or stand mixer: Ensures creamy, lump-free cheesecake filling.
  • Measuring cups and spoons: Guarantees precise ingredient measurements for consistent results.
  • Rubber spatula: Helps scrape down sides of bowl and spread filling evenly.
Print
clock clock iconcutlery cutlery iconflag flag iconfolder folder iconinstagram instagram iconpinterest pinterest iconfacebook facebook iconprint print iconsquares squares iconheart heart iconheart solid heart solid icon
Dreamy No-Bake Buckeye Cheesecake Bars Recipe

Dreamy No-Bake Buckeye Cheesecake Bars


5 Stars 4 Stars 3 Stars 2 Stars 1 Star

4.6 from 37 reviews

  • Total Time: 4 hours 20 minutes
  • Yield: 17 1x

Description

Chocolate and peanut butter unite in these no-bake buckeye cheesecake bars, offering a rich, creamy dessert inspired by Ohio’s beloved candy. Sweet layers blend perfectly, promising a delightful treat you’ll savor down to the last crumbly bite.


Ingredients

Scale
  • 16 oz (454 g) cream cheese
  • 1 cup creamy peanut butter
  • 1 ½ cups semisweet chocolate chips
  • 2 cups chocolate graham cracker crumbs
  • 1 cup heavy whipping cream
  • ¾ cup heavy cream
  • ½ cup unsalted butter (melted)
  • ¾ cup powdered sugar
  • 1 tsp vanilla extract

Instructions

  1. Crust Preparation: Pulverize chocolate graham crackers into fine crumbs, thoroughly mixing with melted butter to create a cohesive, compact base. Line a 9×9-inch pan with parchment paper, pressing the crumb mixture firmly and evenly across the bottom.
  2. Refrigerate Crust: Chill the prepared crust while assembling the filling to ensure a stable foundation.
  3. Cheesecake Mixture: Whip cream cheese until silky smooth, gradually blending in powdered sugar and peanut butter to achieve a creamy, lump-free consistency. Incorporate vanilla extract and gently fold in whipped cream to maintain a light, airy texture.
  4. Layering: Spread the peanut butter cheesecake filling evenly over the chilled crust, creating a smooth surface.
  5. Chocolate Drizzle: Melt chocolate chips and artfully swirl across the cheesecake layer, adding visual appeal and rich flavor.
  6. Setting: Refrigerate the assembled bars for 4-6 hours or overnight until completely set and firm.
  7. Serving: Remove from the refrigerator, lift out using parchment paper edges, and slice into precise, uniform squares for an elegant presentation.

Notes

  • Prevent Crumbly Crust: Press graham cracker mixture firmly and evenly to create a solid, compact base that holds together perfectly when sliced.
  • Temperature Control for Creamy Texture: Keep cream cheese at room temperature before mixing to ensure smooth blending without lumps and achieve a silky cheesecake consistency.
  • Chocolate Drizzle Technique: Melt chocolate chips gently using a double boiler or microwave in short intervals, stirring frequently to prevent burning and create smooth, glossy swirls.
  • Storage and Serving Tip: Store bars in an airtight container in the refrigerator for up to 5 days, allowing flavors to meld and texture to become more pronounced with chilling time.
  • Prep Time: 20 minutes
  • Cook Time: 4 hours
  • Category: Desserts, Snacks
  • Method: None
  • Cuisine: American

Nutrition

  • Serving Size: 17
  • Calories: 400
  • Sugar: 25 g
  • Sodium: 150 mg
  • Fat: 30 g
  • Saturated Fat: 15 g
  • Unsaturated Fat: 12 g
  • Trans Fat: 0 g
  • Carbohydrates: 35 g
  • Fiber: 2 g
  • Protein: 6 g
  • Cholesterol: 70 mg
Jenna Hartley

Jenna Hartley

Founder & Recipe Creator

Expertise

  • Recipe development with a focus on single-dish meals.
  • Fusion of traditional and modern Australian cuisines.
  • Food styling and photography for digital platforms.​

Education

Box Hill Institute, Melbourne

  • Degree: Advanced Diploma of Hospitality Management
  • Focus: Specialized in practical food and beverage service, responsible alcohol and hygiene compliance, legal risk management, and hands‑on experience in a simulated restaurant environment.

William Angliss Institute, Melbourne

  • Program: Certificate IV in Patisserie
  • Focus: Specialized in pastry and bakery techniques, cookery and specialty food preparation, recipe planning and costing, commercial kitchen operations, sustainable and inclusive work practices, food safety and hygiene compliance, and workplace health and safety.

Jenna is the heart of Picture Perfect Meals, turning simple ingredients into beautiful, easy‑to‑make dishes. 

Growing up around family meals in Melbourne, she trained at Box Hill Institute and then perfected her pastry skills at William Angliss Institute. She loves mixing classic Australian flavors with fresh ideas to keep cooking fun and stress‑free.

Leave a Reply

Your email address will not be published. Required fields are marked *

Recipe rating 5 Stars 4 Stars 3 Stars 2 Stars 1 Star