Dreamy No-Bake Mini Oreo Cheesecakes Recipe

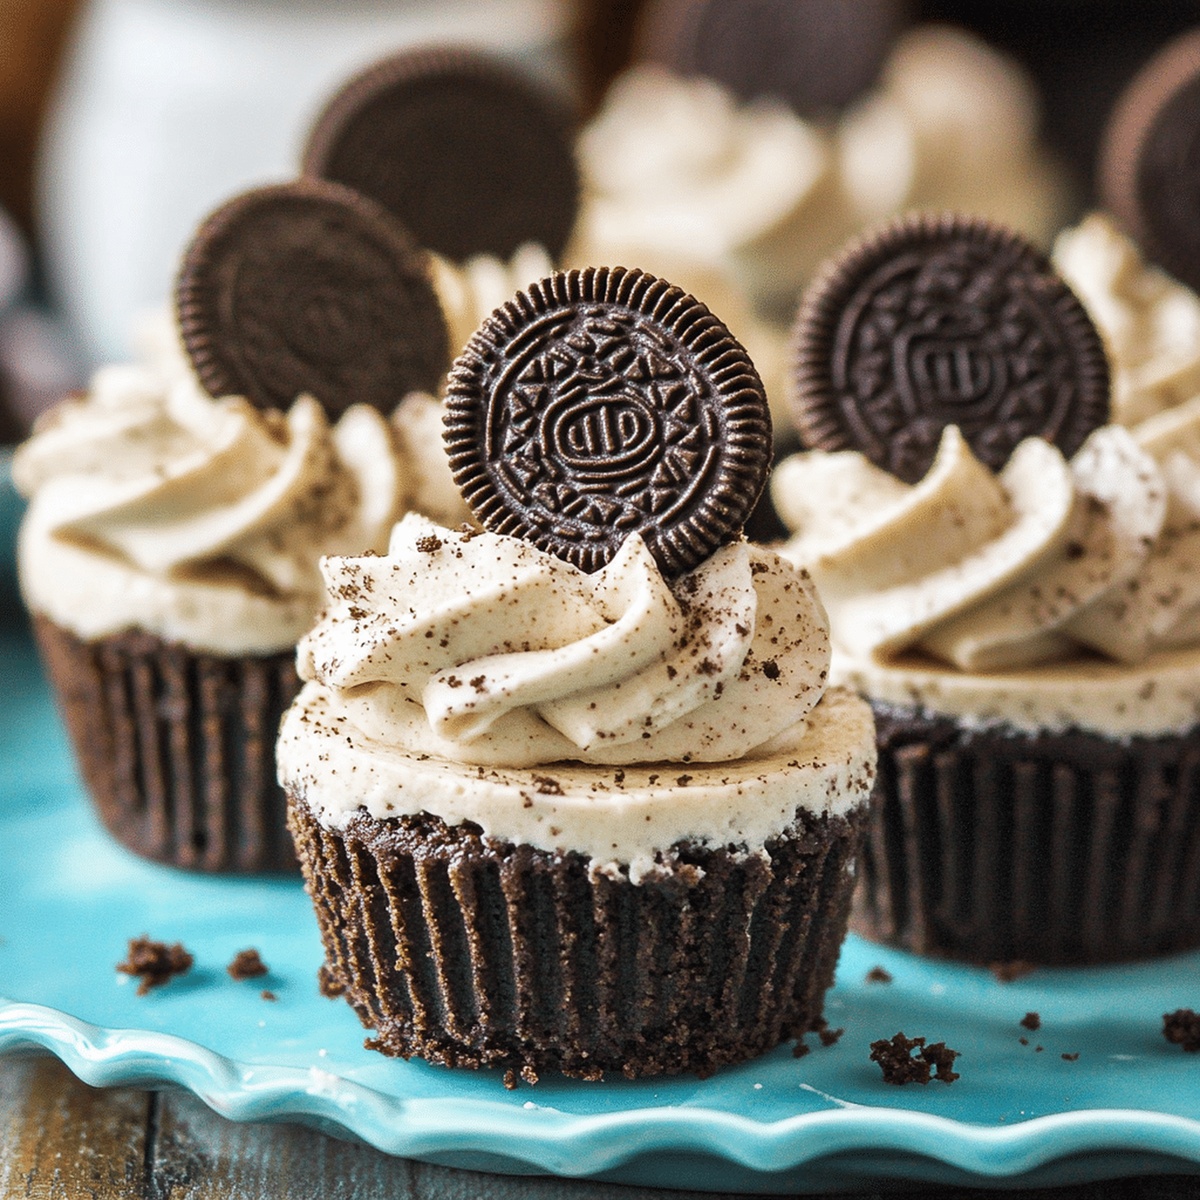
Light & Fluffy No-Bake Mini Oreo Cheesecakes Recipe

Creamy and decadent no-bake mini Oreo cheesecakes melt hearts with their irresistible charm.

These bite-sized delights promise pure indulgence without turning on the oven.

Oreo lovers will swoon over the rich, velvety texture and intense chocolate cookie base.

Each miniature dessert combines smooth cream cheese with the classic crunch of beloved Oreo cookies.

The recipe delivers a dessert so effortless that even novice bakers can master it with confidence.

These individual cheesecakes make the perfect treat for any celebration or spontaneous sweet craving.

Prepare to dazzle your taste buds and impress everyone with this simple yet spectacular dessert.

Quick Recipe Overview

Prep Time: 10 minutes

Cook Time: 2 hours

Total Time: 2 hours 10 minutes

Calories: 250 kcal

Servings: 12

No-Bake Mini Oreo Cheesecakes Ingredient Rundown

For Crust Base:
  • Oreo Cookies: Provides a classic, rich chocolate base with a satisfying crunch that complements the creamy cheesecake filling.
For Cheesecake Filling:
  • Cream Cheese: Delivers a smooth, tangy foundation that creates the signature creamy texture of cheesecake.
  • Sugar: Balances the tanginess of cream cheese and adds sweetness to the dessert.
  • Vanilla Extract: Enhances the overall flavor profile with its warm, aromatic essence.
  • Heavy Cream: Whips to create a light, airy texture that makes the filling exceptionally smooth and luxurious.
For Garnish and Decoration:
  • Oreo Cookies (Crushed): Adds textural contrast, extra chocolate flavor, and a visually appealing topping.
  • Whipped Cream: Provides a delicate, cloud-like finish that adds an extra layer of indulgence to the mini cheesecakes.

Equipment That Helps With No-Bake Oreo Layers

  • Muffin Tin: Essential for shaping and holding the mini cheesecakes perfectly.
  • Electric Mixer: Crucial for beating cream cheese and whipping heavy cream to smooth, fluffy consistency.
  • Mixing Bowls: Needed for separating and combining ingredients like cream cheese and whipped cream.
  • Rubber Spatula: Perfect for gently folding whipped cream and stirring crushed Oreos into the mixture.
  • Measuring Cups/Spoons: Helps measure ingredients accurately for consistent results.
  • Cupcake Liners: Ensures easy removal and neat presentation of mini cheesecakes.
  • Knife or Food Processor: Useful for crushing Oreo cookies into fine crumbs.

How to Build These Mini Oreo Cheesecakes in No Time

  • Create Crunchy Base

Pop an entire Oreo cookie into the bottom of each cupcake liner inside a muffin tin. Press gently to create a solid foundation for your creamy dessert.

  • Whip Up Dreamy Filling

Grab your mixer and blend cream cheese until silky smooth. Incorporate sugar and vanilla for extra deliciousness. In another bowl, whip cream until it forms gorgeous peaks. Carefully fold the whipped cream into the cream cheese mixture, creating a cloud-like texture. Sprinkle in crushed Oreos for that irresistible cookie crunch.

  • Layer and Chill

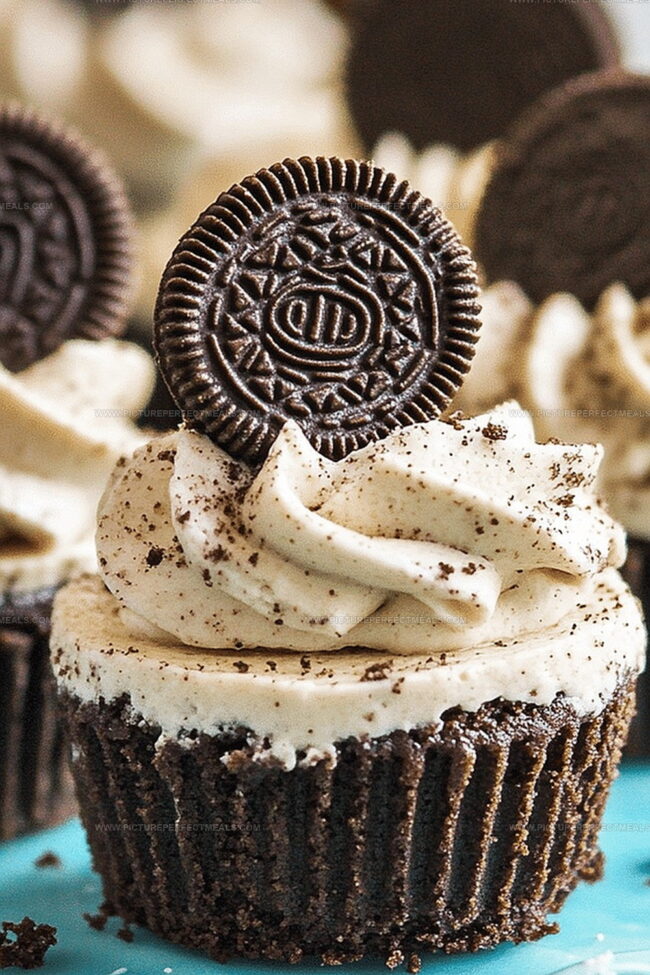
Generously dollop the creamy mixture over each Oreo base, smoothing the tops with a gentle touch. Dust with extra crushed cookies for a beautiful finish. Slide the tin into the refrigerator and let the magic happen for at least two hours.

  • Unveil and Indulge

Carefully remove these mini delights from their liners. Add a swirl of whipped cream on top if you’re feeling fancy. Dive into these cool, creamy treats and savor every bite!

Flavor Flips and Oreo Varieties You Can Try

  • Creamy Texture Magic: Use room temperature cream cheese to ensure a smooth, lump-free filling that blends perfectly without over-mixing.
  • Make-Ahead Meal Prep: These mini cheesecakes can be prepared up to 3 days in advance, stored covered in the refrigerator, making them ideal for party planning or quick desserts.
  • Gluten-Free Twist: Swap regular Oreos with gluten-free chocolate sandwich cookies to make the recipe suitable for those with gluten sensitivities.
  • Dairy-Free Option: Replace cream cheese with dairy-free cream cheese alternatives and use coconut whipped cream to create a vegan-friendly version of these delightful mini desserts.
  • Flavor Exploration: Experiment with different Oreo flavors like mint, peanut butter, or birthday cake to create unique variations that will surprise and delight your taste buds.

Serve With a Dollop of Cream or Drizzle of Chocolate

  • Party Platter Perfection: Arrange these mini cheesecakes on a decorative serving tray with fresh berries scattered around for a stunning dessert presentation that will wow guests.
  • Chocolate Lover's Dream: Drizzle melted chocolate over the top, add chocolate shavings, or place a mini chocolate stick beside each mini cheesecake for extra indulgence.
  • Coffee Companion: Serve alongside espresso or cappuccino for a delightful after-dinner treat that complements the rich, creamy texture of the Oreo cheesecakes.
  • Customized Garnish: Top with whipped cream rosettes, chocolate curls, or a light dusting of cocoa powder to elevate the visual appeal and add an extra layer of deliciousness.

Store These in the Fridge Until the Craving Hits

  • Chilling Strategy: Refrigerate these mini cheesecakes for a minimum of 2 hours to allow them to set perfectly and develop rich, creamy flavors. These treats become even more delectable when left overnight.
  • Freezing Option: Wrap individual cheesecakes tightly in plastic wrap and store in an airtight container for up to 3 weeks. Thaw in the refrigerator for 2-3 hours before serving to maintain their delicate texture.
  • Smart Storage Tip: Keep the cheesecakes in the original muffin tin covered with plastic wrap to protect them from absorbing other refrigerator odors. They'll stay fresh for 5-7 days when stored properly in the coldest part of your fridge.
  • Make-Ahead Magic: Prepare these mini desserts up to 2 days in advance, which makes them perfect for dinner parties or weekend gatherings. Simply add fresh whipped cream garnish just before serving to ensure maximum visual appeal and taste.
Print
clock clock iconcutlery cutlery iconflag flag iconfolder folder iconinstagram instagram iconpinterest pinterest iconfacebook facebook iconprint print iconsquares squares iconheart heart iconheart solid heart solid icon
Dreamy No-Bake Mini Oreo Cheesecakes Recipe

Dreamy No-Bake Mini Oreo Cheesecakes Recipe


5 Stars 4 Stars 3 Stars 2 Stars 1 Star

4.7 from 18 reviews

  • Total Time: 10 minutes
  • Yield: 13 1x

Description

Delightful no-bake mini oreo cheesecakes blend creamy richness with classic cookie crunch. Chilled desserts offer quick indulgence without oven hassle, perfect for spontaneous sweet cravings you’ll adore.


Ingredients

Scale
  • 8 oz (225 g) cream cheese, softened
  • 1 cup (240 ml) heavy whipping cream
  • ¼ cup (50 g) granulated sugar
  • 12 Oreo cookies (whole, for the base)
  • 6 Oreo cookies, crushed
  • 3 Oreo cookies, crushed (for garnish)
  • ½ tsp vanilla extract
  • Whipped cream (optional)

Instructions

  1. Preparation: Line a muffin tin with cupcake liners, placing a whole Oreo cookie at the bottom of each liner to create a classic cookie foundation.
  2. Cream Mixture: Whisk cream cheese, sugar, and vanilla extract until smooth and creamy, creating a luxurious base for the cheesecake filling.
  3. Whipped Cream Integration: Gently fold freshly whipped cream into the cream cheese mixture, maintaining a light and airy texture that promises a delicate mouthfeel.
  4. Oreo Incorporation: Crumble additional Oreo cookies and fold them thoroughly into the cheesecake mixture, ensuring an even distribution of cookie fragments throughout the filling.
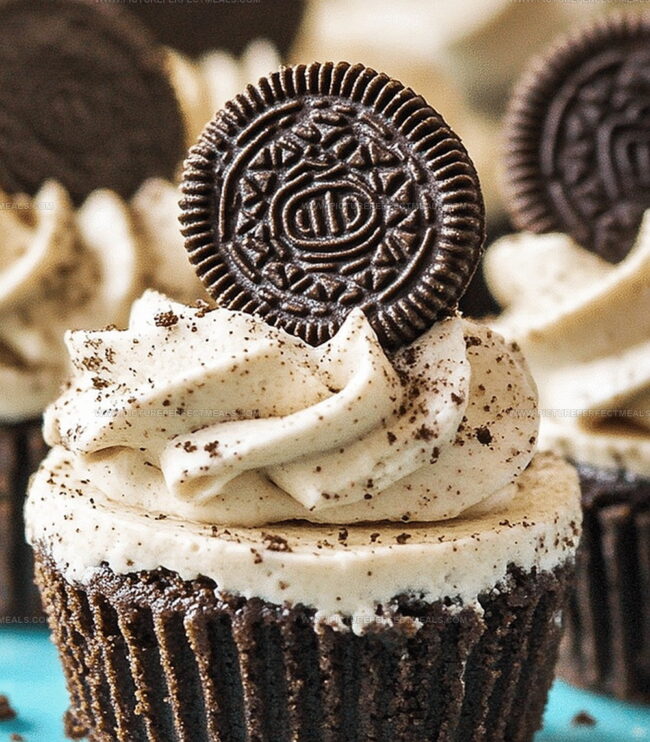
  5. Filling and Topping: Carefully spread the Oreo-studded cheesecake mixture over the cookie bases, leveling the surface with a spatula and generously sprinkle crushed Oreos on top for added crunch and visual appeal.
  6. Chilling: Refrigerate the assembled mini cheesecakes for at least two hours, allowing them to set completely and develop a rich, creamy consistency that melts in your mouth.
  7. Serving: Delicately remove the cheesecakes from their liners, optionally garnish with a wisp of whipped cream, and present these decadent, chilled treats ready to delight dessert enthusiasts.

Notes

  • Chill Ingredients First: Ensure cream cheese and heavy cream are cold for optimal whipping and smoother texture.
  • Fold Gently: Use light, careful folding techniques when mixing whipped cream into cream cheese to preserve airiness and prevent deflation.
  • Crush Cookies Consistently: Use a food processor or rolling pin to create uniform Oreo cookie crumbs for even distribution and balanced flavor.
  • Refrigeration is Key: Allow minimum two hours of chilling time to help cheesecakes set properly and develop rich, creamy consistency.
  • Prep Time: 10 minutes
  • Cook Time: 0 minutes
  • Category: Desserts, Snacks
  • Method: None
  • Cuisine: American

Nutrition

  • Serving Size: 13
  • Calories: 250
  • Sugar: 12 g
  • Sodium: 160 mg
  • Fat: 20 g
  • Saturated Fat: 10 g
  • Unsaturated Fat: 8 g
  • Trans Fat: 0 g
  • Carbohydrates: 22 g
  • Fiber: 1 g
  • Protein: 3 g
  • Cholesterol: 40 mg
Jenna Hartley

Jenna Hartley

Founder & Recipe Creator

Expertise

  • Recipe development with a focus on single-dish meals.
  • Fusion of traditional and modern Australian cuisines.
  • Food styling and photography for digital platforms.​

Education

Box Hill Institute, Melbourne

  • Degree: Advanced Diploma of Hospitality Management
  • Focus: Specialized in practical food and beverage service, responsible alcohol and hygiene compliance, legal risk management, and hands‑on experience in a simulated restaurant environment.

William Angliss Institute, Melbourne

  • Program: Certificate IV in Patisserie
  • Focus: Specialized in pastry and bakery techniques, cookery and specialty food preparation, recipe planning and costing, commercial kitchen operations, sustainable and inclusive work practices, food safety and hygiene compliance, and workplace health and safety.

Jenna is the heart of Picture Perfect Meals, turning simple ingredients into beautiful, easy‑to‑make dishes. 

Growing up around family meals in Melbourne, she trained at Box Hill Institute and then perfected her pastry skills at William Angliss Institute. She loves mixing classic Australian flavors with fresh ideas to keep cooking fun and stress‑free.

Leave a Reply

Your email address will not be published. Required fields are marked *

Recipe rating 5 Stars 4 Stars 3 Stars 2 Stars 1 Star