Sweet Cherry Magic: No-Fuss Dump Cake Recipe for Beginners
Indulging in desserts doesn’t get easier than this cherry dump cake that combines simplicity with pure deliciousness.
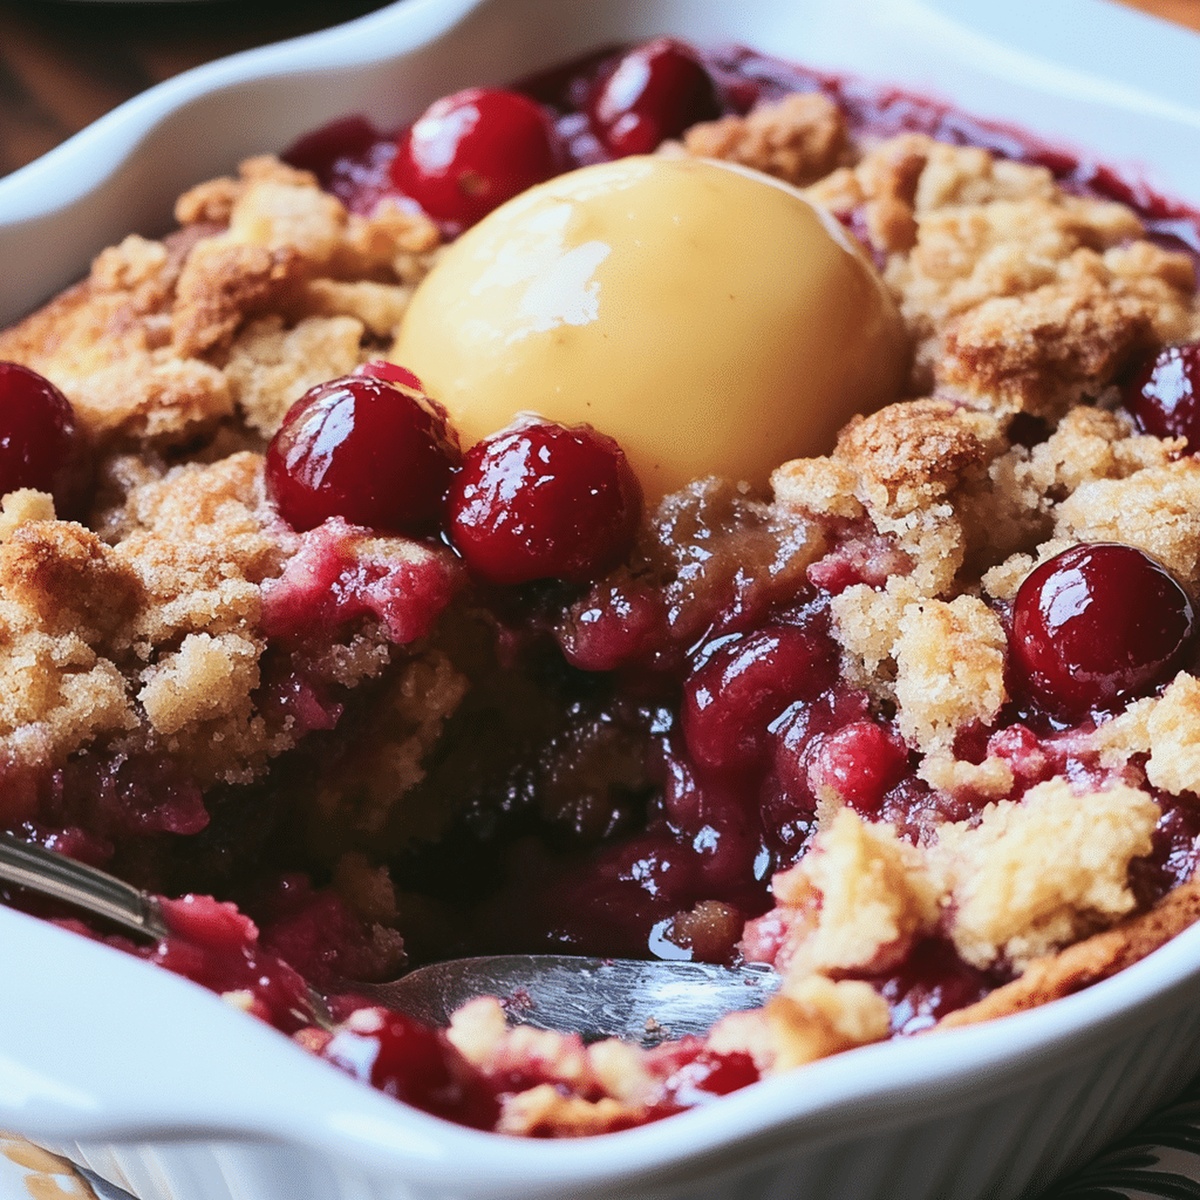
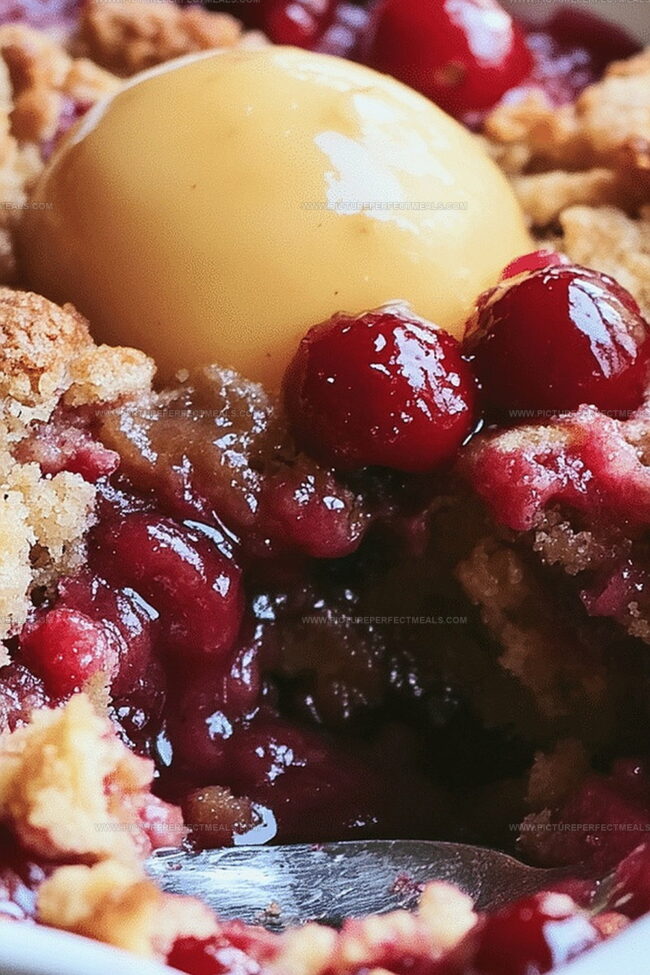
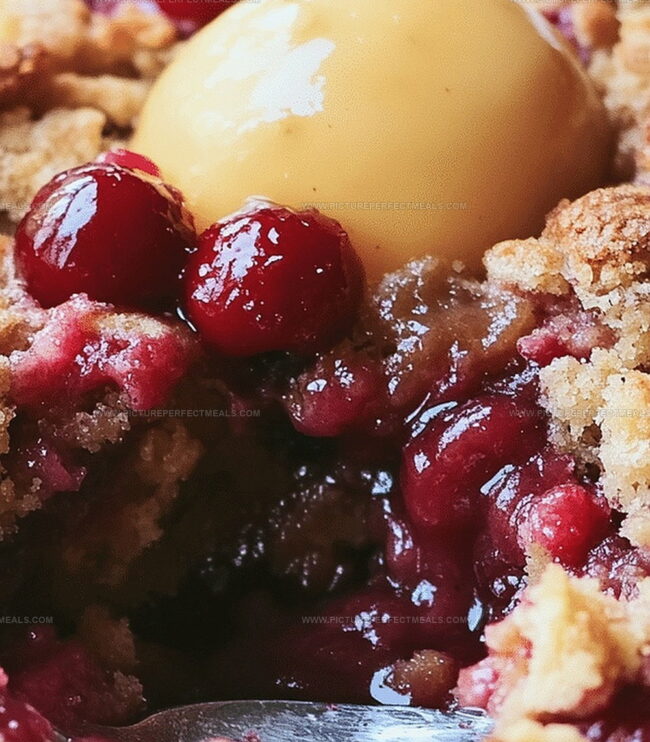
Sweet, gooey cherries meld perfectly with buttery cake mix in this no-fuss treat.
The magic happens when you layer ingredients straight from the pantry into a baking dish.
One pan is all you need to create a mouthwatering dessert that looks like it took hours to prepare.
Each bite delivers a comforting blend of tart cherries and tender cake crumbs that will have everyone asking for seconds.
This dessert works wonders for potlucks, family gatherings, or those moments when you crave something sweet without complicated steps.
Dive into this irresistible cherry dump cake and watch it become your new go-to dessert recipe.
Quick Recipe Overview
Cherry Dump Cake Ingredient Checklist
For Fruity Base:For Dry Cake Layer:For Topping and Richness:Tools to Bake a Sweet & Simple Cherry Cake
Dump, Mix, Bake—Your Cake Instructions
Grab a rectangular 9×13 inch pan and give it a quick spray with cooking oil to prevent sticking.
Pour cherry pie filling across the bottom of the pan, spreading it evenly to create a luscious fruity base.
Grab your boxed cake mix and gently dust it over the cherry layer, making sure to cover the entire surface without mixing.
Cut cold butter into thin slices and arrange them across the top of the dry cake mix, creating a pattern that will help create a crispy, golden topping.
Slide the pan into a preheated 350°F oven and let it transform for 45-50 minutes, watching for a gorgeous golden-brown crust and bubbling edges.
Pull the cake out and let it rest for about 15 minutes. The filling will settle and the top will become delightfully crisp. Serve warm with a scoop of vanilla ice cream for an irresistible dessert.
Quick Tips for Flavor Boosts
Serve Cherry Dump Cake Warm or Cold
Cherry Cake Storage Done Right
Print
Effortless Cherry Dump Cake Recipe
- Total Time: 45 minutes
- Yield: 13 1x
Description
Delightful cherry dump cake brings together simple ingredients for a classic dessert that celebrates homestyle baking. Effortless preparation and rich flavors make this treat a comforting companion you’ll savor with each delicious bite.
Ingredients
- 2 cans (21 oz/595 g) cherry pie filling
- 1 box yellow cake mix
- 1 cup (225 g) unsalted butter
- ½ teaspoon almond extract
- ½ cup chopped pecans or walnuts
- Vanilla ice cream
- Whipped cream
- Powdered sugar
Instructions
- Preheating: Calibrate the oven to 350°F, creating an ideal thermal environment for the dessert’s transformation.
- Preparation: Coat a rectangular baking vessel with cooking spray, ensuring a non-stick surface for effortless serving.
- Foundation Layer: Disperse the cherry filling across the dish’s base, creating a luscious, vibrant fruity foundation that will infuse the entire dessert with rich flavor.
- Cake Mix Application: Delicately cascade the dry cake mix over the cherry layer, meticulously covering the entire surface without disrupting the fruit’s placement.
- Butter Distribution: Artfully arrange thin butter slices atop the cake mix, strategically positioning them to guarantee comprehensive melting and flavor integration.
- Baking Process: Transfer the assembled dish to the oven’s center rack, allowing uniform heat circulation that will transform the ingredients into a cohesive, golden-brown delicacy.
- Finishing and Cooling: Bake for 50-55 minutes until the surface achieves a crisp, golden hue with bubbling cherry edges, then remove and rest for 15-20 minutes to harmonize flavors and texture.
- Serving: Present the dessert warm, accompanied by a vanilla ice cream scoop or a delicate powdered sugar dusting to elevate the culinary experience.
Notes
- Prevent Cake Mix Clumping: Sift the dry cake mix before sprinkling to ensure smooth, even distribution without lumps or uneven patches.
- Butter Temperature Matters: Use cold butter cut into small, uniform pieces to create a crumbly, crisp topping that melts perfectly during baking.
- Fruit Layer Variation: Experiment with different canned fruit fillings like blueberry, peach, or mixed berry to create unique flavor combinations and personalize the dessert.
- Dietary Adaptation: For gluten-free options, substitute regular cake mix with a gluten-free alternative and ensure all ingredients meet specific dietary requirements.
- Prep Time: 5 minutes
- Cook Time: 40 minutes
- Category: Desserts
- Method: Baking
- Cuisine: American
Nutrition
- Serving Size: 13
- Calories: 320
- Sugar: 20 g
- Sodium: 300 mg
- Fat: 18 g
- Saturated Fat: 12 g
- Unsaturated Fat: 6 g
- Trans Fat: 0 g
- Carbohydrates: 38 g
- Fiber: 1 g
- Protein: 3 g
- Cholesterol: 45 mg
Jenna Hartley
Founder & Recipe Creator
Expertise
Education
Box Hill Institute, Melbourne
William Angliss Institute, Melbourne
Jenna is the heart of Picture Perfect Meals, turning simple ingredients into beautiful, easy‑to‑make dishes.
Growing up around family meals in Melbourne, she trained at Box Hill Institute and then perfected her pastry skills at William Angliss Institute. She loves mixing classic Australian flavors with fresh ideas to keep cooking fun and stress‑free.