
Dreamy Elegant Red Velvet Cake Roll Recipe for Sweet Success
Decadent chocolate swirls meet silky cream cheese in this red velvet cake roll that promises pure indulgence.
Bakers searching for a show-stopping red velvet cake roll will find this recipe irresistibly smooth and delightful.
Rich cocoa notes blend seamlessly with tangy cream cheese filling, creating a dessert that whispers sophistication.
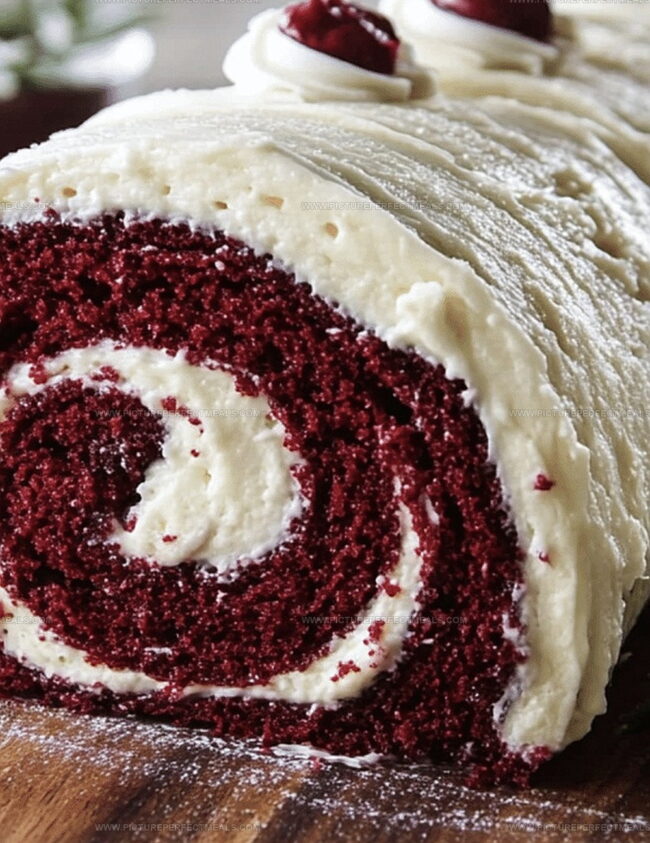
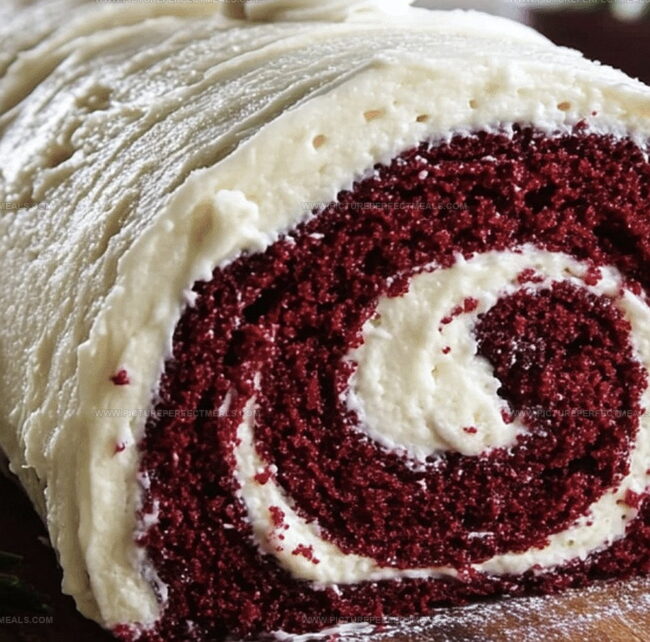
Every slice reveals a beautiful spiral of deep crimson cake wrapped around a creamy center.
The delicate texture and vibrant color make this roll a stunning centerpiece for any gathering.
Subtle hints of vanilla and cocoa dance together, transforming a simple cake into an extraordinary treat.
This recipe invites you to master a dessert that looks as incredible as it tastes.
Quick Recipe Overview
Red Velvet Cake Roll Ingredients
For Dry Ingredients:For Wet and Flavor Ingredients:For Filling and Topping:Baking Tools to Nail That Roll Texture
How to Roll and Fill With No Cracks
Crank your oven to a toasty 350F. Grab a jelly roll pan and give it a generous coating of grease. Line it with parchment paper and grease that too, creating a non-stick paradise for your cake.
Grab a mixing bowl and sift together your dry ingredients until they’re silky smooth. In another bowl, beat eggs until they transform into a fluffy, pale cloud. Gradually shower in sugar while continuing to whip.
Pour in the liquid heroes – oil, buttermilk, vinegar, and that vibrant red food coloring. Mix gently until everything dances together harmoniously. Fold in your dry ingredient mixture with a light touch, keeping the batter airy and soft.
Pour the batter into your prepared pan, spreading it like a smooth canvas. Bake for 12-15 minutes until the cake springs back with a gentle touch. Meanwhile, dust a kitchen towel with powdered sugar.
The moment the cake comes out, flip it onto the sugared towel. Carefully peel away the parchment. Roll the cake and towel together into a elegant spiral. Let it cool completely on a wire rack.
Whip cream cheese and butter until they’re silky smooth. Gradually blend in powdered sugar and vanilla, creating a dreamy filling that’ll make taste buds dance.
Unroll the cooled cake with care. Spread the cream cheese filling, leaving a small border. Roll it back up without the towel. Wrap in plastic and let it chill in the refrigerator for at least an hour to set the magic.
Dust with a snowfall of powdered sugar. Slice into beautiful rounds and savor every delightful bite of your red velvet masterpiece.
Flavor Options and Fillings That Pop
Serving Suggestions That Feel Like a Holiday
Storage Tips to Keep It Red and Rich
Print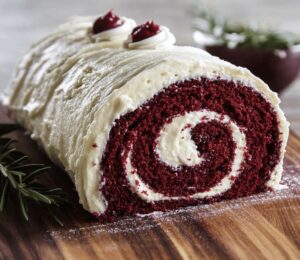
Elegant Red Velvet Cake Roll Recipe
- Total Time: 30 minutes
- Yield: 9 1x
Description
Red velvet cake roll offers a delightful twist on classic dessert traditions. Cream cheese frosting and velvety cake create a luxurious Swiss roll perfect for special occasions.
Ingredients
- 4 large eggs (room temperature)
- ¾ cups (150g) granulated sugar
- 1 cup (125g) all-purpose flour
- 3 tbsps (15g) unsweetened cocoa powder
- 1 tsp baking powder
- ¼ tsp salt
- 1 tbsp red food coloring
- 2 tbsps (30ml) vegetable oil
- 2 tbsps (30ml) buttermilk
- 1 tsp white vinegar
- 1 tsp vanilla extract
- 8 oz (226g) cream cheese (softened to room temperature)
- ¼ cup (60g) unsalted butter (softened to room temperature)
- 1 ¾ cups (210g) powdered sugar
- 1 tsp vanilla extract
- Powdered sugar (for dusting)
Instructions
- Preparation: Preheat oven to 350F (175C). Grease a jelly roll pan, line with parchment paper, and re-grease to ensure easy cake release.
- Dry Ingredients: Sift flour, cocoa powder, baking powder, and salt into a medium bowl, setting aside for later incorporation.
- Egg Mixture: Whip eggs on high speed for 5 minutes until thick and pale. Gradually add granulated sugar, beating until fully integrated.
- Liquid Incorporation: Reduce mixer speed, blend in vegetable oil, buttermilk, vinegar, red food coloring, and vanilla extract until smooth.
- Batter Fusion: Gently fold dry ingredients into wet mixture, ensuring no flour streaks remain without overmixing.
- Baking Process: Pour batter into prepared pan, spreading evenly. Bake for 12-15 minutes until center springs back when lightly pressed.
- Towel Rolling: Dust a kitchen towel with powdered sugar. Immediately after baking, loosen cake edges, invert onto towel, and remove parchment paper. Roll cake tightly from short end, including towel.
- Filling Preparation: Whip cream cheese and butter until silky. Gradually add powdered sugar and vanilla extract, beating until smooth and spreadable.
- Cake Assembly: Once cooled, unroll cake carefully, spread cream cheese filling evenly, leaving a small border. Re-roll into a compact spiral without the towel.
- Finishing Touch: Wrap cake roll in plastic wrap, refrigerate for at least one hour. Before serving, dust with powdered sugar and slice into elegant portions.
Notes
- Achieve Airy Texture: Whip eggs thoroughly for 5 minutes to create a light, fluffy base that ensures the cake roll’s delicate consistency.
- Prevent Cracking: Roll the warm cake immediately with the towel to help the cake maintain flexibility and prevent unwanted cracks during cooling.
- Color Correction: Adjust red food coloring amount for vibrant color without affecting the cake’s moisture or taste; start with less and add gradually.
- Filling Distribution: Spread cream cheese filling evenly but leave a small border to prevent overflow when re-rolling, ensuring a neat and professional-looking cake roll.
- Prep Time: 10 minutes
- Cook Time: 20 minutes
- Category: Desserts
- Method: Baking
- Cuisine: American
Nutrition
- Serving Size: 9
- Calories: 290
- Sugar: 24g
- Sodium: 180mg
- Fat: 15g
- Saturated Fat: 8g
- Unsaturated Fat: 7g
- Trans Fat: 0g
- Carbohydrates: 35g
- Fiber: 1g
- Protein: 4g
- Cholesterol: 80mg
Jenna Hartley
Founder & Recipe Creator
Expertise
Education
Box Hill Institute, Melbourne
William Angliss Institute, Melbourne
Jenna is the heart of Picture Perfect Meals, turning simple ingredients into beautiful, easy‑to‑make dishes.
Growing up around family meals in Melbourne, she trained at Box Hill Institute and then perfected her pastry skills at William Angliss Institute. She loves mixing classic Australian flavors with fresh ideas to keep cooking fun and stress‑free.