Dreamy Vanilla Cream Tarts with Fresh Raspberries Recipe
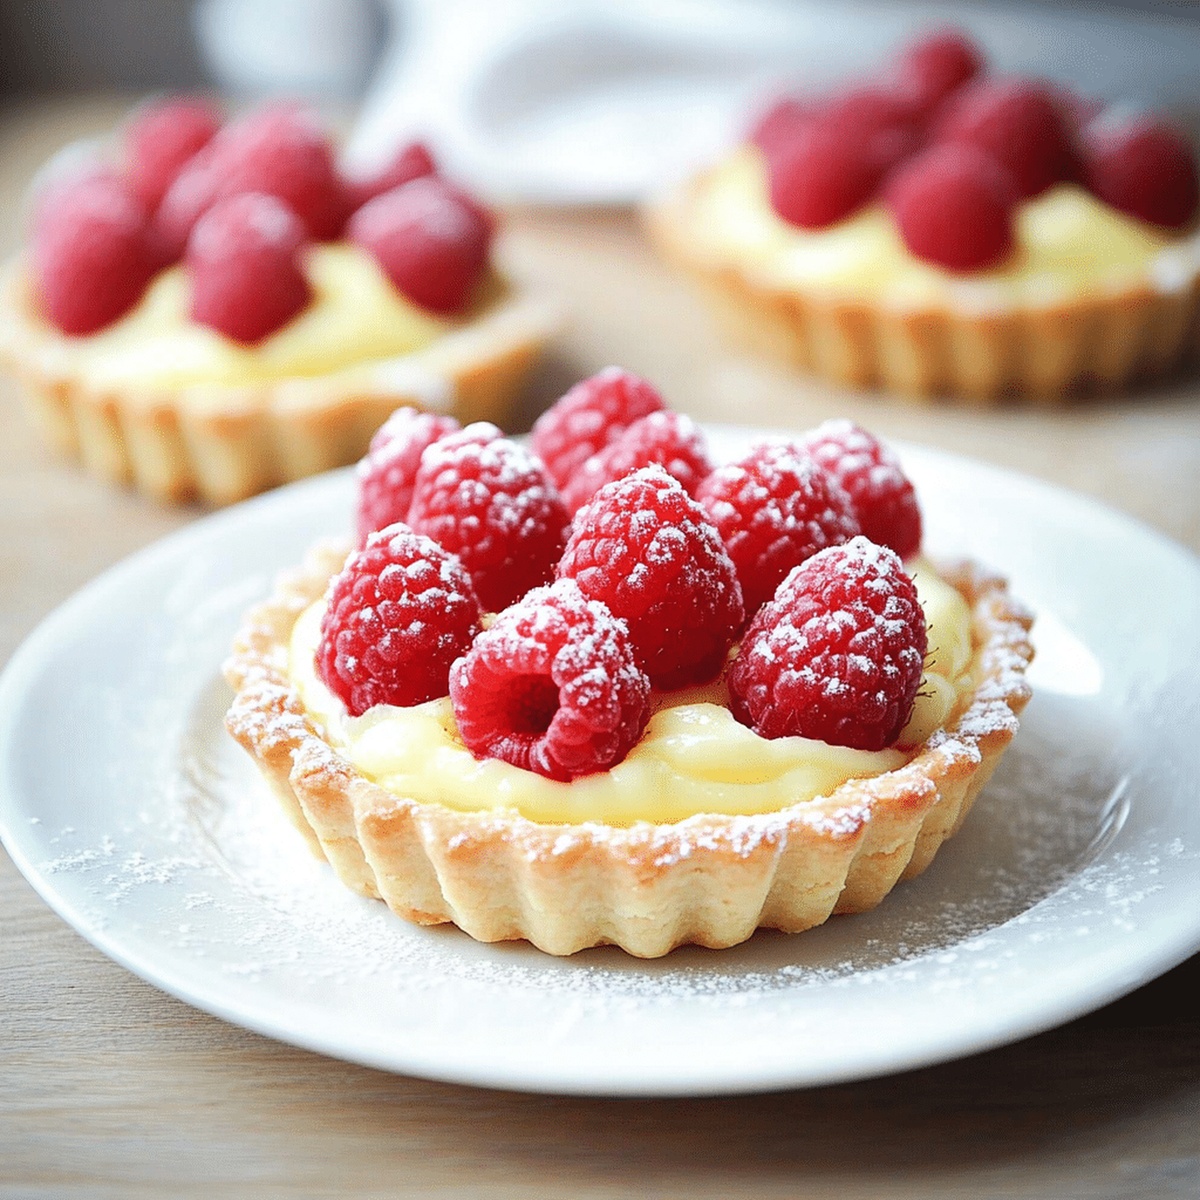
Sweet, buttery pastry shells cradle a silky vanilla cream tart that whispers pure indulgence.
Delicate raspberries scatter across the creamy landscape like vibrant jewels.
The combination of smooth custard and bright fruit creates a dessert that sings with simple elegance.
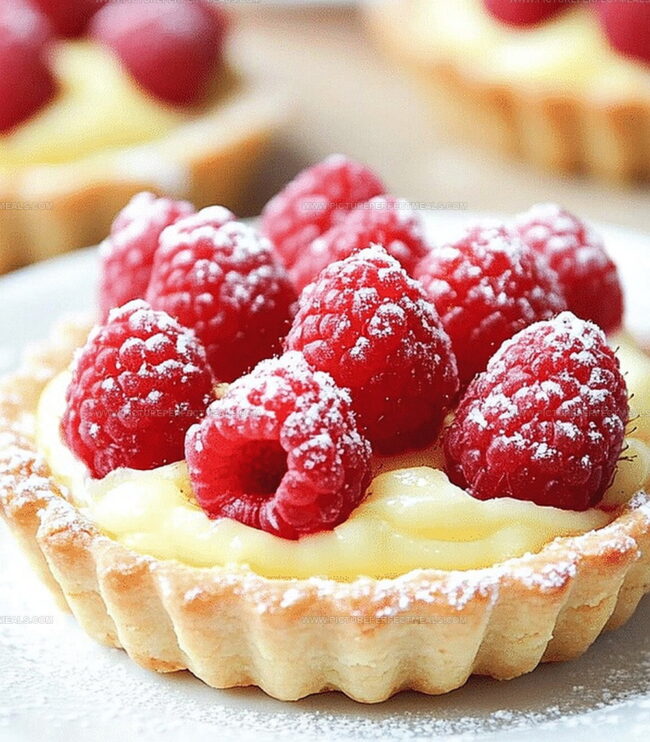
Each bite promises a delightful balance of rich vanilla and tangy raspberry notes.
Crisp pastry provides a perfect contrast to the velvety filling.
These tarts represent a classic French-inspired treat that transforms an ordinary moment into something extraordinary.
Bakers of all skill levels can master this delectable dessert with a few simple techniques.
Quick Recipe Overview
Ingredients for Vanilla Cream Raspberry Tarts
For Tart Crust:For Cream Filling:For Garnish:Tools to Make Tarts with Precision
How to Fill and Decorate These Pretty Treats
Mix flour and powdered sugar in a food processor, creating a smooth foundation for your delightful tarts.
Incorporate cold butter into the mixture, working it until it looks like sandy crumbs that will give your tart a rich, melt-in-your-mouth texture.
Add egg yolk, vanilla, and tiny splashes of ice water, gently mixing until the dough starts to form a cohesive ball.
Shape the dough into a disk, wrap it snugly in plastic wrap, and let it relax in the refrigerator for half an hour.
Warm up your oven to a cozy 350F, creating the perfect environment for baking.
Roll out the chilled dough and carefully press it into mini tart pans, creating delicate little vessels for your creamy filling.
Poke tiny holes in the dough base, cover with parchment paper, and sprinkle pie weights to keep the shape.
Slide the tart shells into the oven and bake for 12-15 minutes until they turn a beautiful golden color, then let them cool completely.
Flavor Enhancements for Cream or Fruit
Sweet Ways to Plate These Summery Beauties
How to Store Tarts with Fresh, Filling
Print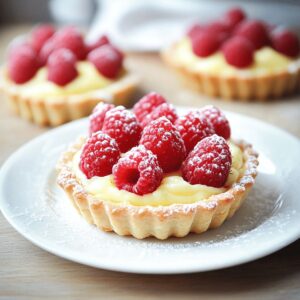
Elegant Vanilla Cream Tarts With Fresh Raspberries
- Total Time: 45 minutes
- Yield: 7 1x
Description
Rich vanilla cream tarts with fresh raspberries showcase French pastry elegance at its finest. Delicate pastry shells cradle silky cream and ruby-red berries, inviting you to savor each exquisite bite.
Ingredients
- 1 ¼ cups (156 g) all-purpose flour
- ½ cup (113 g) unsalted butter, cold & cubed
- 3 large egg yolks
- 1 ¼ cups (296 mL) whole milk
- 1 cup fresh raspberries
- ¼ cup (30 g) powdered sugar
- ¼ cup (50 g) granulated sugar
- ¼ cup (80 g) apricot or raspberry jam
- 2 tbsps (16 g) cornstarch
- 1 ½ tsps vanilla extract
- 1 tbsp (14 g) unsalted butter
- 12 tbsps (177 mL) ice water
- 1 tbsp (15 mL) water
- Powdered sugar (for dusting, optional)
Instructions
- Pastry Preparation: Pulse flour and powdered sugar in a food processor, integrating cold butter until the mixture resembles coarse sand.
- Dough Formation: Incorporate egg yolk, vanilla extract, and ice water, kneading until a cohesive dough forms. Shape into a disk, wrap in plastic, and refrigerate for 30 minutes to stabilize.
- Tart Shell Crafting: Preheat oven to 350°F (175°C). Roll out chilled dough and press into mini tart pans, creating uniform shells. Dock the base with a fork and line with parchment paper, adding pie weights to prevent rising.
- Baking Shells: Bake for 12-15 minutes until edges turn golden brown. Remove and cool completely, allowing shells to set and firm up.
- Cream Filling Creation: Whisk cream, vanilla, and sugar until smooth and silky, developing a luxurious vanilla-infused cream.
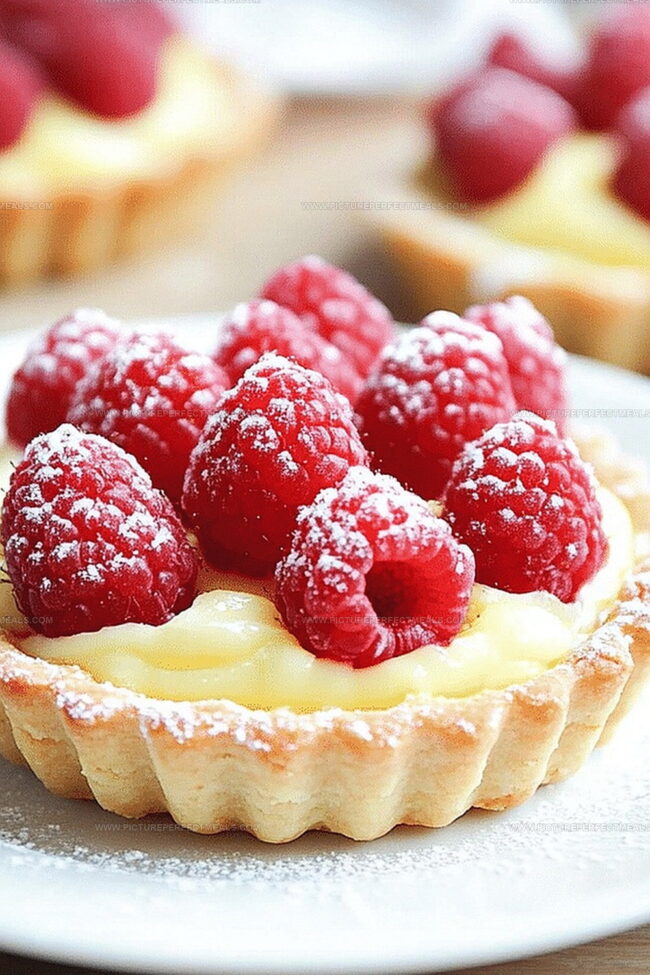
- Assembly and Finishing: Pipe or spoon vanilla cream into cooled tart shells. Crown each tart with fresh, vibrant raspberries, arranging them artfully across the creamy surface.
- Final Chill: Refrigerate completed tarts for 30 minutes to set the cream and allow flavors to harmonize, creating a perfectly balanced dessert.
Notes
- Butter Temperature Matters: Use cold butter straight from the refrigerator to create a flaky, tender pastry crust that crumbles perfectly.
- Prevent Soggy Bottoms: Always prick the tart base with a fork and use pie weights to ensure a crisp, golden crust that doesn’t become wet or soft.
- Cream Consistency Hack: Whisk the vanilla cream filling slowly and steadily to avoid air bubbles, creating a smooth, luxurious texture that pipes beautifully.
- Berry Freshness Tip: Select plump, deep-colored raspberries at peak ripeness and pat them dry before placing on the tart to maintain their vibrant color and prevent excess moisture.
- Prep Time: 15 minutes
- Cook Time: 30 minutes
- Category: Desserts, Snacks
- Method: Baking
- Cuisine: French
Nutrition
- Serving Size: 7
- Calories: 300
- Sugar: 16 g
- Sodium: 50 mg
- Fat: 18 g
- Saturated Fat: 11 g
- Unsaturated Fat: 5 g
- Trans Fat: 0 g
- Carbohydrates: 30 g
- Fiber: 1 g
- Protein: 4 g
- Cholesterol: 80 mg
Jenna Hartley
Founder & Recipe Creator
Expertise
Education
Box Hill Institute, Melbourne
William Angliss Institute, Melbourne
Jenna is the heart of Picture Perfect Meals, turning simple ingredients into beautiful, easy‑to‑make dishes.
Growing up around family meals in Melbourne, she trained at Box Hill Institute and then perfected her pastry skills at William Angliss Institute. She loves mixing classic Australian flavors with fresh ideas to keep cooking fun and stress‑free.