Wholesome Energizing Peanut Butter Protein Balls Recipe
Packed with nutrition and bursting with flavor, these delectable peanut butter protein balls deliver a powerful punch of energy right when you need it most.
Blending wholesome ingredients like rolled oats, creamy peanut butter, and rich protein powder creates a delightful snack that satisfies hunger and fuels your body.
Each bite offers a perfect balance of sweetness and protein-packed goodness that keeps you feeling satisfied.
No baking required means these treats come together in minutes, making them an ideal choice for busy mornings or post-workout refueling.
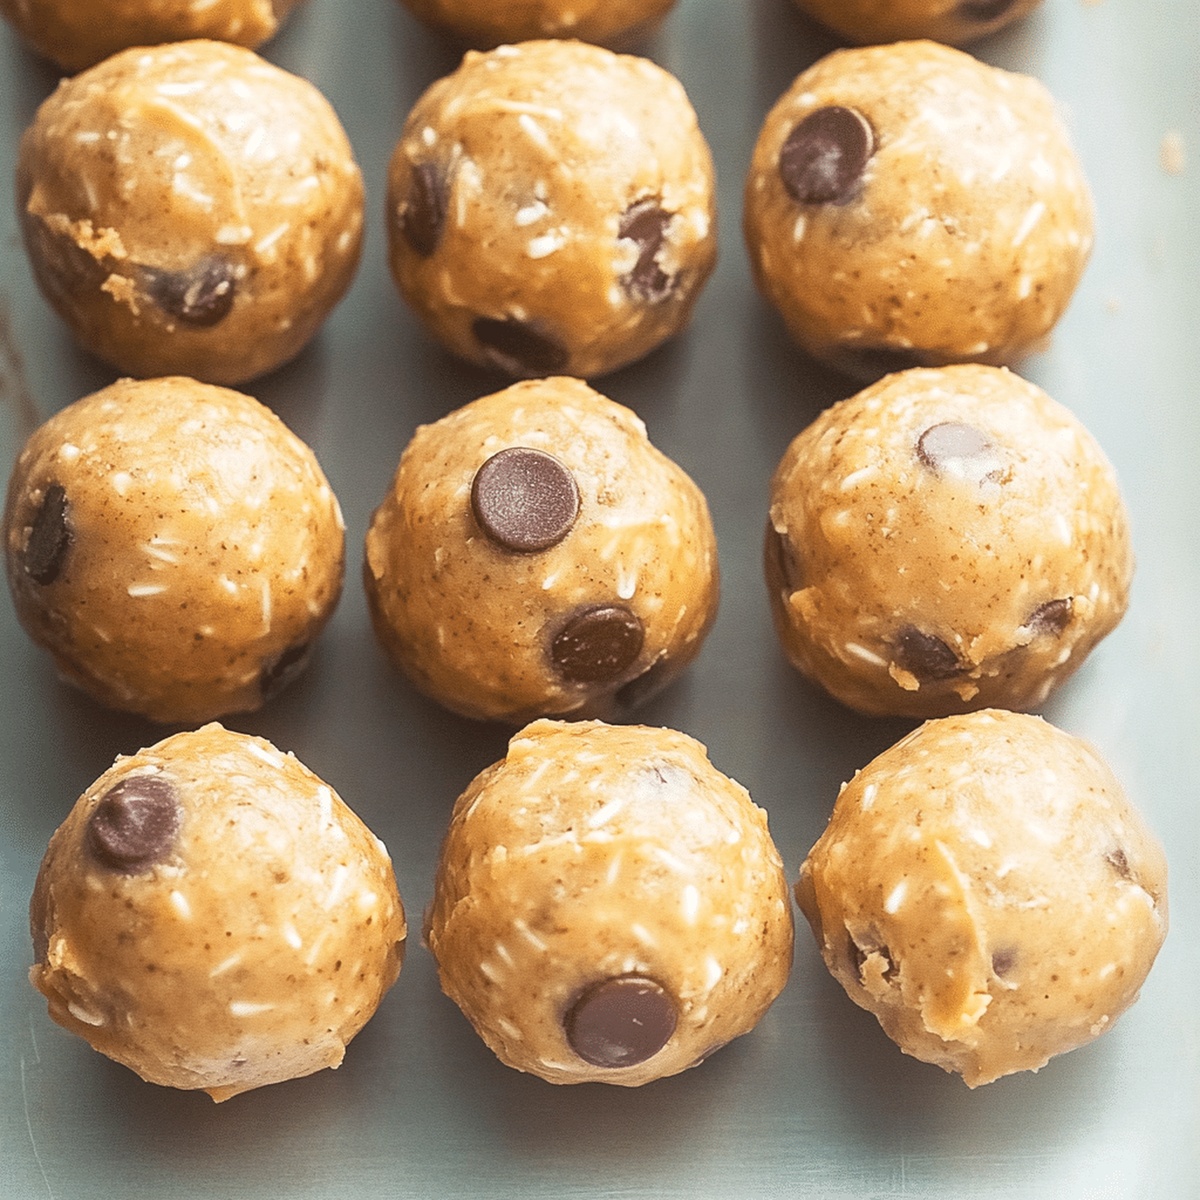
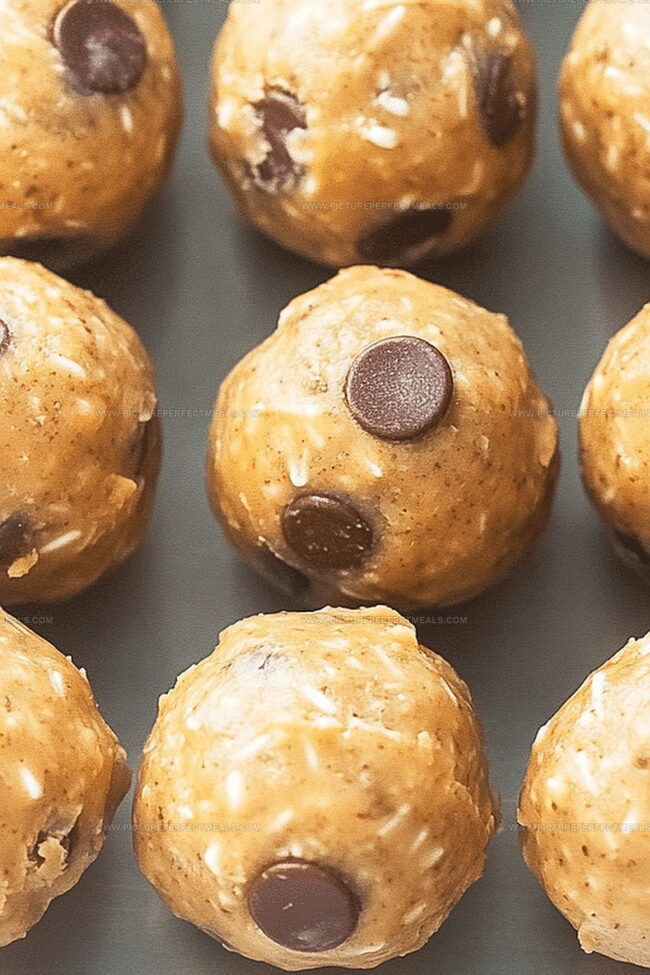
Rolled in unsweetened coconut or drizzled with dark chocolate, these protein balls can be customized to suit your taste preferences.
Quick, nutritious, and delicious, they are the ultimate grab-and-go snack for health-conscious people seeking a convenient boost.
You’ll love how simple and satisfying these protein balls can be for your daily nutrition.
Quick Recipe Overview
Peanut Butter Protein Ball Ingredients
For Energy Boosters:For Texture and Nutrition:For Flavor Enhancers:Tools for Mixing Protein Balls at Home
Shaping Peanut Butter Protein Balls

Grab a roomy mixing bowl and toss in creamy peanut butter, golden honey, and a splash of vanilla. Blend these goodies until they’re dancing together smoothly.
Dump in hearty oats, fluffy coconut, nutty ground flaxseed, a pinch of sea salt, and warm cinnamon. Stir everything until it looks like a delicious, cohesive treat.
Want extra yumminess? Gently fold in tiny chocolate chips for a delightful surprise in every bite.
Scoop out tablespoon-sized portions and roll them between your palms, transforming the mixture into perfect little energy-packed spheres.
Pop these tasty protein balls into a sealed container and let them hang out in the refrigerator for about 45 minutes. They’ll firm up and become the perfect grab-and-go snack that’ll keep you powered up all day long.
Flavor Boosts for Protein Balls
Serve Peanut Butter Protein Balls Anywhere
Save and Store Protein Balls for Later
Print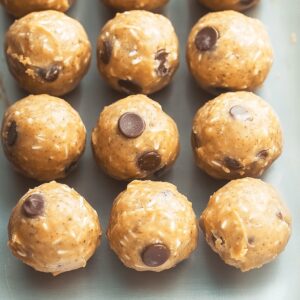
Energizing Peanut Butter Protein Balls Recipe
- Total Time: 1 hour 10 minutes
- Yield: 13 1x
Description
Quick protein balls blend creamy peanut butter with wholesome oats for a nutritious snack. Simple ingredients and no-bake preparation make these energy-packed treats perfect for health-conscious snackers.
Ingredients
- 1 cup (240 ml) peanut butter, creamy
- 1 ¼ cups (300 ml) oats, old-fashioned
- ¼ cup (60 ml) honey
- ½ cup (120 ml) coconut, shredded unsweetened
- 1 tbsp (15 ml) flaxseed, ground
- ¼ cup (60 ml) chocolate chips, mini (optional)
- ½ tsp (2.5 ml) vanilla extract, pure
- ¼ tsp (1.25 ml) salt, fine sea
- ¼ tsp (1.25 ml) cinnamon
Instructions
- Mixing Base: Blend smooth peanut butter with golden honey and vanilla extract in a large bowl until silky and well-combined.
- Incorporating Dry Components: Add rolled oats, shredded coconut, ground flaxseed, sea salt, and cinnamon to the wet mixture, stirring thoroughly until all ingredients are evenly distributed and create a cohesive texture.
- Chocolate Enhancement: Gently fold miniature chocolate chips throughout the mixture, ensuring an even spread of delectable morsels.
- Shaping Protein Orbs: Using clean hands, roll the mixture into uniform bite-sized spheres, compressing firmly to help them maintain structural integrity.
- Chilling and Setting: Place protein balls in an airtight container and refrigerate for 30-60 minutes, allowing them to firm up and develop a satisfying, compact consistency perfect for grab-and-go snacking.
Notes
- Optimize Peanut Butter Consistency: Choose smooth, room-temperature peanut butter for easier blending and better structural integrity of protein balls.
- Control Moisture Balance: Add oats gradually to prevent mixture from becoming too dry or sticky; adjust with extra honey or oats as needed for perfect binding.
- Enhance Texture Variation: Experiment with different nut butters like almond or cashew for unique flavor profiles and nutritional diversity.
- Customize Dietary Needs: Swap rolled oats with gluten-free alternatives like quinoa flakes for celiac-friendly version, or use vegan chocolate chips for plant-based requirements.
- Prep Time: 10 minutes
- Cook Time: 30-60 minutes
- Category: Snacks, Breakfast
- Method: Blending
- Cuisine: American
Nutrition
- Serving Size: 13
- Calories: 160
- Sugar: 8 g
- Sodium: 35 mg
- Fat: 8 g
- Saturated Fat: 1.5 g
- Unsaturated Fat: 6 g
- Trans Fat: 0 g
- Carbohydrates: 19 g
- Fiber: 2 g
- Protein: 4 g
- Cholesterol: 0 mg
Jenna Hartley
Founder & Recipe Creator
Expertise
Education
Box Hill Institute, Melbourne
William Angliss Institute, Melbourne
Jenna is the heart of Picture Perfect Meals, turning simple ingredients into beautiful, easy‑to‑make dishes.
Growing up around family meals in Melbourne, she trained at Box Hill Institute and then perfected her pastry skills at William Angliss Institute. She loves mixing classic Australian flavors with fresh ideas to keep cooking fun and stress‑free.