
Power-Packed Energizing Protein Balls Recipe for Busy Days
Crafting delectable no-bake protein balls has become a game-changing protein balls recipe for health enthusiasts seeking quick, nutritious snacks.
Packed with wholesome ingredients, these bite-sized treats deliver a powerful punch of energy and flavor.
Nuts, seeds, and natural sweeteners combine to create a delightful morsel that satisfies hunger and nourishes your body.
Rolled and chilled to perfection, these protein balls offer a convenient alternative to processed snacks.
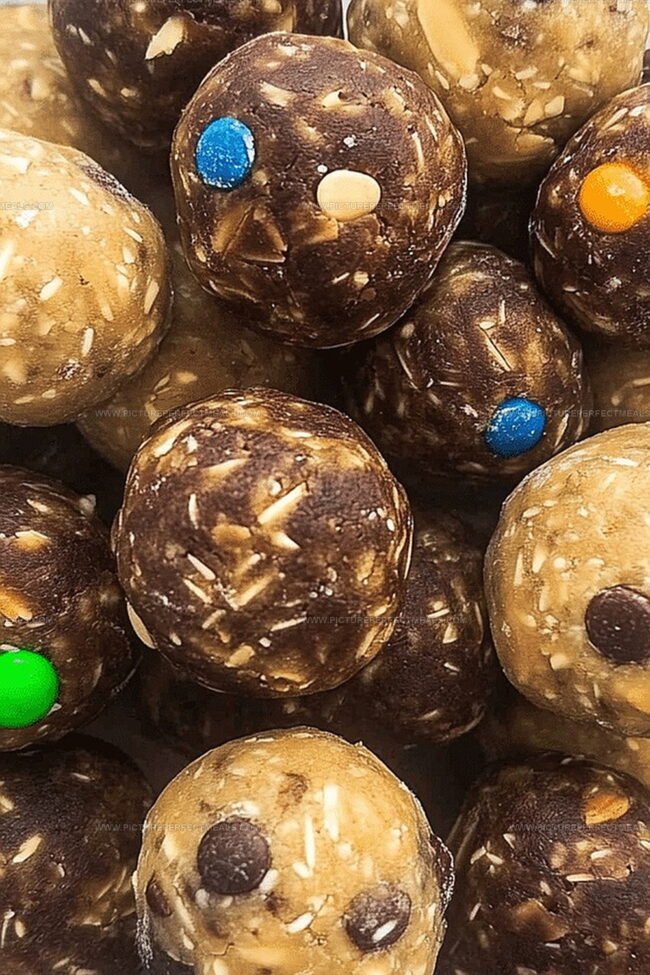
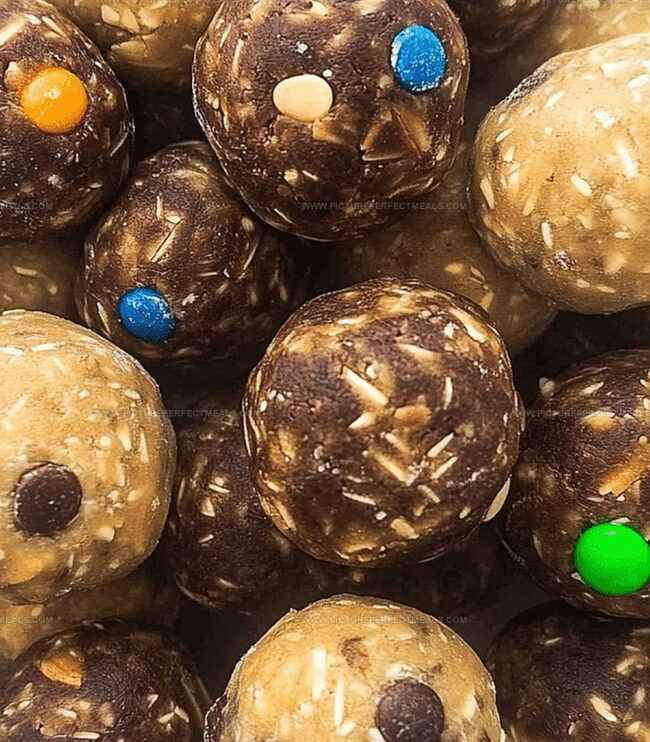
Each sphere bursts with nutrition and can be customized with your favorite mix-ins like dark chocolate chips or coconut flakes.
Athletes, busy professionals, and wellness warriors will love how effortlessly these protein balls fit into a balanced diet.
Fuel your day with these delicious, nutrient-dense spheres of goodness.
Quick Recipe Overview
Protein Balls: What You’ll Need Inside
For Base Ingredients:For Binding and Sweetness:For Optional Flavor Enhancers:Must-Have Tools for Mixing Protein Balls
Building Protein Balls at Home
Grab a roomy bowl and toss in your oats, creamy peanut butter, golden honey, and protein powder. Feel free to sprinkle in some bonus goodies like chocolate chips or nutty seeds. Mix everything until it transforms into a deliciously sticky dough that holds together like a champ.
Use a spoon or handy scoop to portion out your mixture. Roll the dough between your hands, creating bite-sized spheres about the size of a golf ball. Your hands will get a bit messy, but that’s half the fun!
Park your protein balls on a plate or baking sheet in the fridge. Let them hang out and firm up for about 20-30 minutes. This quick cooling session helps them hold their perfect round shape.
Move your tasty bites to a sealed container. They’ll be happy chilling in the refrigerator for a week or can hibernate in the freezer for up to three months. Grab one whenever hunger strikes for a quick protein-packed pick-me-up!
Tips to Switch Up Protein Ball Flavors
Ideas for Serving Protein Balls Anywhere
Keep Your Protein Balls Ready to Go
Print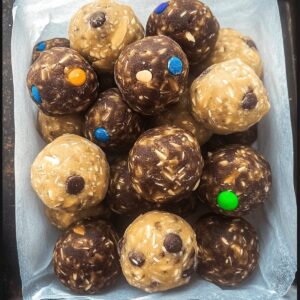
Energizing Protein Balls Recipe
- Total Time: 30 minutes
- Yield: 13 1x
Description
Protein-packed energy balls showcase Brazil’s beloved chocolate brigadeiro in a nutritious twist. Rolled with cocoa, nuts, and protein powder, these bite-sized treats deliver quick nutrition for active individuals.
Ingredients
- 1 cup old-fashioned oats
- ½ cup creamy peanut butter (or almond butter)
- ⅓ cup honey (or maple syrup for a vegan option)
- ¼ cup protein powder (vanilla or chocolate)
- ¼ cup ground flaxseed or chia seeds
- ¼ cup mini chocolate chips or dried fruit
- ½ tsp vanilla extract
Instructions
- Mixing: Combine rolled oats, peanut butter, honey, and protein powder in a large bowl, blending thoroughly until the mixture becomes cohesive and slightly sticky.
- Customization: Fold in dark chocolate chips or ground flaxseed, ensuring even distribution throughout the dough for added texture and nutritional boost.
- Shaping: Scoop tablespoon-sized portions and roll between palms to create uniform, compact spheres, roughly one inch in diameter, working efficiently to maintain consistent size.
- Chilling: Arrange protein balls on a chilled surface, keeping them separated, and refrigerate for 25 minutes to set and firm up the mixture, enhancing structural stability.
- Storage: Transfer the solidified protein orbs to an airtight container, storing in the refrigerator for up to one week or in the freezer for three months to preserve freshness and quality.
Notes
- Customize Protein Content: Adjust protein powder type and quantity to match dietary needs or fitness goals, ensuring the right nutritional balance for your specific requirements.
- Prevent Sticky Hands: Lightly coat hands with cooking spray or cold water before rolling balls to prevent mixture from sticking and create smoother, more uniform spheres.
- Enhance Texture Variation: Experiment with mix-ins like chia seeds, crushed nuts, or coconut flakes to add crunch and boost nutritional profile without compromising the base recipe.
- Optimize Storage Strategy: Use parchment paper between layers when storing in containers to prevent protein balls from sticking together and maintain individual shape and integrity.
- Prep Time: 10 minutes
- Cook Time: 20 minutes
- Category: Snacks, Breakfast
- Method: Blending
- Cuisine: American
Nutrition
- Serving Size: 13
- Calories: 150
- Sugar: 7g
- Sodium: 50mg
- Fat: 9g
- Saturated Fat: 2g
- Unsaturated Fat: 7g
- Trans Fat: 0g
- Carbohydrates: 15g
- Fiber: 2g
- Protein: 5g
- Cholesterol: 0mg
Jenna Hartley
Founder & Recipe Creator
Expertise
Education
Box Hill Institute, Melbourne
William Angliss Institute, Melbourne
Jenna is the heart of Picture Perfect Meals, turning simple ingredients into beautiful, easy‑to‑make dishes.
Growing up around family meals in Melbourne, she trained at Box Hill Institute and then perfected her pastry skills at William Angliss Institute. She loves mixing classic Australian flavors with fresh ideas to keep cooking fun and stress‑free.