Joyful Chocolate Snowball Cookies Recipe: A Holiday Treat
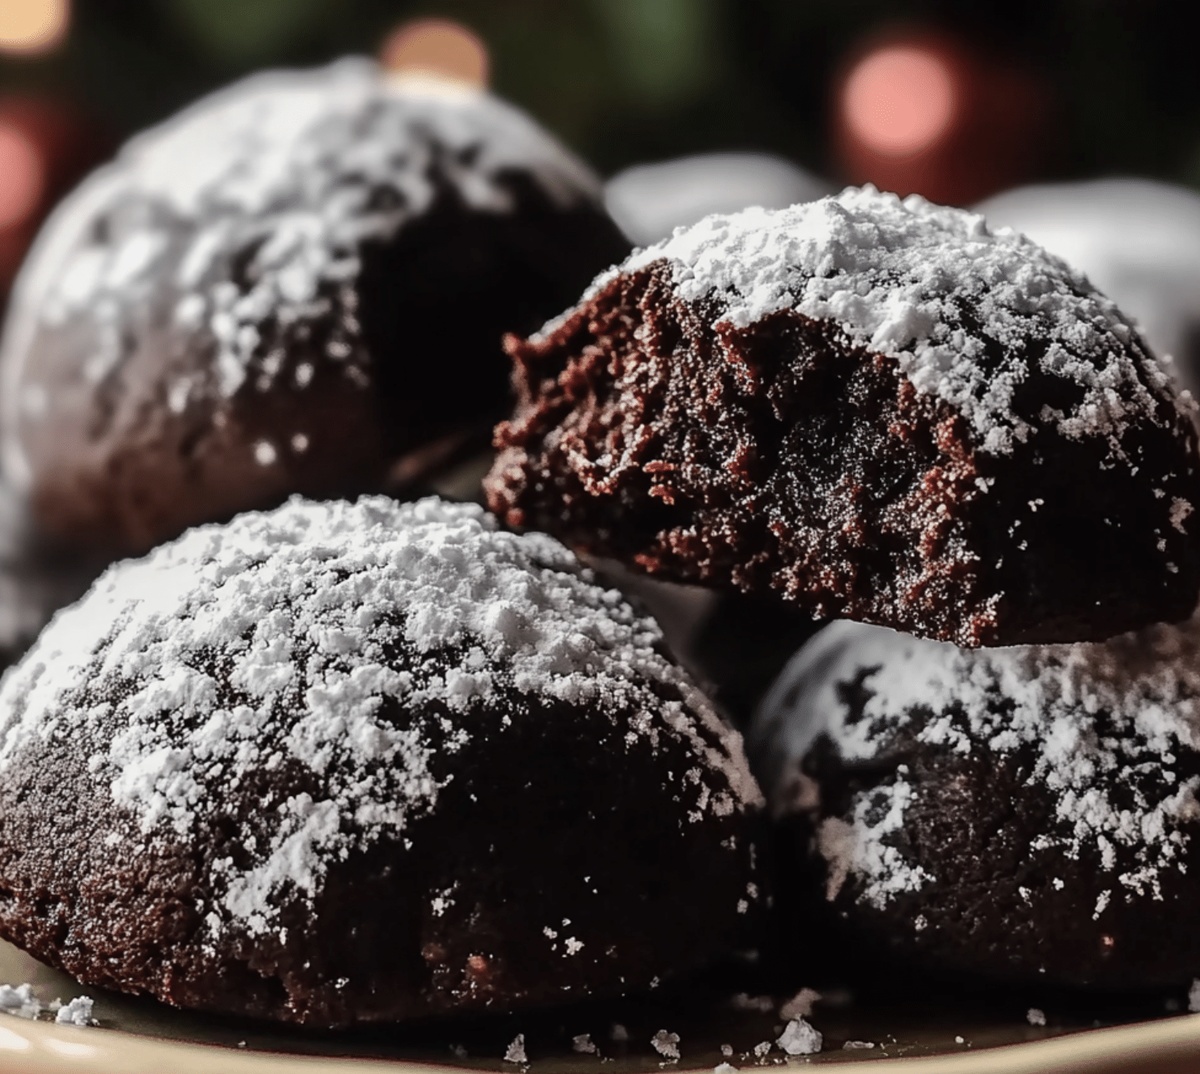
Sweet moments of holiday cheer sparkle with these delightful chocolate snowball cookies that melt in your mouth.
Winter celebrations come alive with these delectable treats bathed in powdered sugar.
Generations of bakers have cherished this simple yet elegant recipe passed down through kitchens.
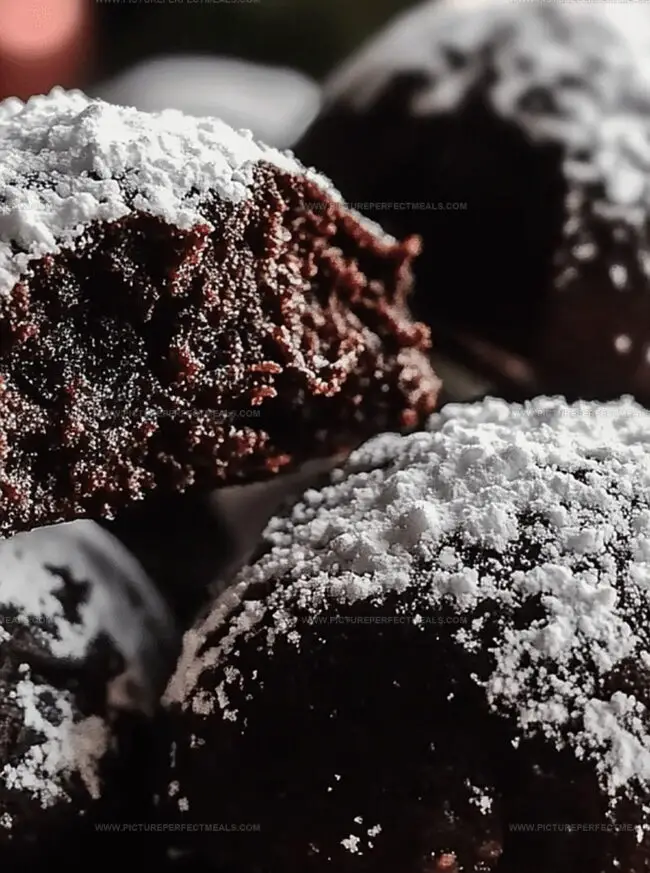
Rich cocoa infuses each tender morsel with deep, luxurious flavor.
Small gatherings and cozy evenings become magical when these cookies appear on the table.
Dusted with a snowy white coating, these chocolate snowballs promise pure indulgence.
Roll up your sleeves and discover the joy of creating these irresistible holiday delights.
Quick Recipe Overview
What Goes Into Snowball Cookies
For Base of Cookies:For Dry Mixture:For Finishing Touch:Gear for Baking Snowball Cookies
Time to Make Double Chocolate Snowballs
Grab your mixing bowl and blend butter with powdered sugar until it becomes super fluffy and smooth. Splash in some vanilla for an extra burst of flavor.
In another bowl, mix flour, cocoa, and a pinch of salt. Slowly fold this mixture into your buttery base. Sprinkle in chocolate chips for delightful little surprise bites.
Pop the dough in the refrigerator for about half an hour. This helps your cookies stay perfectly shaped and gives the flavors time to mingle.
Heat the oven to a cozy 350F. Roll the dough into cute little balls and place them on a baking sheet. Slide them into the oven and bake until they look just set.
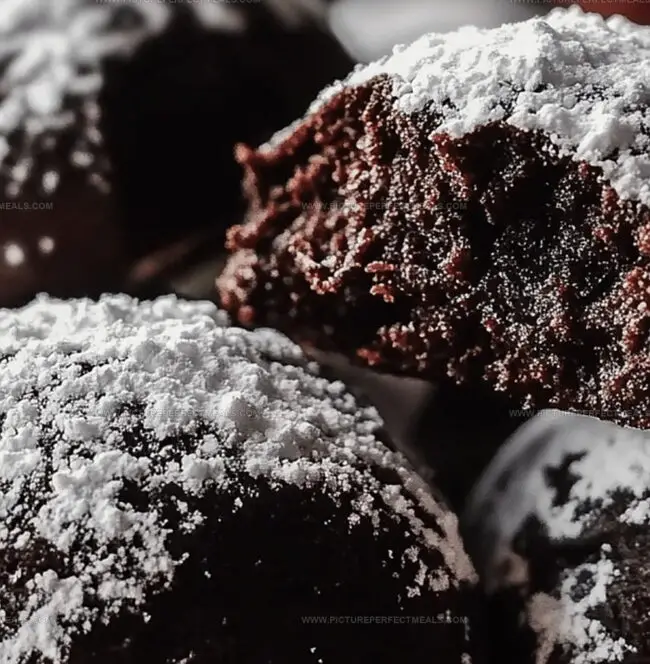
Once the cookies cool down a bit, give them a luxurious roll in powdered sugar. For an extra winter wonderland look, do a second sugar coating that makes them look like they’ve been kissed by fresh snow.
Flavor Ideas for Snowball Cookies
Sweet Ways to Present Snowball Cookies
Storing Snowball Cookies the Smart Way
Print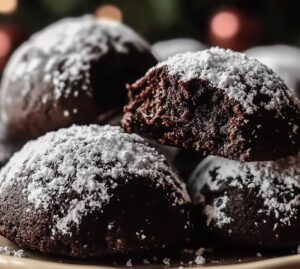
Festive Chocolate Snowball Cookies Recipe
- Total Time: 27 minutes
- Yield: 25 1x
Description
Sweet double chocolate snowball cookies blend rich cocoa with buttery dough, creating irresistible holiday treats. Powdered sugar coating adds delightful winter charm, making these cookies perfect for festive gatherings and cozy moments you’ll savor.
Ingredients
- 1 cup (225 g / 8 oz) unsalted butter, softened
- ½ cup (100 g) granulated sugar
- 1 teaspoon vanilla extract
- 2 cups (250 g / 8.8 oz) all-purpose flour
- ¼ cup (25 g / 0.9 oz) unsweetened cocoa powder
- ¼ teaspoon salt
- ¾ cup (120 g / 4.2 oz) mini chocolate chips or finely chopped chocolate
- 1 cup (120 g / 4.2 oz) powdered sugar, for coating
Instructions
- Creaming: Whip softened butter with powdered sugar until light and fluffy, blending in vanilla extract for depth of flavor.
- Dry Integration: Combine flour, cocoa powder, and salt, then gently fold into the butter mixture to create a smooth, consistent chocolate dough. Incorporate mini chocolate chips, distributing evenly throughout.
- Chilling Preparation: Encase dough in plastic wrap and refrigerate for 30 minutes to solidify and enhance manageability. Preheat oven to 350F (175C) and line a baking sheet with parchment paper.
- Shaping and Baking: Craft uniform 1-inch dough balls, positioning them carefully on the prepared baking sheet with sufficient spacing. Bake for 10-12 minutes until edges firm up and set.
- Sugaring Process: Allow cookies to cool briefly on the baking sheet. While still warm, generously roll each cookie in powdered sugar for initial coating. Once completely cooled, perform a second powdered sugar coating to create a thick, snow-like exterior that completely masks the chocolate base.
Notes
- Chill Dough Properly: Refrigerate the dough for exactly 30 minutes to prevent spreading and maintain the perfect cookie shape during baking.
- Gentle Mixing Technique: Mix dry and wet ingredients delicately to avoid overworking the dough, which can result in tough, dense cookies.
- Even Sugar Coating: Apply powdered sugar while cookies are still slightly warm for better adherence and a more even, snow-like finish.
- Chocolate Chip Distribution: Fold mini chocolate chips gently to ensure they’re evenly spread throughout the dough for consistent chocolate flavor in every bite.
- Prep Time: 15 minutes
- Cook Time: 12 minutes
- Category: Desserts, Snacks
- Method: Baking
- Cuisine: American
Nutrition
- Serving Size: 25
- Calories: 172
- Sugar: 6 g
- Sodium: 47 mg
- Fat: 11 g
- Saturated Fat: 7 g
- Unsaturated Fat: 4 g
- Trans Fat: 0 g
- Carbohydrates: 19 g
- Fiber: 1 g
- Protein: 2 g
- Cholesterol: 31 mg
Jenna Hartley
Founder & Recipe Creator
Expertise
Education
Box Hill Institute, Melbourne
William Angliss Institute, Melbourne
Jenna is the heart of Picture Perfect Meals, turning simple ingredients into beautiful, easy‑to‑make dishes.
Growing up around family meals in Melbourne, she trained at Box Hill Institute and then perfected her pastry skills at William Angliss Institute. She loves mixing classic Australian flavors with fresh ideas to keep cooking fun and stress‑free.