Jolly Christmas Kitchen Sink Cookies Recipe for Holiday Magic
These decadent kitchen sink cookies pack a delightful punch of flavors that dance across your taste buds.
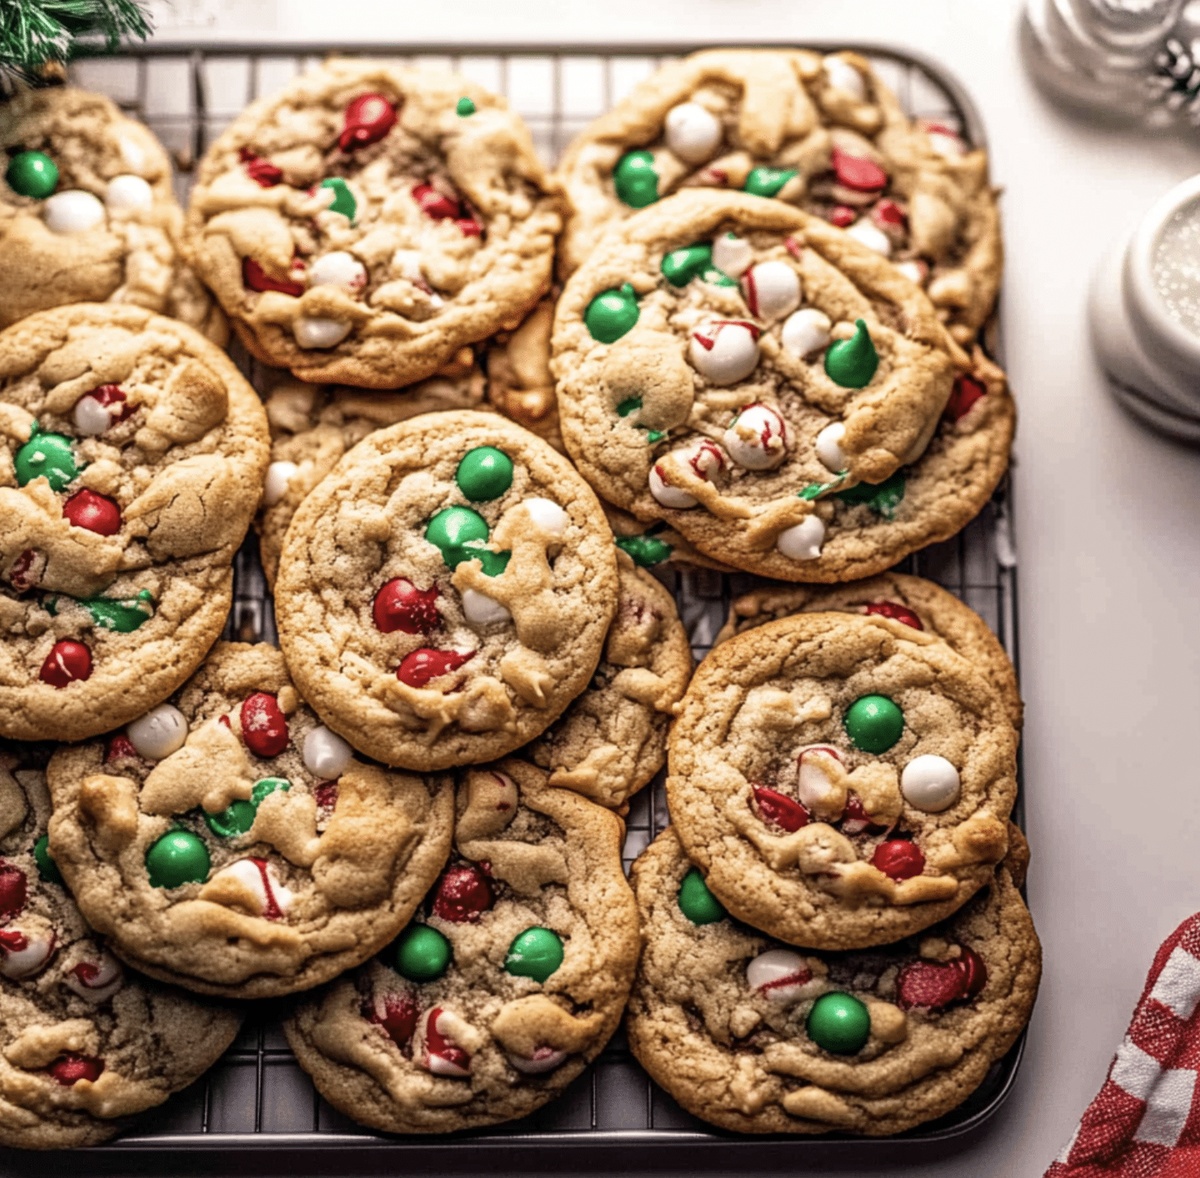
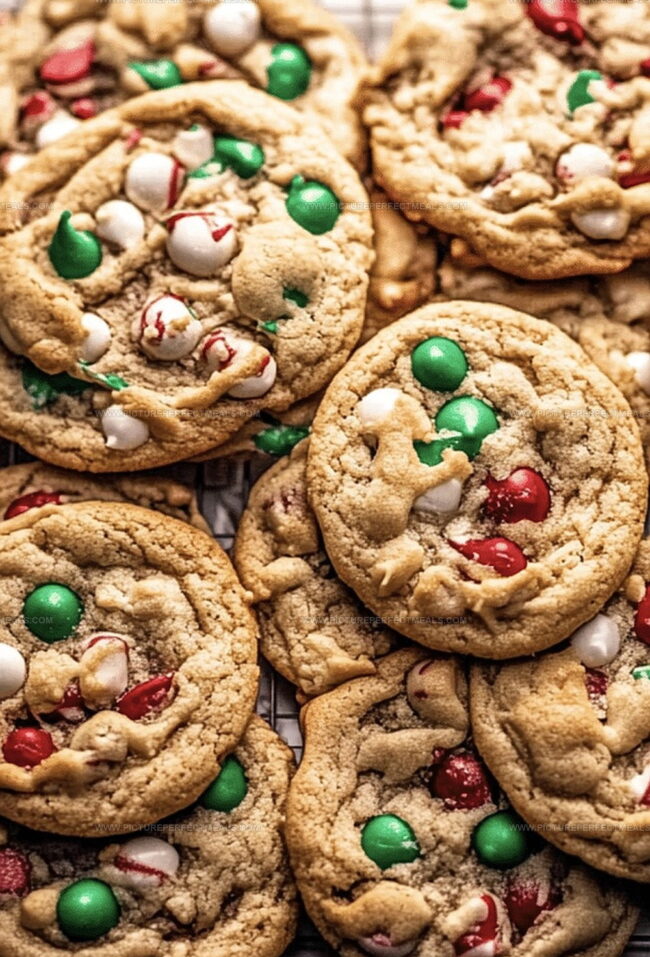
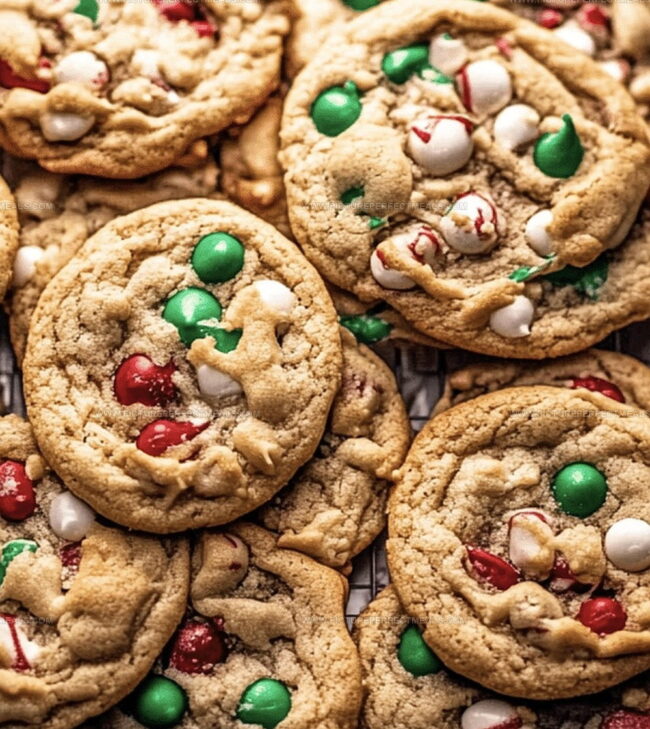
Loaded with an irresistible blend of chocolate chips, nuts, and surprise ingredients, kitchen sink cookies deliver a delicious treat that breaks all traditional baking rules.
Sweet and salty elements combine in a symphony of textures that will make everyone swoon.
Crispy edges and soft centers create the perfect cookie experience.
Crumbs will scatter, and smiles will spread as each bite reveals a new delightful surprise.
Bakers of all skill levels can master this crowd-pleasing recipe that turns ordinary ingredients into an extraordinary dessert.
Prepare to be the hero of any gathering with these incredible cookies.
Quick Recipe Overview
What’s Inside Kitchen Sink Cookies
For Base Dry Ingredients:For Sweet Elements:For Mix-Ins and Texture Boosters:Tools to Mix Kitchen Sink Cookie Dough
Making Christmas Kitchen Sink Cookies
Grab your baking sheets and line them with parchment paper. Set your oven to a toasty 350F.
Whisk flour, baking soda, and salt in a medium bowl until perfectly blended.
Blend butter, white sugar, and brown sugar in a large bowl until super fluffy and light.
Incorporate eggs one by one, then splash in vanilla extract for extra flavor.
Gently fold dry ingredients into wet mixture until just combined. Don’t overmix!
Dump in M&Ms, chocolate chips, crushed pretzels, and any wild mix-ins your heart desires.
Roll tablespoon-sized dough portions into perfect little spheres. Space them generously on baking sheets.
Pop cookies in the oven for 10-12 minutes until edges turn golden and centers look set.
Let cookies rest on baking sheet for 5 minutes, then transfer to wire rack. Keep in airtight container for up to 5 days or freeze for 3 months.
Kitchen Sink Cookie Variations to Explore
Serving These Overloaded Cookies Right
Storing Kitchen Sink Cookies Like a Pro
Print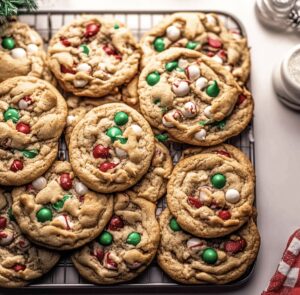
Festive Christmas Kitchen Sink Cookies Recipe
- Total Time: 30 minutes
- Yield: 25 1x
Description
Santa’s favorite Christmas kitchen sink cookies blend unexpected ingredients into a festive treat. Chocolate chips, pretzels, candies, and holiday sprinkles create delightful magic you cannot resist.
Ingredients
- 1 cup (225 g) unsalted butter, softened
- 2 large eggs
- 2 tsps vanilla extract
- 2 ¼ cups (280 g) all-purpose flour
- ¾ cup (150 g) granulated sugar
- ¾ cup (150 g) packed brown sugar
- 1 cup (175 g) red and green M&Ms
- 1 cup (175 g) semi-sweet chocolate chips
- 1 cup (40 g) crushed pretzels
- 1 tsp baking soda
- ½ tsp salt
- ½ cup (50 g) chopped pecans or walnuts (optional)
- ½ cup (45 g) shredded coconut (optional)
Instructions
- Dry Foundation: Whisk flour, baking soda, and salt together in a mixing bowl until thoroughly combined, ensuring even distribution of dry ingredients.
- Butter Transformation: Cream butter with granulated and brown sugars using an electric mixer until the mixture becomes fluffy and pale, then blend in eggs and vanilla extract until smooth and integrated.
- Dough Composition: Delicately fold dry ingredients into the butter mixture, then gently incorporate M&Ms, chocolate chips, crushed pretzels, nuts, and coconut, mixing until ingredients are evenly distributed throughout the dough.
- Oven Preparation: Heat oven to 350F (175C) and line baking sheets with parchment paper or silicone mats for easy cookie release.
- Cookie Formation: Scoop uniform dough balls using a tablespoon, spacing them two inches apart on prepared baking sheets to allow proper spreading during baking.
- Baking Process: Bake for 10-12 minutes, monitoring for golden-brown edges and set centers as indicators of perfect cookie texture.
- Cooling Stage: Let cookies rest on baking sheet for five minutes to stabilize, then transfer to a wire rack for complete cooling.
- Storage Solution: Store cookies in an airtight container at room temperature for up to five days, or freeze for extended preservation up to three months.
Notes
- Prevent Overmixing: Stir dry ingredients into wet ingredients just until combined to maintain a tender, soft cookie texture without developing tough gluten strands.
- Customize Mix-Ins: Experiment with alternative add-ins like crushed candy canes, dried fruit, or different chocolate varieties to personalize the cookie’s flavor profile and suit individual preferences.
- Temperature Matters: Use room temperature butter and eggs for smoother blending and more consistent cookie spread, ensuring even baking and a more uniform appearance.
- Storage Strategy: Cool cookies completely before storing to prevent moisture buildup, which can lead to soggy texture and potential mold growth in sealed containers.
- Prep Time: 15 minutes
- Cook Time: 15 minutes
- Category: Desserts, Snacks
- Method: Baking
- Cuisine: American
Nutrition
- Serving Size: 25
- Calories: 220
- Sugar: 14 g
- Sodium: 130 mg
- Fat: 11 g
- Saturated Fat: 7 g
- Unsaturated Fat: 3 g
- Trans Fat: 0 g
- Carbohydrates: 30 g
- Fiber: 1 g
- Protein: 2 g
- Cholesterol: 30 mg
Jenna Hartley
Founder & Recipe Creator
Expertise
Education
Box Hill Institute, Melbourne
William Angliss Institute, Melbourne
Jenna is the heart of Picture Perfect Meals, turning simple ingredients into beautiful, easy‑to‑make dishes.
Growing up around family meals in Melbourne, she trained at Box Hill Institute and then perfected her pastry skills at William Angliss Institute. She loves mixing classic Australian flavors with fresh ideas to keep cooking fun and stress‑free.