
Jolly Festive Christmas Tree Cookies Recipe: Sweet Holiday Magic
Festive baking takes a delightful turn with these charming Christmas tree cookies that sparkle with holiday cheer.
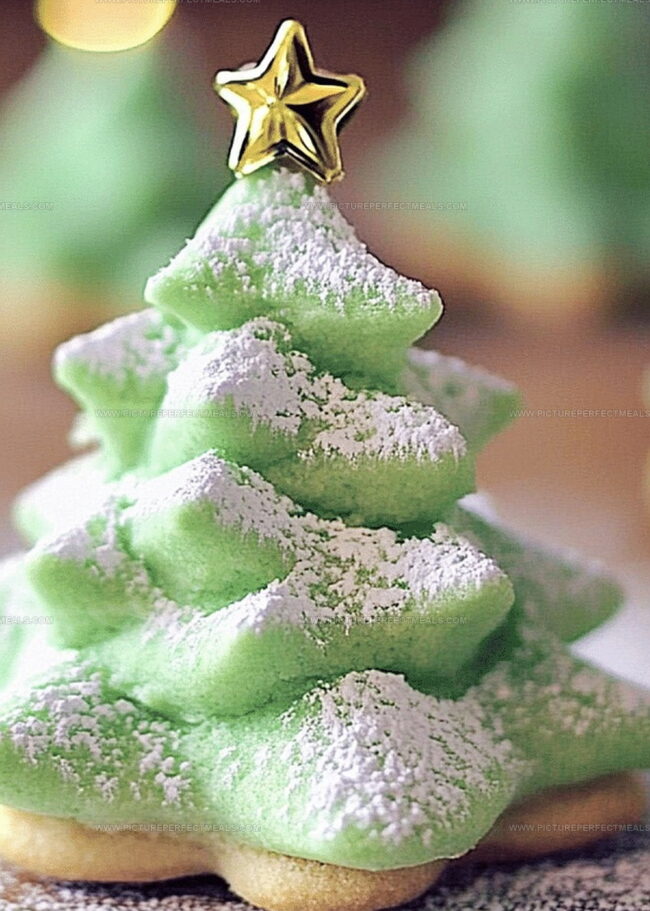
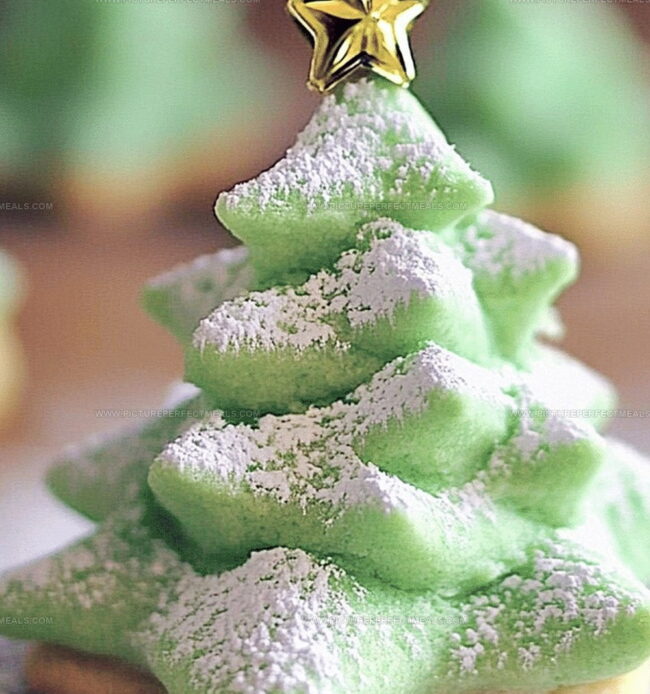
Sugar-coated and delicately decorated, the Christmas tree cookies bring a touch of magical sweetness to your seasonal celebrations.
Green-tinted frosting and sprinkle embellishments create a whimsical forest of edible delights that dance with festive spirit.
Each cookie tells a story of winter wonder and culinary creativity.
Decorating these treats becomes a joyful ritual that connects generations of bakers.
Crisp, buttery, and beautifully crafted, these cookies promise to become the star of any holiday dessert spread.
Gather your baking tools and let the Christmas magic begin.
Quick Recipe Overview
Gather These to Make Christmas Tree Cookies Happen
For Dry Ingredients:For Wet Ingredients:For Flavor Enhancers:Gear You Need for Christmas Tree Cookie Perfection
Follow These Steps to Prepare Christmas Tree Cookies
Blend soft butter and sugar until they transform into a creamy, cloud-like mixture. Crack in a fresh egg and splash of vanilla, stirring until everything looks smooth and inviting.
Roll out the dough on a lightly floured surface, transforming it into a delicate canvas. Use festive tree-shaped cookie cutters to craft adorable holiday shapes that sparkle with seasonal cheer.
Transfer your delicate tree cookies onto a baking sheet lined with parchment paper. Once baked to golden perfection, let them cool completely. Then unleash your creativity with royal icing, sparkling sprinkles, and edible glitter to make each cookie a miniature winter wonderland.
Slide your cookie sheet into a preheated oven. Bake until the edges turn a beautiful golden brown, typically around 810 minutes. Watch carefully to prevent over-browning and maintain that perfect, delicate crispness.
Gently transfer cookies to a wire rack, allowing them to cool and set. These delightful treats are ready to become the star of your holiday dessert table, promising smiles and sweet memories for everyone who takes a bite.
Creative Twists for Your Christmas Tree Cookies
Ways to Share and Enjoy Christmas Tree Cookies
Planning Ahead with Christmas Tree Cookies
Print
Festive Christmas Tree Cookies Recipe
- Total Time: 1 hour 10 minutes
- Yield: 25 1x
Description
Festive Christmas tree cookies bring holiday cheer with delightful pine-shaped treats. Crisp sugar cookie bases decorated with green frosting and sprinkle ornaments create a merry dessert perfect for seasonal celebrations.
Ingredients
- 2 ¾ cups (350 g) all-purpose flour
- 1 cup (200 g) granulated sugar
- 1 cup (225 g) unsalted butter, softened
- 1 large egg
- 3 cups (375 g) powdered sugar, sifted
- 1 ½ tsps vanilla extract
- 2 large egg whites or 3 tbsps meringue powder + 6 tbsps water
- 1 tsp baking powder
- ½ tsp almond extract (optional)
- ¼ tsp salt
- Green gel food coloring
- Assorted sprinkles
- Edible glitter
- Nonpareils
- Star-shaped candies or sprinkles for tree toppers
Instructions
- Preparation: Whisk flour, baking powder, and salt in a mixing bowl to distribute dry ingredients evenly.
- Creaming: Use an electric mixer to blend butter and sugar until light, fluffy, and significantly increased in volume.
- Wet Ingredients: Incorporate egg and flavor extracts (vanilla and almond) into the butter mixture, mixing until completely smooth.
- Dough Formation: Gently fold dry ingredients into wet ingredients, creating a cohesive dough without overmixing.
- Chilling and Setup: Encase dough in plastic wrap and refrigerate for one hour to solidify and enhance flavor melding. Meanwhile, preheat oven and line baking sheets with parchment paper or silicone mats.
- Shaping: Roll chilled dough on a floured surface to uniform thickness, using festive tree-shaped cookie cutters to create holiday-inspired shapes.
- Baking: Arrange cookie cutouts on prepared baking sheets with adequate spacing, then bake until edges turn golden brown and achieve a crisp texture.
- Finishing: Transfer cookies to wire racks, allowing complete cooling before decorating or serving to preserve their delicate structure and maximize flavor development.
Notes
- Chill Dough Strategically: Refrigerate for at least one hour to prevent cookies from spreading during baking and enhance flavor development.
- Flour Surface Wisely: Use minimal flour when rolling to prevent tough, dry cookies and maintain delicate texture.
- Watch Baking Closely: Monitor cookie edges for golden-brown color, as ovens vary; remove immediately to prevent burning and maintain crisp texture.
- Decorate Creatively: Allow cookies to cool completely before decorating with royal icing or festive sprinkles to ensure smooth, precise designs.
- Prep Time: 30 minutes
- Cook Time: 40 minutes
- Category: Desserts, Snacks
- Method: Baking
- Cuisine: American
Nutrition
- Serving Size: 25
- Calories: 160
- Sugar: 14 g
- Sodium: 50 mg
- Fat: 7 g
- Saturated Fat: 4 g
- Unsaturated Fat: 2 g
- Trans Fat: 0 g
- Carbohydrates: 22 g
- Fiber: 0 g
- Protein: 1 g
- Cholesterol: 25 mg
Jenna Hartley
Founder & Recipe Creator
Expertise
Education
Box Hill Institute, Melbourne
William Angliss Institute, Melbourne
Jenna is the heart of Picture Perfect Meals, turning simple ingredients into beautiful, easy‑to‑make dishes.
Growing up around family meals in Melbourne, she trained at Box Hill Institute and then perfected her pastry skills at William Angliss Institute. She loves mixing classic Australian flavors with fresh ideas to keep cooking fun and stress‑free.