
Jolly Peanut Butter Reindeer Cookies Recipe for Magical Holidays
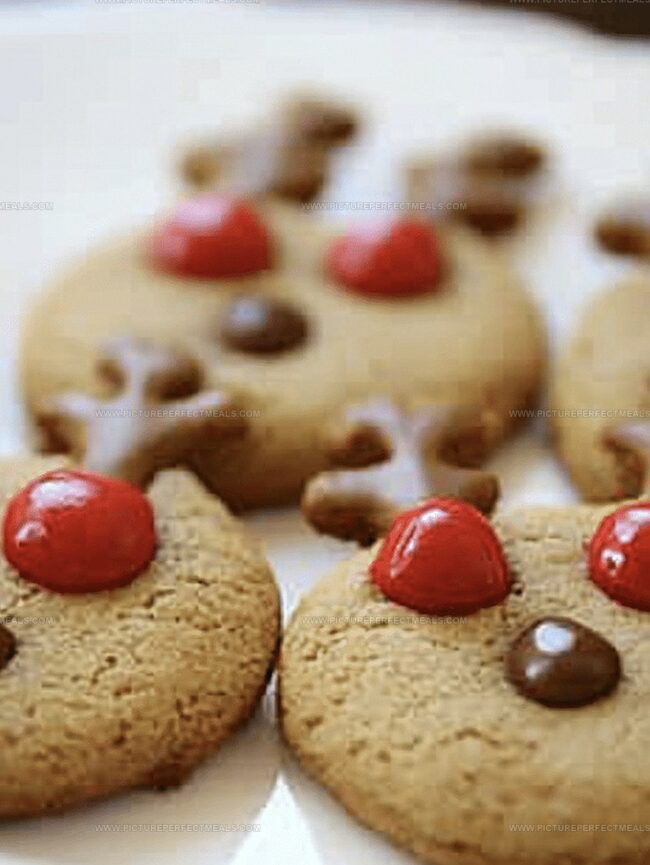
Chocolate-dipped cookies with playful reindeer peanut butter shapes bring holiday cheer to every dessert table.
These adorable treats capture the magic of winter celebrations with their whimsical design.
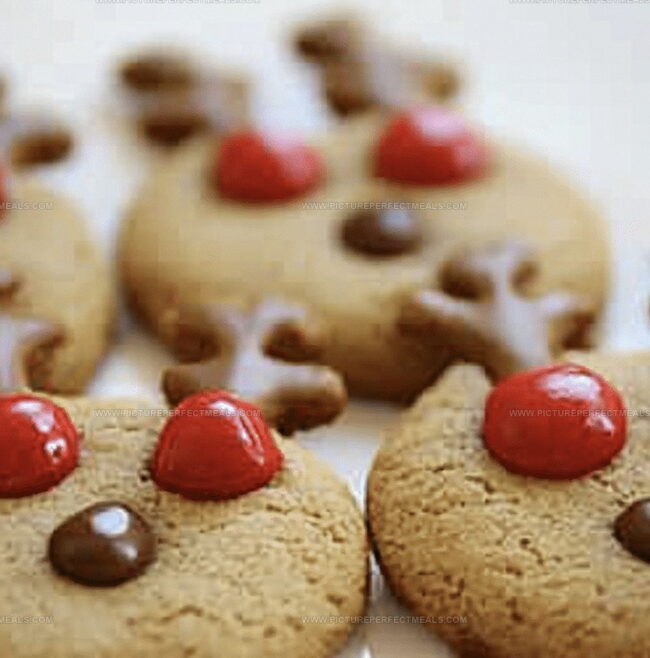
Rudolph-inspired cookies sparkle with chocolate antlers and candy eyes that make kids and adults smile.
Sweet peanut butter becomes the perfect canvas for creating festive animal characters.
Simple ingredients and minimal decorating skills help you craft these delightful cookies in minutes.
Each bite delivers a delicious blend of chocolate and peanut butter that embodies seasonal joy.
Bake a batch and watch faces light up with pure Christmas delight.
Quick Recipe Overview
What’s Inside: Peanut Butter Reindeer Cookies Essentials
For Cookie Base:For Dry Ingredients:For Decorative Elements:Tools to Master Peanut Butter Reindeer Cookies
How to Make Peanut Butter Reindeer Cookies with Ease
Cream together butter, peanut butter, and sugars until smooth and fluffy. Blend in egg and vanilla extract until fully incorporated.
Combine flour, baking soda, and salt in a separate bowl. Gradually fold dry ingredients into wet mixture, creating a soft dough.
Refrigerate dough for half an hour to make it easier to handle and shape.
Heat oven to 350F and line baking sheets with parchment paper.
Roll dough into small balls, placing them about 2 inches apart. Gently flatten each ball with your hand or a glass bottom.
Bake cookies for 8-10 minutes until edges are set. Cookies will be soft initially but firm up while cooling.
While cookies are still warm, press mini pretzels at the top for antlers. Add candy eyes and a red candy nose to transform cookies into adorable reindeer.
Let cookies rest on baking sheet for 5 minutes, then transfer to a wire rack. Arrange on a festive platter or package as delightful holiday gifts.
Make Peanut Butter Reindeer Cookies Yours with These Tips
Serving Ideas to Showcase Peanut Butter Reindeer Cookies
Keep Your Peanut Butter Reindeer Cookies Fresh Longer
Print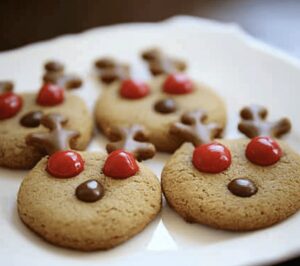
Festive Peanut Butter Reindeer Cookies
- Total Time: 40 minutes
- Yield: 25 1x
Description
Festive peanut butter reindeer cookies bring holiday cheer with playful chocolate and pretzel antlers. Chocolate chips and candy eyes complete these whimsical treats that delight children and adults at winter gatherings.
Ingredients
- ½ cup (115 g) unsalted butter, softened
- ½ cup (125 g) creamy peanut butter
- ½ cup (100 g) granulated sugar
- ½ cup (100 g) packed brown sugar
- 1 large egg
- 1 tsp vanilla extract
- 1 ¼ cups (160 g) all-purpose flour
- ½ tsp baking soda
- ¼ tsp salt
- Mini pretzels
- Candy eyes
- Red candy-coated chocolates
Instructions
- Preparation: Mix butter, peanut butter, and sugars until creamy and well-blended, creating a smooth foundational mixture.
- Wet Ingredients Integration: Blend egg and vanilla extract thoroughly into the creamy base, ensuring complete incorporation.
- Dry Mixture Creation: Whisk flour, baking soda, and salt together, distributing leavening components evenly.
- Dough Formation: Gently fold dry ingredients into wet mixture, combining until a uniform dough emerges, then chill for 30 minutes to enhance flavor and texture.
- Oven Preparation: Preheat oven to 350F and line baking sheets with parchment paper for optimal cookie release.
- Cookie Shaping: Form uniform dough balls, spacing them strategically on prepared baking sheet and gently flattening each to ensure even baking.
- Baking Process: Cook until cookie edges turn golden and centers appear set, approximately 8-10 minutes.
- Decorative Transformation: While cookies are warm, strategically place pretzel pieces as antlers, attach candy eyes, and position red candy nose to create whimsical reindeer characters.
- Cooling and Presentation: Allow cookies to rest briefly on baking sheet, then transfer to wire rack for complete cooling before serving or packaging for festive sharing.
Notes
- Chill Dough Strategically: Refrigerate for 30 minutes to prevent excessive spreading and enhance cookie texture, allowing butter to solidify and flavors to meld beautifully.
- Position Decorations Precisely: Add pretzel antlers and candy features immediately after baking while cookies remain warm, ensuring smooth attachment without breaking delicate surfaces.
- Control Baking Consistency: Watch cookie edges closely during 8-10 minute baking window, removing when golden but still slightly soft to maintain chewy, tender texture.
- Substitute Smartly: Replace traditional ingredients with gluten-free flour and dairy-free butter for allergy-friendly versions without compromising delightful reindeer cookie appearance.
- Prep Time: 10 minutes
- Cook Time: 30 minutes
- Category: Desserts, Snacks
- Method: Baking
- Cuisine: American
Nutrition
- Serving Size: 25
- Calories: 160
- Sugar: 10 g
- Sodium: 70 mg
- Fat: 8 g
- Saturated Fat: 3 g
- Unsaturated Fat: 4 g
- Trans Fat: 0 g
- Carbohydrates: 20 g
- Fiber: 1 g
- Protein: 3 g
- Cholesterol: 15 mg
Jenna Hartley
Founder & Recipe Creator
Expertise
Education
Box Hill Institute, Melbourne
William Angliss Institute, Melbourne
Jenna is the heart of Picture Perfect Meals, turning simple ingredients into beautiful, easy‑to‑make dishes.
Growing up around family meals in Melbourne, she trained at Box Hill Institute and then perfected her pastry skills at William Angliss Institute. She loves mixing classic Australian flavors with fresh ideas to keep cooking fun and stress‑free.