Jolly Festive Snowman Oreo Balls Recipe for Winter Fun
Winter’s chill brings out the sweetest holiday spirit with these adorable snowman oreo balls that capture seasonal joy in every delightful bite.
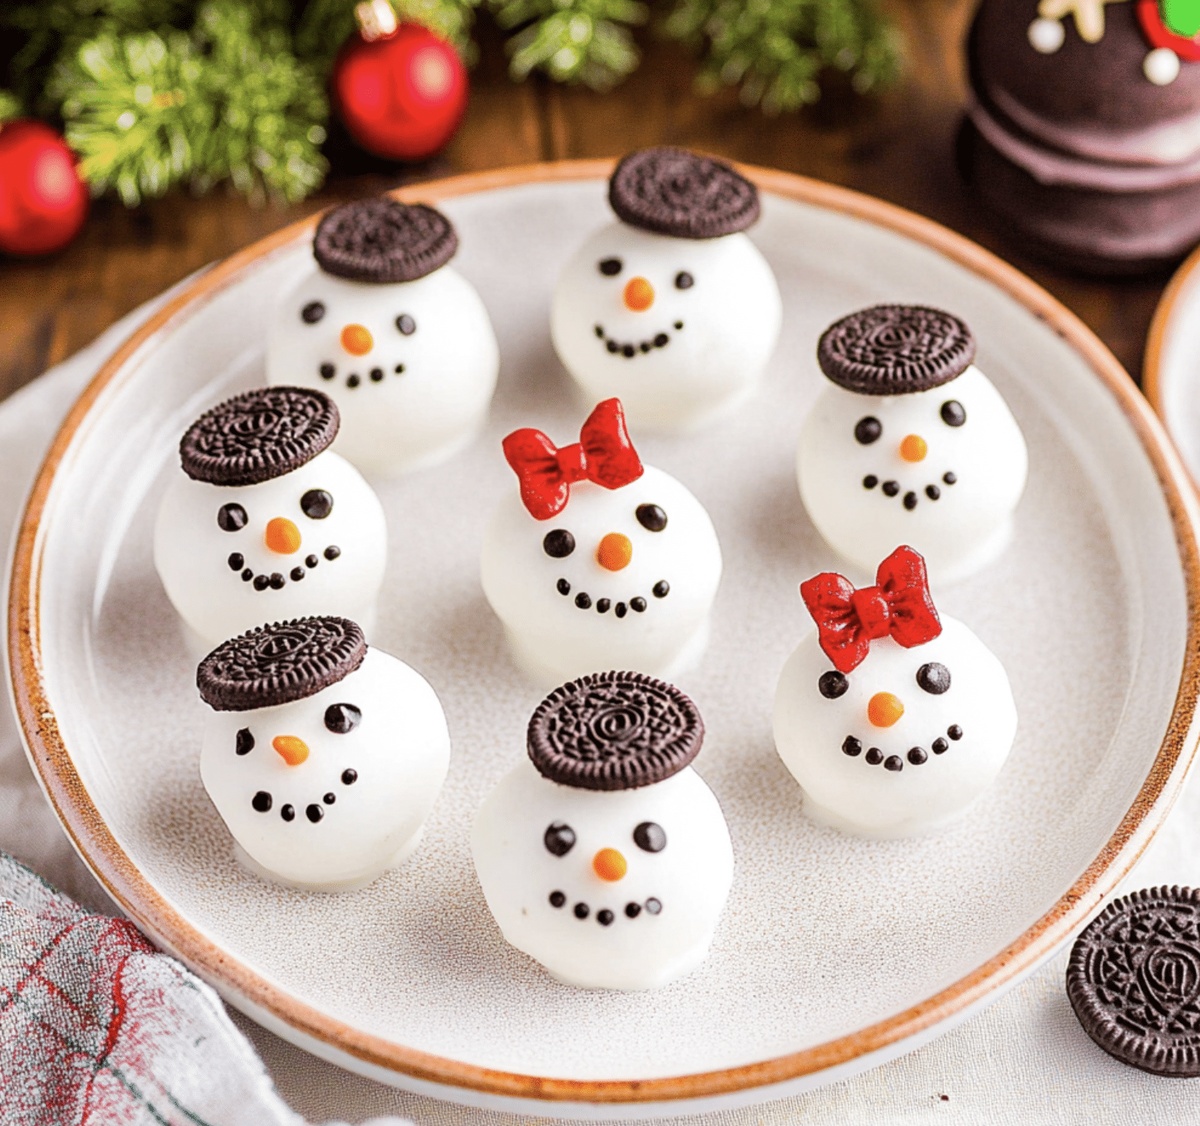
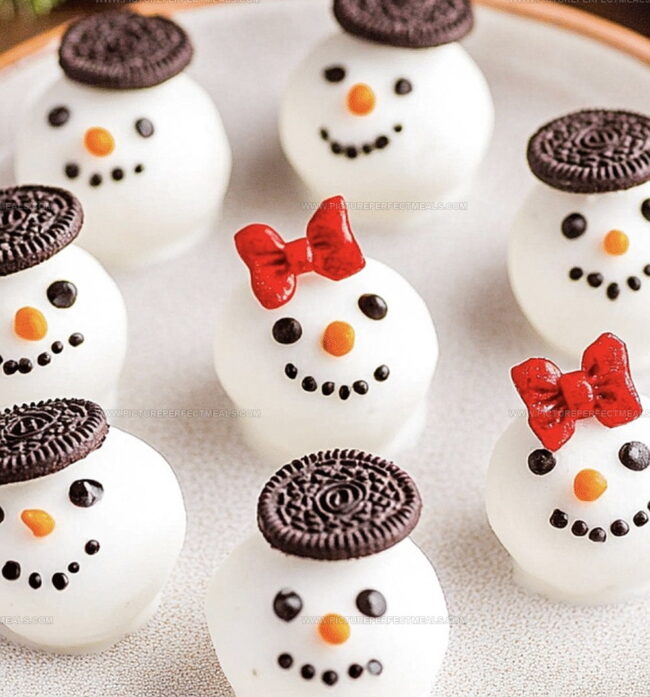
Creamy and festive, these snowman oreo balls create magical moments at holiday gatherings.
White chocolate coating and cute decorations turn simple ingredients into delectable treats.
Each little snowman ball becomes a charming edible masterpiece that sparkles with cheerful winter magic.
Chocolate cookie crumbs blend seamlessly with cream cheese, creating a smooth, irresistible center.
Guests will adore these playful desserts that bring whimsy and deliciousness to your holiday table.
Craft these delightful snowmen and watch smiles spread faster than winter’s first snowfall.
Quick Recipe Overview

Start Here – Ingredients for Snowman Oreo Balls
For Base and Binding:For Coating and Decorating:For Decorative Details:Gear You Need for Snowman Oreo Balls Perfection
Bringing Snowman Oreo Balls to Life: Step-by-Step
Toss Oreo cookies into a food processor and pulse until they transform into a sandy, crumbly texture that looks like fresh snow.
Plop the softened cream cheese into the processor and whirl everything together until you have a perfectly smooth, creamy mixture that’s ready to become delicious snowman treats.
Roll the mixture into small balls, then gently mold them into three connected spheres of different sizes to create adorable snowman shapes – just like building a winter buddy in your kitchen.
Pop your snowman shapes into the refrigerator for about 30 minutes, letting them firm up and get ready for their delicious makeover.
Melt white chocolate and use it to coat each snowman, creating a smooth, glistening exterior. Add cute details like chocolate chip buttons, pretzel stick arms, or colorful candy decorations to give each snowman personality.
Return the decorated snowmen to the refrigerator for a final chill, allowing the chocolate coating to set and creating a perfect, bite-sized winter treat that’s sure to make everyone smile.
Chef Tips to Upgrade Snowman Oreo Balls
Ways to Share and Enjoy Snowman Oreo Balls
Save & Store Snowman Oreo Balls the Right Way
Print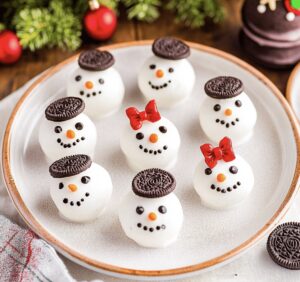
Festive Snowman Oreo Balls Recipe
- Total Time: 50 minutes
- Yield: 37 1x
Description
Snowman oreo balls combine creamy cheese and crushed cookies into adorable winter treats. Holiday guests will love these charming no-bake desserts that deliver sweet festive cheer.
Ingredients
- 36 Oreo cookies (about 1 standard package)
- 8 oz (225 g) cream cheese, softened
- 2 cups (350 g) white chocolate or white candy melts
- Mini chocolate chips
- Orange sprinkles
- Black decorating gel
- Pretzel sticks (optional)
- Candy-coated sunflower seeds
Instructions
- Pulverize Oreos: Transform cookies into ultra-fine crumbs using a food processor, ensuring absolute uniformity without any substantial fragments.
- Blend Base: Thoroughly integrate softened cream cheese with cookie crumbs, creating a seamless, homogeneous mixture that holds together effortlessly.
- Shape Snowman Bodies: Craft graduated spheres representing different body segments – a petite orb for the head and a broader base, maintaining proportional variation.
- Chill Formations: Refrigerate shaped figures until solidly structured, approximately 15-20 minutes, which enhances structural integrity for subsequent coating.
- Chocolate Immersion: Delicately submerge each chilled snowman into melted white chocolate, guaranteeing comprehensive, silky coverage with minimal dripping.
- Artistic Embellishment: While chocolate remains slightly tacky, strategically position miniature chocolate chips as eyes, slender pretzel sticks as arms, and vibrant orange candy representing a whimsical carrot nose.
- Final Refinement: Return decorated snowmen to refrigeration, allowing chocolate coating to completely crystallize and stabilize decorative elements, creating charming winter-themed confections.
Notes
- Crumb Consistency: Pulse Oreo cookies in the food processor until finely ground, avoiding large chunks that disrupt smooth texture.
- Cheese Blending Technique: Ensure cream cheese is softened at room temperature for seamless integration with cookie crumbs, preventing lumpy mixture.
- Chilling Strategy: Refrigerate shaped balls before coating to maintain structural integrity and prevent chocolate from melting during dipping.
- Decorating Pro Tip: Work quickly when adding decorative elements like candy eyes or pretzel arms before chocolate sets completely.
- Prep Time: 20 minutes
- Cook Time: 30 minutes
- Category: Desserts, Snacks
- Method: Blending
- Cuisine: American
Nutrition
- Serving Size: 37
- Calories: 90
- Sugar: 8g
- Sodium: 50mg
- Fat: 5g
- Saturated Fat: 3g
- Unsaturated Fat: 2g
- Trans Fat: 0g
- Carbohydrates: 11g
- Fiber: 0g
- Protein: 1g
- Cholesterol: 10mg
Jenna Hartley
Founder & Recipe Creator
Expertise
Education
Box Hill Institute, Melbourne
William Angliss Institute, Melbourne
Jenna is the heart of Picture Perfect Meals, turning simple ingredients into beautiful, easy‑to‑make dishes.
Growing up around family meals in Melbourne, she trained at Box Hill Institute and then perfected her pastry skills at William Angliss Institute. She loves mixing classic Australian flavors with fresh ideas to keep cooking fun and stress‑free.