Irresistibly Flaky Butter Biscuits Recipe: Homemade Goodness!
Golden, buttery, and irresistibly crumbly flaky butter biscuits promise to melt in your mouth with each heavenly bite.
Southern kitchens have long celebrated this classic recipe that brings comfort and warmth to any meal.
Generations of bakers have perfected the art of creating these delectable treats with simple ingredients and precise techniques.
Crisp edges and soft interiors characterize these beloved biscuits that pair perfectly with jam, gravy, or enjoyed straight from the oven.
Layers of rich, creamy butter create a tender texture that transforms ordinary bread into something extraordinary.
Mastering this recipe elevates your baking skills and delivers a delightful experience that connects you to traditional home cooking.
Every baker deserves to savor the satisfaction of pulling these golden beauties from the oven and sharing them with loved ones.
Quick Recipe Overview
What You’ll Need for Butter Biscuits
For Base Components:For Fat Component:For Liquid Binding:Tools for Making Butter Biscuits
Bake Up Butter Biscuits
Crank your oven to a toasty 425F and grab a baking sheet lined with parchment paper.
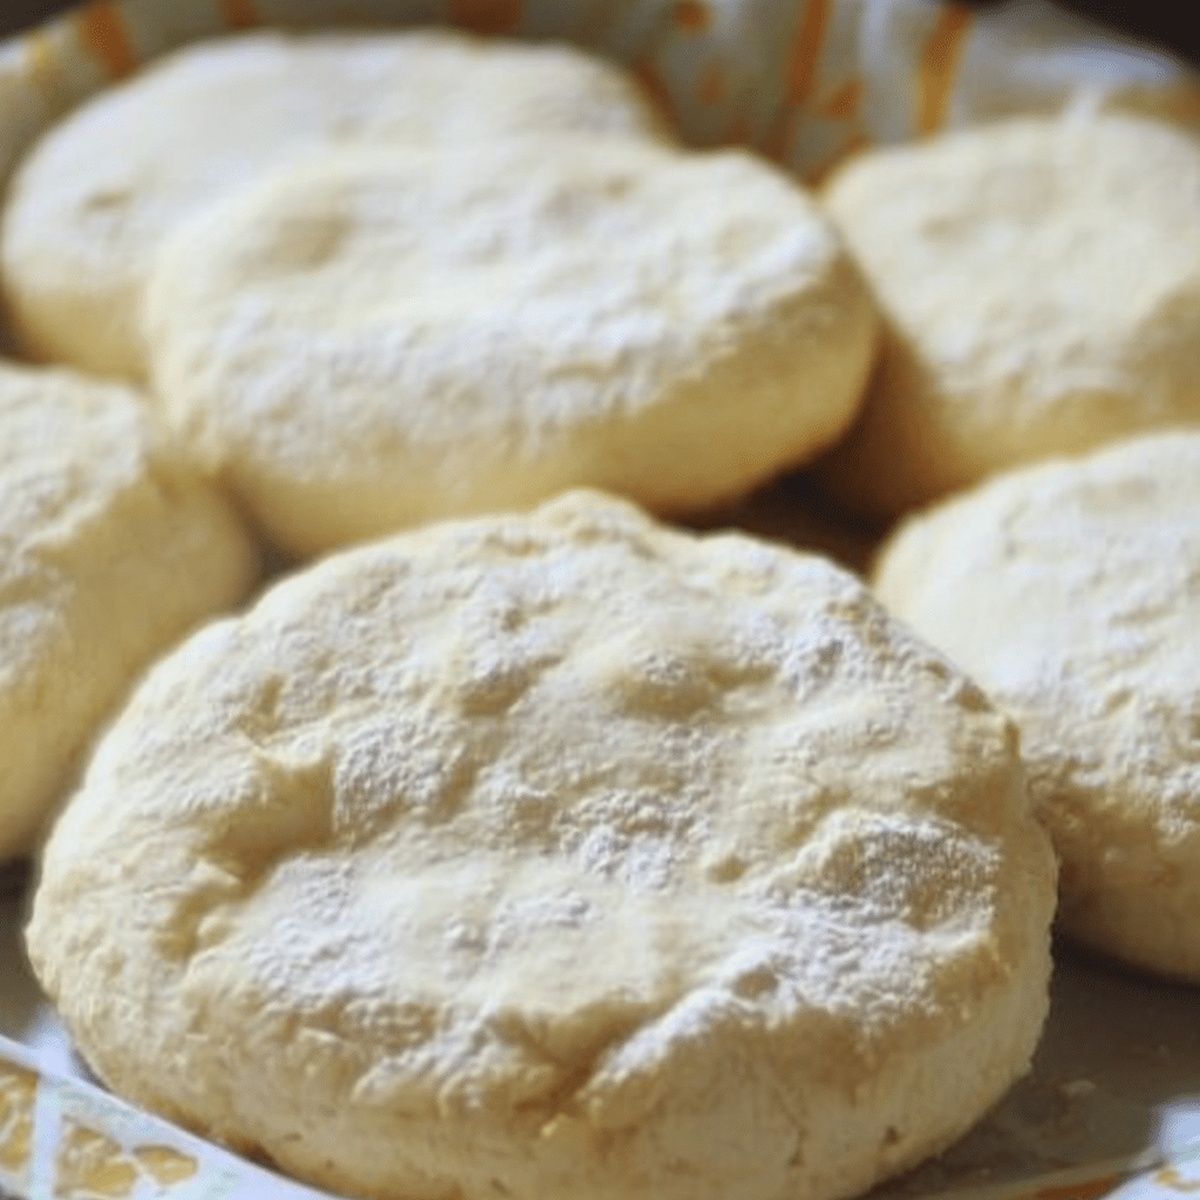
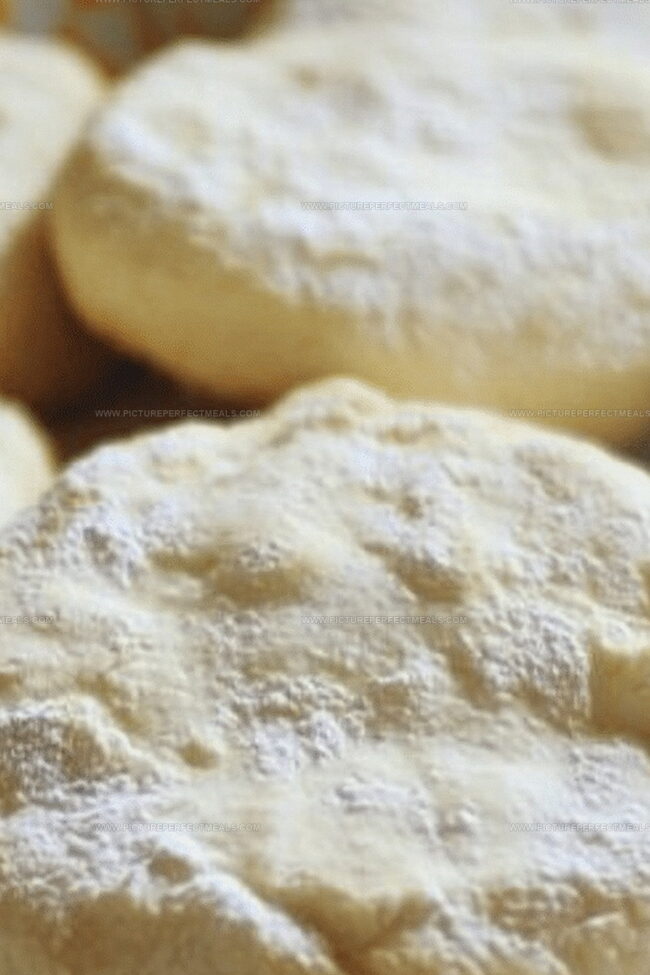
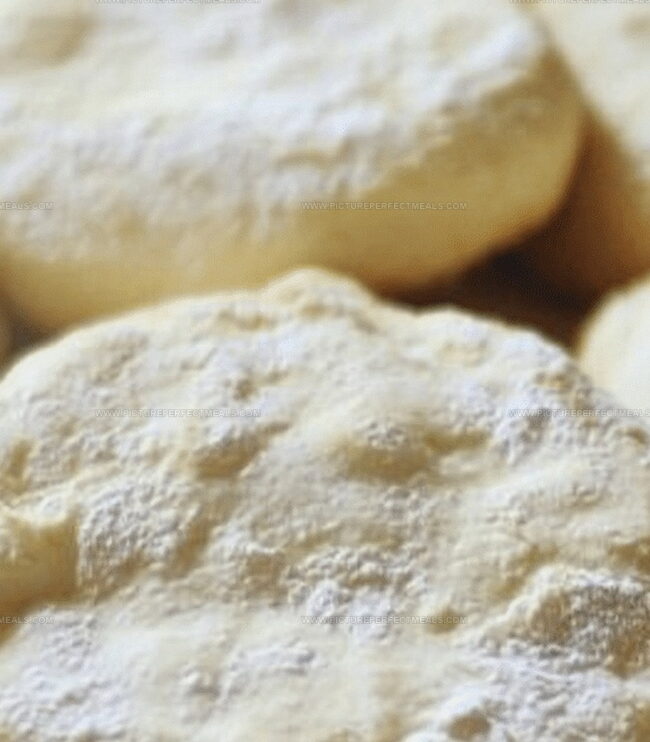
Toss flour, baking powder, salt, and optional sugar into a big mixing bowl and give them a quick whirl with a whisk.
Drop in cold butter chunks and use your fingertips or a pastry cutter to transform the mixture into a crumbly landscape with tiny butter pockets.
Pour milk slowly into the mixture, stirring gently until the dough just comes together. Remember, less mixing means more tender biscuits.
Scoop out dough onto the prepared baking sheet, leaving some breathing room between each biscuit. Slide the pan into the hot oven and bake until the edges turn golden and tops look perfectly crisp, about 12-15 minutes.
Pull out your beautiful biscuits and let them rest for a few minutes. Serve warm with a generous smear of butter or your favorite jam for a seriously delightful treat.
Tips for Perfect Butter Biscuits
Serve Butter Biscuits Right
Store Butter Biscuits Properly
Print
Flaky Butter Biscuits Recipe
- Total Time: 22 minutes
- Yield: 9 1x
Description
Heavenly butter biscuits from Southern kitchens offer a golden, flaky treat perfect for breakfast or dinner. Rich buttermilk and simple ingredients create a comforting classic you’ll savor with pure culinary delight.
Ingredients
- ¾ cup (180 ml) whole milk or buttermilk
- ½ cup (115 g) cold unsalted butter (cubed)
- 2 cups (250 g) all-purpose flour
- 1 tbsp baking powder
- 1 tbsp granulated sugar
- ½ tsp salt
Instructions
- Oven Preparation: Calibrate oven to 425F (220C) and blanket a baking sheet with parchment paper or silicone mat for optimal baking surface.
- Dry Mixture Formation: Combine flour, baking powder, salt, and sugar in a spacious mixing bowl, whisking ingredients to ensure uniform distribution.
- Butter Integration: Incorporate cold cubed butter into dry ingredients using a pastry cutter or fingertips, breaking down butter until mixture resembles coarse, uneven granules.
- Dough Development: Gradually fold in cold milk with gentle strokes, blending until dough coheres without overworking, maintaining a delicate texture.
- Dough Shaping: Transfer mixture to a floured surface, tenderly pat into a unified mass approximately 3/4 inch thick, avoiding excessive compression.
- Biscuit Molding: Deploy a round cutter to craft precise biscuit shapes, pressing directly down without rotation to preserve clean edges and optimal rising potential.
- Baking Configuration: Arrange biscuits on prepared sheet, positioning them adjacently to encourage vertical expansion and soft, connected sides during cooking.
- Baking Transformation: Slide baking sheet into preheated oven, allowing biscuits to metamorphose into golden, airy delicacies with crisp exterior and tender crumb within 12-15 minutes.
- Final Touch: Extract from oven, pause briefly, and optionally embellish with a brush of melted butter for enhanced flavor and lustrous appearance before serving.
Notes
- Chill Butter Strategically: Use extremely cold butter cut into small cubes to create flaky, tender biscuit layers that melt beautifully during baking.
- Handle Dough Minimally: Avoid overworking the mixture, which can develop gluten and result in tough, dense biscuits; gentle mixing preserves delicate texture.
- Check Oven Temperature Precisely: Ensure accurate 425F heat for optimal rising and golden-brown exterior; an oven thermometer helps guarantee consistent results.
- Customize Effortlessly: Experiment with add-ins like shredded cheese, herbs, or cracked black pepper to transform basic biscuits into gourmet variations without compromising core technique.
- Prep Time: 10 minutes
- Cook Time: 12 minutes
- Category: Breakfast, Snacks, Desserts
- Method: Baking
- Cuisine: American
Nutrition
- Serving Size: 9
- Calories: 210
- Sugar: 2 g
- Sodium: 200 mg
- Fat: 12 g
- Saturated Fat: 7 g
- Unsaturated Fat: 4 g
- Trans Fat: 0 g
- Carbohydrates: 24 g
- Fiber: 1 g
- Protein: 3 g
- Cholesterol: 30 mg
Jenna Hartley
Founder & Recipe Creator
Expertise
Education
Box Hill Institute, Melbourne
William Angliss Institute, Melbourne
Jenna is the heart of Picture Perfect Meals, turning simple ingredients into beautiful, easy‑to‑make dishes.
Growing up around family meals in Melbourne, she trained at Box Hill Institute and then perfected her pastry skills at William Angliss Institute. She loves mixing classic Australian flavors with fresh ideas to keep cooking fun and stress‑free.