Fluffy Quiche Recipe

Cloud-Like Fluffy Quiche Recipe: Breakfast Joy on a Plate

Weekend brunches call for a delightful quiche that brings comfort and flavor right to your table.

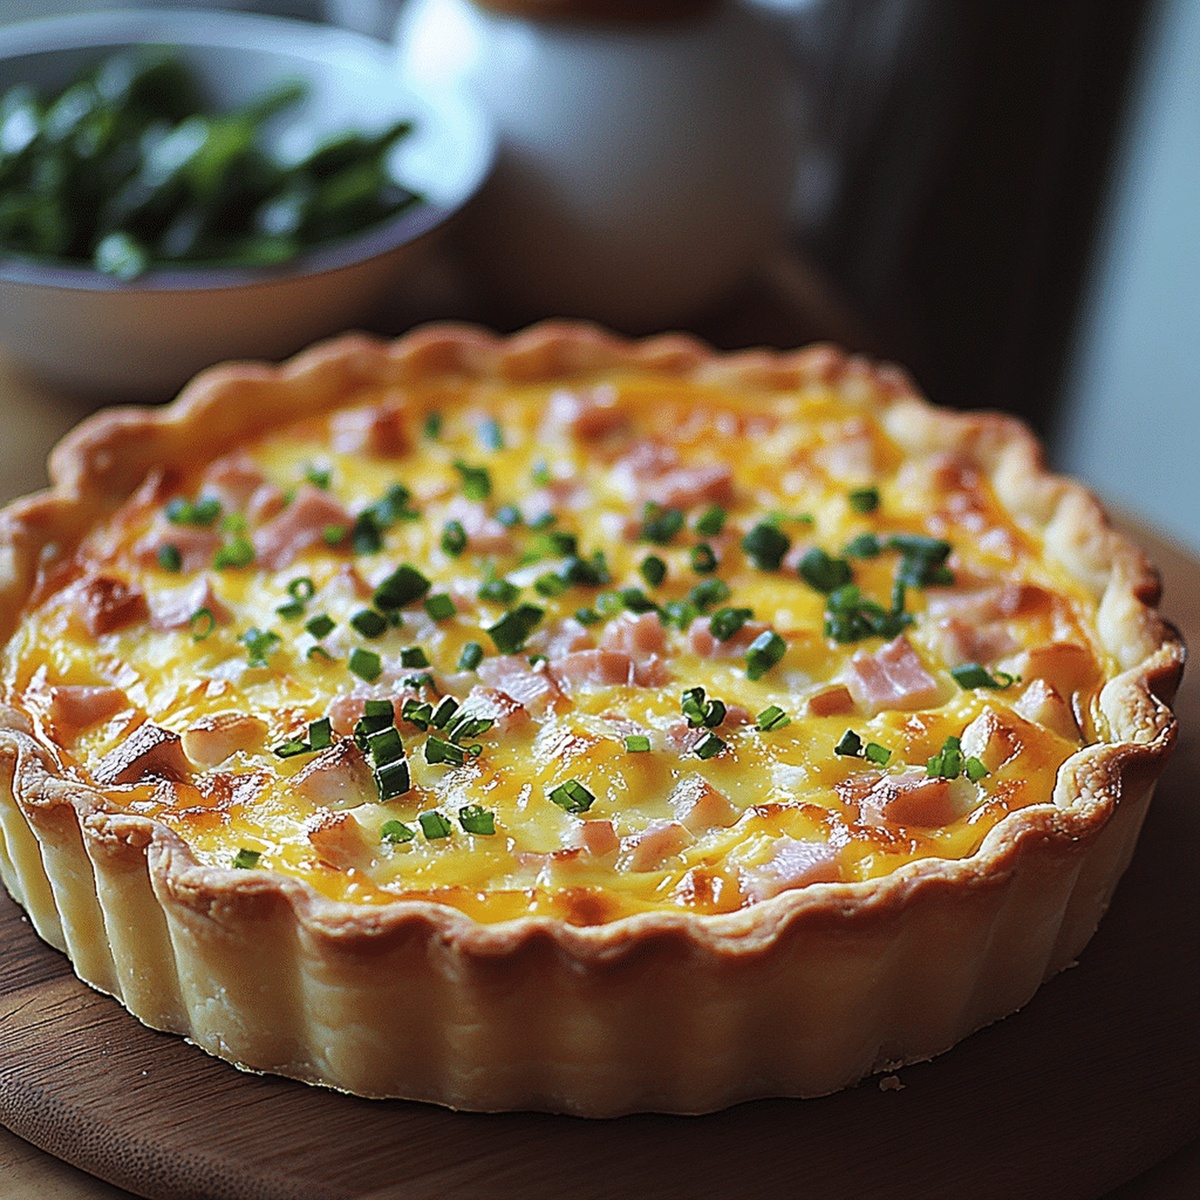
This creamy quiche recipe seamlessly blends rich ingredients with delicate textures.

Eggs, cheese, and crisp vegetables create a harmony that sings on your palate.

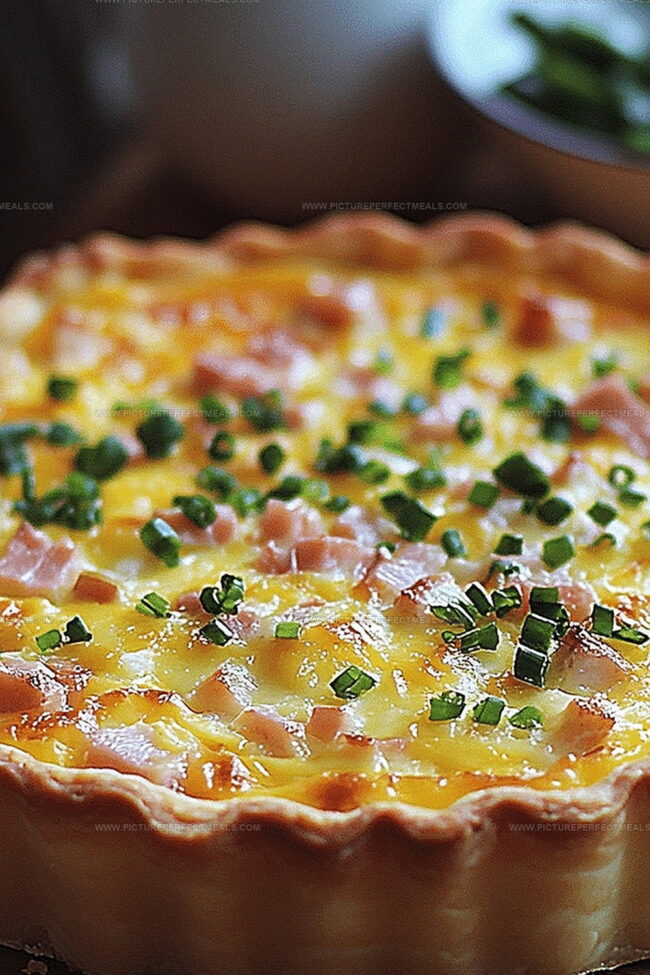
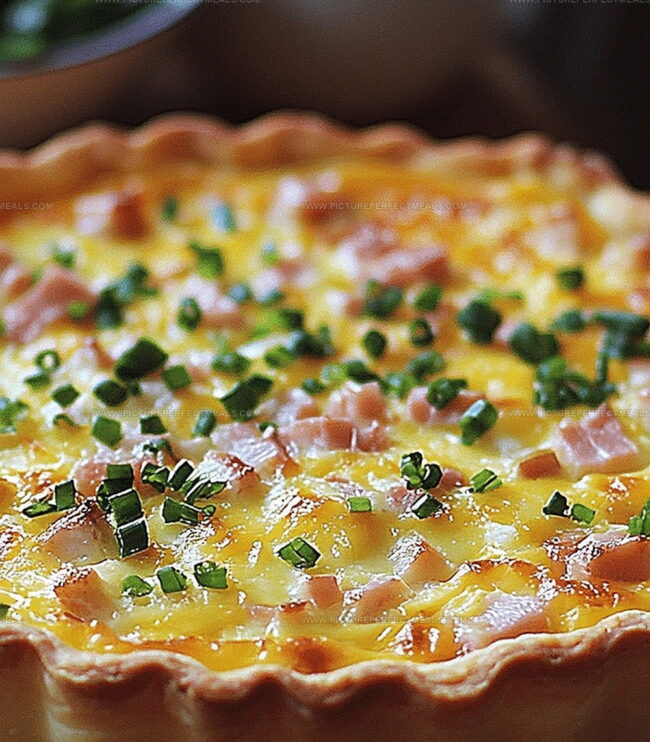
Crafted with simple techniques, the dish emerges golden and inviting from the oven.

Each slice promises a delectable journey through smooth custard and buttery crust.

The recipe offers a versatile approach that works perfectly for breakfast, lunch, or a light dinner.

Savor every bite and let this quiche become your new weekend favorite.

Quick Recipe Overview

Prep Time: 20 minutes

Cook Time: 40 minutes

Total Time: 1 hour

Calories: 431 kcal

Servings: 8

Classic Quiche Ingredient Guide

For The Crust:
  • All-Purpose Flour: Provides the sturdy base for a crisp, flaky foundation that holds the quiche together beautifully.
  • Salt: Enhances the overall flavor and balances the buttery crust with a subtle seasoning.
  • Cold Butter: Creates those signature flaky layers by staying solid and creating pockets of richness during baking.
  • Ice Water: Binds the ingredients without warming the butter, ensuring a tender, delicate crust texture.
For The Filling Base:
  • Eggs: Acts as the creamy binding agent that transforms loose ingredients into a luxurious, silky custard.
  • Heavy Cream: Delivers rich, velvety smoothness and adds decadent depth to the quiche's texture.
  • Salt: Amplifies and harmonizes the natural flavors of the eggs and additional ingredients.
  • Black Pepper: Introduces a gentle warmth and subtle spiciness that brightens the entire dish.
  • Nutmeg: Provides a delicate, aromatic undertone that elevates the overall flavor profile.
For The Add-Ins:
  • Cheese: Melts into pockets of gooey goodness, creating unexpected bursts of flavor throughout the quiche.
  • Optional Fillings (Spinach, Ham, Mushrooms): Contribute personal flair, texture, and nutritional variety to the classic quiche.

Tools for Baking a Fluffy, Savory Quiche

  • Pie dish: 9-inch round baking dish for forming and baking the quiche.
  • Pastry cutter or fingers: Tool for cutting cold butter into flour to create crumbly texture.
  • Mixing bowl: Medium-sized bowl for preparing crust and egg mixture.
  • Whisk: Essential for blending eggs, cream, and seasonings smoothly.
  • Rolling pin: Used to roll out pie dough evenly on floured surface.
  • Parchment paper: Prevents crust from sticking and helps with weight distribution.
  • Pie weights or dried beans: Keeps crust flat during initial baking.
  • Sharp knife: Helps trim excess dough from pie crust edges.
  • Measuring cups and spoons: For accurate ingredient quantities.

How to Bake a Quiche That’s and Golden

  • Craft the Pastry Shell

Blend flour with a pinch of salt. Crumble chilled butter into the mixture using fingertips until it looks like rough sand. Drizzle icy water gradually, kneading until dough forms a compact ball. Wrap and chill in refrigerator for half an hour.

  • Shape and Pre-Bake Crust

Warm oven to 375F. Roll out dough on floured surface and drape into pie pan. Trim edges neatly. Cover with parchment, fill with ceramic weights. Bake 15 minutes, then remove weights and continue baking 5 more minutes until lightly golden.

  • Whip Up Creamy Filling

Crack eggs into bowl. Whisk together with cream, seasoning with salt, pepper, and delicate nutmeg. Mix until smooth and well-combined.

  • Layer and Pour

Sprinkle cheese across bottom of pre-baked shell. Scatter preferred fillings evenly. Gently pour egg mixture over ingredients, ensuring complete coverage.

  • Bake to Perfection

Place in oven, baking 35-40 minutes. Watch for center to set and surface to turn beautiful golden brown. Let rest 10-15 minutes before slicing.

  • Serve and Savor

Cut into wedges. Pair with crisp salad or fresh fruit. Enjoy warm or at room temperature.

Ideas to Customize Your Quiche Flavorfully

  • Make-Ahead Magic: Prepare the quiche crust and filling a day in advance, storing them separately in the refrigerator. When ready to bake, simply assemble and pop into the oven for a stress-free meal.
  • Freezer-Friendly Feast: Wrap the fully baked quiche tightly in plastic wrap and aluminum foil. It can be frozen for up to 3 months. Thaw overnight in the refrigerator and reheat in a 350F oven for 15-20 minutes.
  • Dairy-Free Delight: Swap heavy cream with coconut milk or almond milk. Replace cheese with nutritional yeast or dairy-free cheese alternatives for a lactose-free version.
  • Veggie Swap Station: Get creative with fillings! Try roasted bell peppers, spinach, caramelized onions, or sun-dried tomatoes. Mix and match vegetables to create your unique flavor profile.
  • Protein Power-Up: Add cooked chicken, crispy bacon, or ham to transform the quiche into a more substantial meal. For vegetarian protein, incorporate crumbled tofu or cooked lentils into the filling.

Serving Quiche for Breakfast, Brunch, or Dinner

  • Brunch Companion Delight: Pair your quiche with a crisp mixed green salad dressed in a light vinaigrette for a balanced and refreshing meal that complements the rich, creamy texture.
  • Breakfast Flavor Boost: Serve alongside fresh fruit like berries or sliced melon to add a sweet and tangy element that cuts through the quiche's richness and provides a nutritional punch.
  • Wine Pairing Perfection: Choose a chilled white wine such as Sauvignon Blanc or Chardonnay to enhance the quiche's flavors and create an elegant dining experience that elevates the entire meal.
  • Sides and Garnish Magic: Top the quiche with fresh chopped herbs like chives or parsley to add a pop of color and a bright, fresh flavor that makes the dish look and taste more sophisticated.

Storage Tips to Keep Quiche Tasting Fresh

  • Fridge Storage Magic: Wrap leftover quiche slices individually in aluminum foil or plastic wrap. Refrigerate for up to 4 days, keeping the crust crispy and filling fresh. Seal in an airtight container to maintain optimal taste and texture.
  • Make-Ahead Meal Prep: Prepare the entire quiche 1-2 days before serving. Store completely cooled quiche in the refrigerator, covered tightly. Reheat gently in a 325F oven for 15-20 minutes to restore its original delicious warmth and prevent drying out.
  • Freezer-Friendly Option: Slice cooled quiche into individual portions. Wrap each slice in freezer-safe wrapping, then place in a sealed freezer bag. Freeze for up to 3 months. Thaw overnight in the refrigerator and reheat in the oven until warmed through.
  • Quick Reheating Trick: For best results, reheat quiche in an oven rather than a microwave. Microwaving can make the crust soggy and compromise the creamy egg texture. Use a 325F oven for 15-20 minutes to maintain the original crisp crust and smooth filling.
Print
clock clock iconcutlery cutlery iconflag flag iconfolder folder iconinstagram instagram iconpinterest pinterest iconfacebook facebook iconprint print iconsquares squares iconheart heart iconheart solid heart solid icon
Fluffy Quiche Recipe

Fluffy Quiche Recipe


5 Stars 4 Stars 3 Stars 2 Stars 1 Star

4.8 from 27 reviews

  • Total Time: 1 hour
  • Yield: 9 1x

Description

Delectable spinach and feta quiche celebrates Mediterranean flavors with a crisp, buttery crust. Creamy eggs, tangy cheese, and fresh spinach create a perfect brunch or light dinner option you’ll savor with each delightful bite.


Ingredients

Scale
  • 4 large eggs
  • 1 ½ cups (360 ml / 12 fl oz) heavy cream or whole milk
  • 1 cup (100 g / 3.5 oz) shredded cheese (Gruyere, Swiss, cheddar, or your favorite)
  • 1 cup filling of choice (cooked bacon, ham, sauteed spinach, mushrooms, onions, or roasted vegetables)
  • 1 ¼ cups (156 g / 5.5 oz) all-purpose flour
  • ½ cup (113 g / 4 oz) cold unsalted butter, cubed
  • ½ tsp (2.5 g) salt
  • ¼ tsp (1.25 g) black pepper
  • ½ tsp (2.5 g) salt
  • 1/8 tsp (0.625 g) ground nutmeg (optional)
  • 34 tbsps (510 ml / 17 fl oz) ice water

Instructions

  1. Pastry Preparation: In a mixing bowl, blend flour and salt, then cut in cold butter until the mixture resembles coarse crumbs. Drizzle icy water and knead gently until the dough forms a cohesive disk. Wrap in plastic and refrigerate for 30 minutes.
  2. Crust Formation: Preheat oven to 375F (190C). Roll out the chilled dough and carefully line a 9-inch pie dish, trimming and crimping the edges artfully. Line with parchment paper and fill with ceramic weights or dried beans.
  3. Blind Baking: Bake the crust for 15 minutes with weights, then remove weights and continue baking for an additional 5 minutes until light golden. This ensures a crisp, flaky foundation.
  4. Custard Creation: Whisk eggs, cream, salt, pepper, and nutmeg in a bowl until smooth and fully integrated. The mixture should have a silky, uniform consistency.
  5. Layering and Filling: Sprinkle cheese evenly across the partially baked crust, arrange ham, spinach, and herbs. Gently pour the egg mixture over the ingredients, ensuring complete and even coverage.
  6. Baking Finale: Place the quiche in the preheated oven and bake for 35-40 minutes. The center should set firmly, and the surface should develop a rich, golden-brown color.
  7. Resting and Serving: Remove from oven and let the quiche rest for 10-15 minutes, allowing the custard to stabilize. Slice and serve warm or at room temperature, paired with a light salad or fresh fruit.

Notes

  • Chill Butter Thoroughly: Ensure butter is ice-cold and cubed for the most flaky, tender pastry crust that crumbles perfectly with each bite.
  • Blind Bake Precisely: Pre-baking the crust prevents a soggy bottom, creating a crisp foundation that holds the creamy egg mixture without becoming waterlogged.
  • Balance Egg Mixture Carefully: Maintain a 1:1 ratio of cream to eggs for a silky, luxurious custard texture that sets beautifully without becoming rubbery or dense.
  • Customize Fillings Strategically: Pre-cook moisture-rich vegetables like spinach or mushrooms to prevent excess liquid from making the quiche watery and compromising the delicate texture.
  • Prep Time: 20 minutes
  • Cook Time: 40 minutes
  • Category: Breakfast, Lunch, Dinner
  • Method: Baking
  • Cuisine: French

Nutrition

  • Serving Size: 9
  • Calories: 350
  • Sugar: 2 g
  • Sodium: 400 mg
  • Fat: 28 g
  • Saturated Fat: 17 g
  • Unsaturated Fat: 8 g
  • Trans Fat: 1 g
  • Carbohydrates: 18 g
  • Fiber: 1 g
  • Protein: 9 g
  • Cholesterol: 160 mg
Jenna Hartley

Jenna Hartley

Founder & Recipe Creator

Expertise

  • Recipe development with a focus on single-dish meals.
  • Fusion of traditional and modern Australian cuisines.
  • Food styling and photography for digital platforms.​

Education

Box Hill Institute, Melbourne

  • Degree: Advanced Diploma of Hospitality Management
  • Focus: Specialized in practical food and beverage service, responsible alcohol and hygiene compliance, legal risk management, and hands‑on experience in a simulated restaurant environment.

William Angliss Institute, Melbourne

  • Program: Certificate IV in Patisserie
  • Focus: Specialized in pastry and bakery techniques, cookery and specialty food preparation, recipe planning and costing, commercial kitchen operations, sustainable and inclusive work practices, food safety and hygiene compliance, and workplace health and safety.

Jenna is the heart of Picture Perfect Meals, turning simple ingredients into beautiful, easy‑to‑make dishes. 

Growing up around family meals in Melbourne, she trained at Box Hill Institute and then perfected her pastry skills at William Angliss Institute. She loves mixing classic Australian flavors with fresh ideas to keep cooking fun and stress‑free.

Leave a Reply

Your email address will not be published. Required fields are marked *

Recipe rating 5 Stars 4 Stars 3 Stars 2 Stars 1 Star