
Heavenly, Fudgy Gooey Brownies Recipe for Sweet Bliss
Chocolate lovers find pure bliss in these decadent, melt-in-your-mouth gooey brownies that promise an indulgent chocolate experience.
Rich cocoa and smooth butter create a heavenly texture that makes every bite irresistible.
The perfect balance of ingredients ensures a soft, fudgy center that beckons dessert enthusiasts.
These brownies deliver a classic treat with an extra dose of deliciousness.
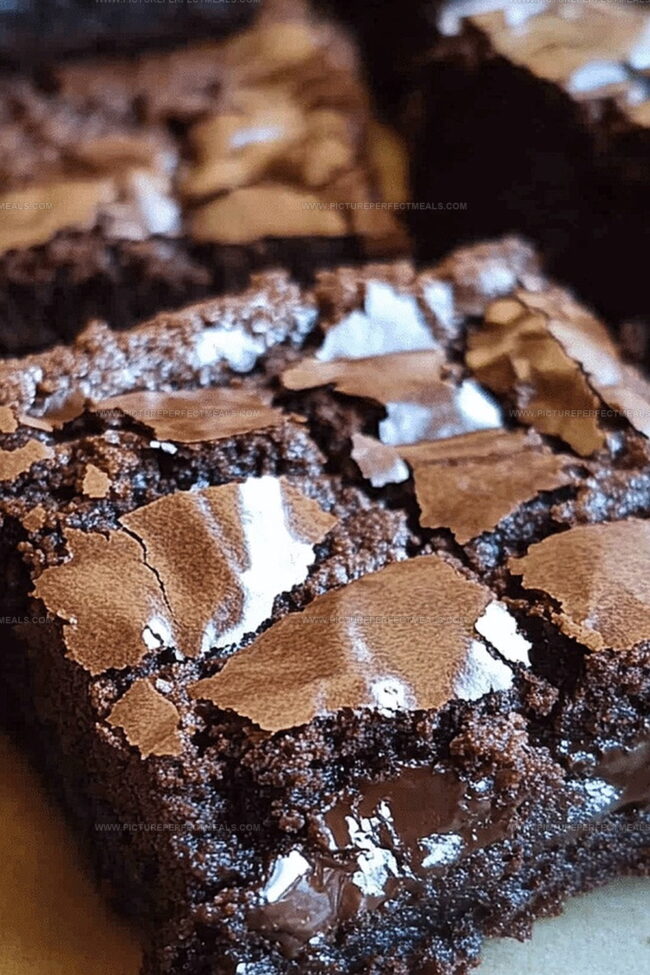
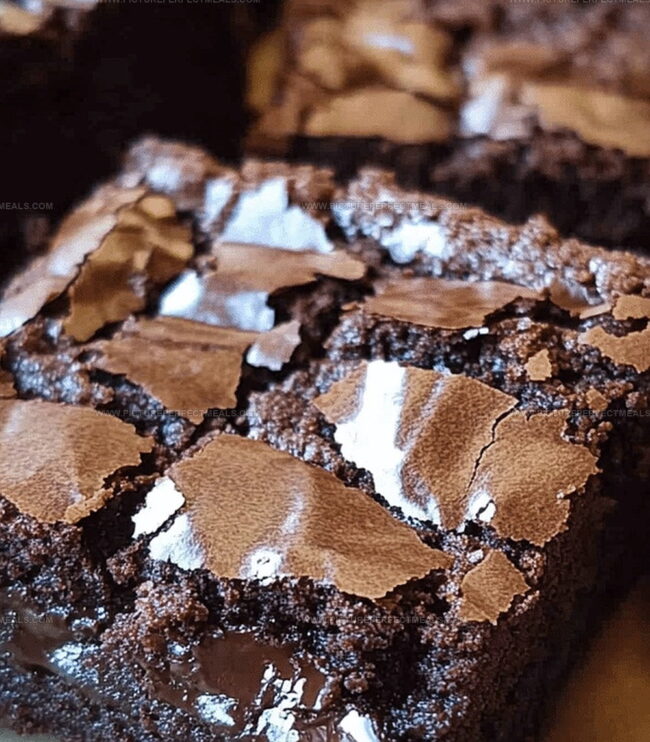
Crisp edges and a molten middle make this recipe a standout among chocolate desserts.
Each square brings comfort and pure satisfaction to your plate.
You’ll want to savor every delectable morsel of these irresistible chocolate squares.
Quick Recipe Overview
Better Than a Boyfriend Brownies: What You’ll Need
For Base And Chocolate:For Dry Ingredients:For Sweetness And Binding:Tools to Mix, Pour, and Bake These Dreamy Brownies
How to Bake These Rich, Chewy, Can’t-Stop Brownies
Crank your oven to a toasty 350°F, getting ready for some serious chocolate magic.
Grab a 9×9-inch pan and give it a quick spray with cooking oil. Then tuck a piece of parchment paper inside, letting the edges hang over – this will make brownie removal a total breeze.
Grab a large mixing bowl and melt your butter and chocolate together. Stir until they’re smooth and glossy, creating a rich, velvety mixture that’ll make your kitchen smell incredible.
Whisk in sugar, eggs, and vanilla until everything blends into a silky, luxurious batter. Your arm might get a little tired, but trust me, it’s totally worth it.
Sprinkle in flour, cocoa powder, and salt. Gently fold everything together, being careful not to overmix – you want these brownies tender and fudgy.
Transfer your luscious batter into the prepared pan. Use a spatula to spread it evenly, making sure every corner gets some chocolate love.
Slide the pan into the preheated oven and bake for about 25-30 minutes. You’ll know they’re done when the edges look set but the center still has a slight jiggle.
Let the brownies cool completely in the pan. Then use those parchment paper edges to lift them out and slice into decadent squares of pure happiness.
Add a Layer, a Swirl, or Some Crunch
Serve Warm With Ice Cream or Cold Milk
Store So Every Square Stays Fudgy and Good
Print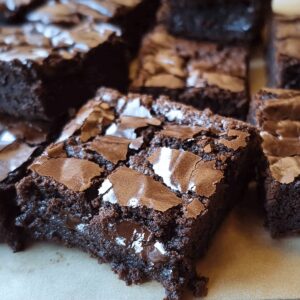
Gooey Brownies Recipe
- Total Time: 45 minutes
- Yield: 13 1x
Description
Chocolate-packed better than a boyfriend brownies redefine dessert indulgence with rich layers of intense flavor. Fudgy chocolate goodness and unexpected ingredients create a delightful treat you’ll crave again and again.
Ingredients
- 3 large eggs
- 1 ½ cups (300 grams) granulated sugar
- ½ cup (100 grams) brown sugar, packed
- 1 cup (2 sticks or 227 grams) unsalted butter, melted
- 2 tsps vanilla extract
- 1 cup (120 grams) all-purpose flour
- ¾ cup (75 grams) unsweetened cocoa powder
- ½ tsp salt
- ½ tsp baking powder
- 1 cup (170 grams) semisweet chocolate chips
- ½ cup (120 milliliters) caramel sauce
- ½ cup (60 grams) chopped walnuts or pecans
- ½ cup (50 grams) mini marshmallows
- Sprinkle of sea salt for garnish
Instructions
- Preheat: Warm the oven to 350°F (175°C), ensuring an ideal baking environment for chocolate decadence.
- Pan Preparation: Grease a 9×9-inch baking pan with butter, line with parchment paper, creating easy removal access for the finished brownies.
- Dry Ingredients: Thoroughly whisk flour, cocoa powder, and salt in a large mixing bowl until completely blended and lump-free.
- Chocolate Base: Melt chocolate and butter together using a double boiler or microwave, stirring until achieving a smooth, glossy consistency.
- Sugar Integration: Whisk granulated and brown sugars into the molten chocolate mixture, blending until the sugars fully dissolve and create a silky texture.
- Egg Incorporation: Add eggs one at a time, mixing vigorously to create a uniform, rich batter that promises ultimate brownie indulgence.
- Batter Fusion: Delicately fold dry ingredients into the wet mixture, minimizing stirring to preserve the brownie’s tender crumb and luxurious texture.
- Baking Process: Transfer batter to the prepared pan, spreading evenly and tapping to eliminate air bubbles, then bake for 25-30 minutes until the center sets and a delicate crackly top forms.
- Cooling and Serving: Allow brownies to cool completely in the pan, then lift using parchment paper, slice into squares, and savor this ultimate chocolate experience.
Notes
- Chocolate Quality Matters: Select high-quality dark or semi-sweet chocolate for deeper, more robust flavor that elevates the entire brownie experience.
- Precise Mixing Technique: Avoid overmixing batter after adding dry ingredients to maintain a tender, fudgy texture and prevent tough, dense brownies.
- Temperature Control Critical: Let eggs and butter reach room temperature before mixing to ensure smoother batter integration and more consistent baking results.
- Altitude Adjustment Needed: For high-altitude baking, reduce sugar slightly and increase oven temperature by 25°F to compensate for lower air pressure affecting texture.
- Prep Time: 10 minutes
- Cook Time: 35 minutes
- Category: Desserts, Snacks
- Method: Baking
- Cuisine: American
Nutrition
- Serving Size: 13
- Calories: 370
- Sugar: 34 g
- Sodium: 130 mg
- Fat: 21 g
- Saturated Fat: 12 g
- Unsaturated Fat: 8 g
- Trans Fat: 0 g
- Carbohydrates: 42 g
- Fiber: 2 g
- Protein: 4 g
- Cholesterol: 85 mg
Jenna Hartley
Founder & Recipe Creator
Expertise
Education
Box Hill Institute, Melbourne
William Angliss Institute, Melbourne
Jenna is the heart of Picture Perfect Meals, turning simple ingredients into beautiful, easy‑to‑make dishes.
Growing up around family meals in Melbourne, she trained at Box Hill Institute and then perfected her pastry skills at William Angliss Institute. She loves mixing classic Australian flavors with fresh ideas to keep cooking fun and stress‑free.