Gooey Chocolate Chip Cookies Recipe

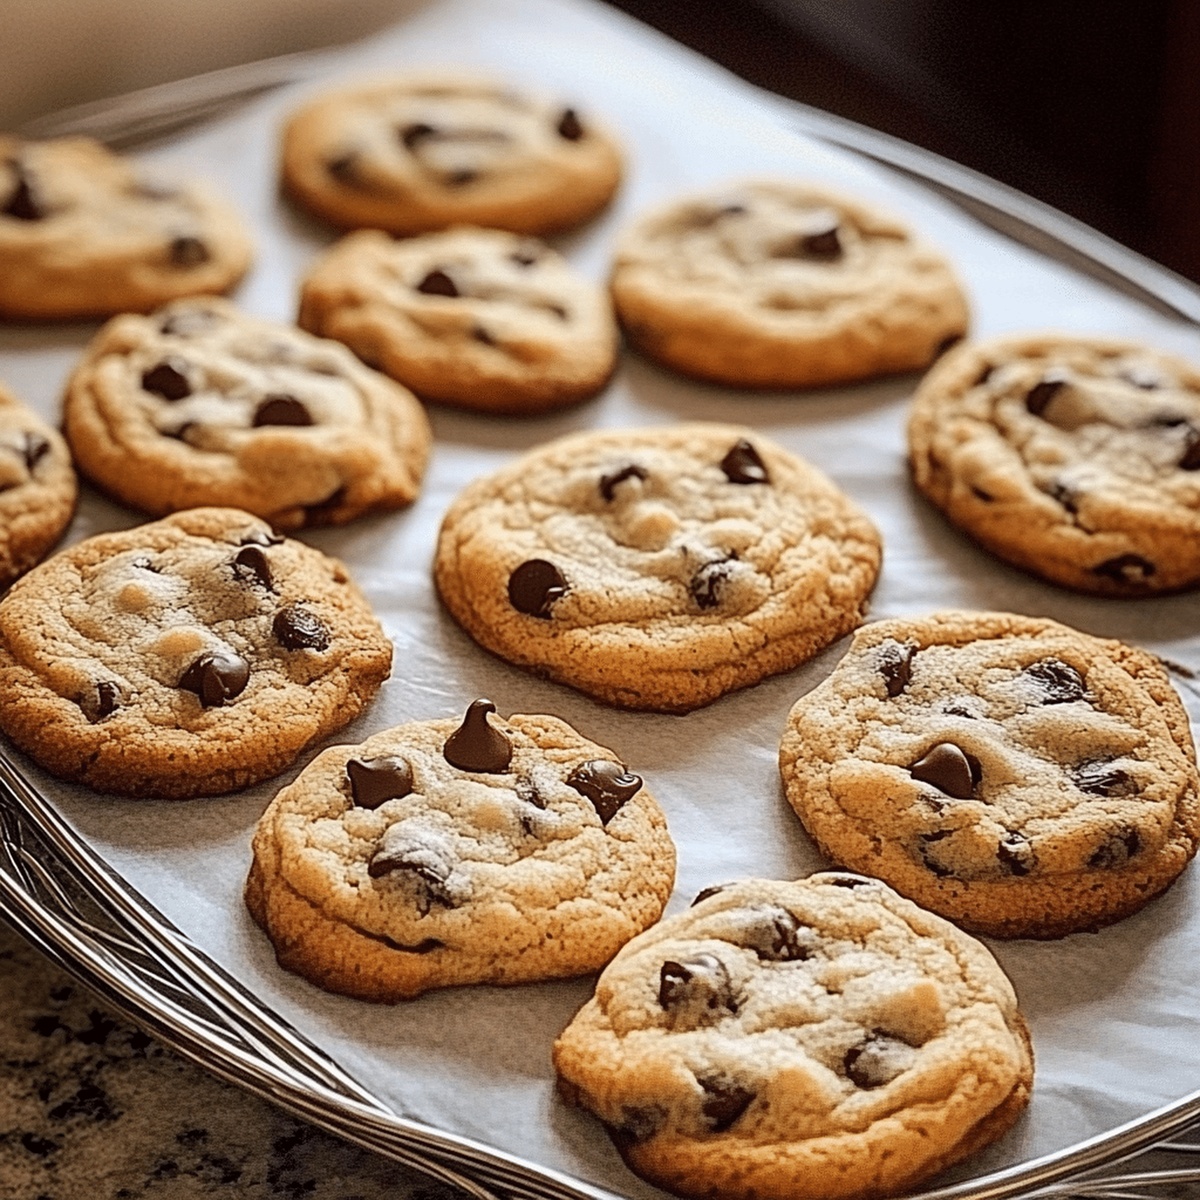
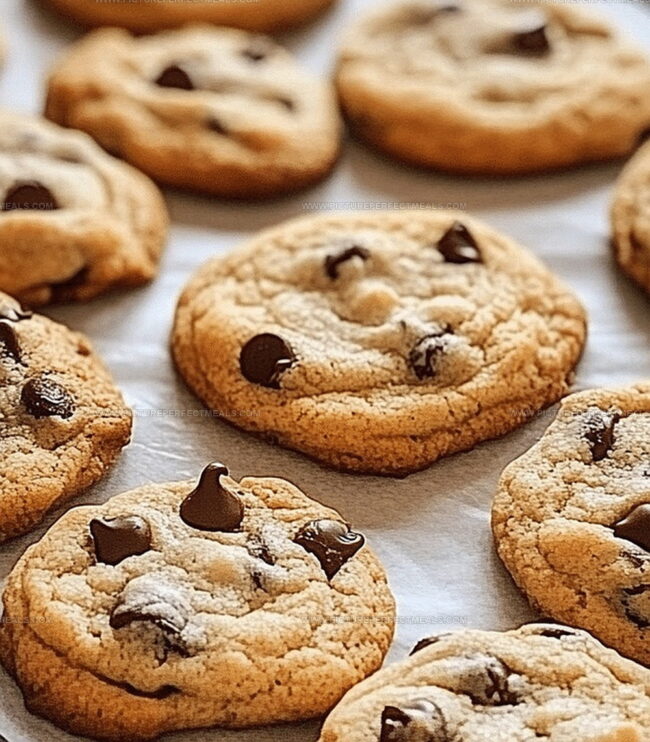
Soft & Gooey Chocolate Chip Cookies Recipe for Sweet Lovers

Warm, buttery chocolate chip cookies that melt chocolate chip cookies recipe in your mouth spark joy like nothing else.

These homemade treats promise pure delight with every bite.

Crafted with simple ingredients, this recipe delivers soft, chewy perfection.

Each cookie boasts a golden-brown exterior and a center so tender it practically melts.

The combination of rich chocolate and delicate dough creates an irresistible aroma that fills your kitchen.

No store-bought cookie can compete with the magic of freshly baked homemade goodness.

Prepare to embark on a sweet adventure that will have everyone asking for seconds.

Baking Chocolate Chip Cookies Like a Pro

  • Warm Up the Oven

Get your oven toasty at 375F and line baking sheets with parchment paper for perfect cookie success.

  • Create Creamy Base

Whip butter and sugars together until they transform into a fluffy cloud-like mixture using an electric mixer.

  • Blend Wet Ingredients

Drop in eggs and vanilla, mixing thoroughly to create a smooth, silky foundation for your cookies.

  • Combine Dry Mixtures

Gently fold flour, baking soda, and salt into the wet ingredients, stirring until just combined to keep the dough tender.

  • Add Chocolate Magic

Sprinkle chocolate chips throughout the dough, distributing them evenly for maximum deliciousness.

  • Shape Cookie Delights

Scoop generous dollops of dough onto prepared baking sheets, leaving space between each cookie.

  • Bake to Golden Perfection

Pop the cookies into the oven and bake until edges turn golden and centers look slightly soft, about 8-10 minutes.

  • Cool and Savor

Let cookies rest briefly on baking sheets, then transfer to a cooling rack and enjoy your homemade treats warm or later.

  • Butter Softening Trick: Let butter sit at room temperature for 30-45 minutes before baking to ensure perfect creaming and smoother cookie texture.
  • Chocolate Chip Selection: Experiment with different chocolate chip varieties like dark, milk, or semi-sweet chocolate for unique flavor profiles and texture variations.
  • Gluten-Free Adaptation: Swap all-purpose flour with a gluten-free flour blend to make these cookies suitable for those with gluten sensitivities, ensuring a similar texture and taste.
  • Freezer-Friendly Dough: Prepare cookie dough balls and freeze them on a baking sheet. Once frozen, transfer to a freezer bag for convenient baking later – perfect for unexpected cookie cravings.
  • Low-Sugar Alternative: Reduce sugar content by using monk fruit sweetener or replacing half the granulated sugar with stevia for a healthier version that still delivers delicious results.
  • Party Platter Presentation: Arrange cookies on a colorful ceramic platter with a doily, creating an elegant display that highlights their golden-brown edges and chocolate chips. Perfect for impressing guests at gatherings.
  • Milk and Cookies Combo: Serve alongside cold whole milk in mason jars or tall glasses, allowing each cookie to be dunked for a classic, nostalgic dessert experience that brings comfort and joy.
  • Ice Cream Sandwich Twist: Use two cooled cookies to sandwich a scoop of vanilla or chocolate ice cream, creating a decadent summer treat that transforms the classic chocolate chip cookie into a luxurious dessert.
  • Gifting Charm: Package cooled cookies in clear cellophane bags tied with rustic twine or ribbons, making adorable homemade gifts for teachers, neighbors, or friends who appreciate a personal touch.

Making and Storing Chocolate Chip Cookies Right

  • Cookie Freshness Protection: Store chocolate chip cookies in an airtight container at room temperature for 5-7 days, keeping them soft and delicious.
  • Quick Freezing Technique: Wrap individual cookies or dough portions in plastic wrap, then place in freezer bags. Frozen cookies last up to 3 months, ready to enjoy anytime.
  • Temperature Smart Storage: Keep cookies away from direct sunlight and heat sources. Room temperature between 68-72°F maintains optimal texture and flavor quality.
  • Make-Ahead Magic: Prepare cookie dough in advance and refrigerate for up to 3 days before baking. This method enhances flavor development and makes spontaneous baking easier.

Quick Recipe Overview

Prep Time: 10 minutes

Cook Time: 10 minutes

Total Time: 20 minutes

Calories: 200 kcal

Servings: 25

What Goes Into Chocolate Chip Cookies

For Fat and Sweeteners:
  • Butter: Provides rich, creamy flavor and helps create a tender cookie texture; use high-quality unsalted butter at room temperature for best results.
  • Granulated Sugar, Brown Sugar: Deliver sweetness and contribute to cookie's golden color and crisp edges; brown sugar adds moisture and deep caramel notes.
For Binding and Structure:
  • Eggs: Act as crucial binding agent that holds cookie ingredients together; choose fresh, large eggs at room temperature.
  • Vanilla Extract: Enhances overall flavor complexity and balances sweetness; opt for pure vanilla extract for best taste.
  • All-Purpose Flour: Builds cookie's foundational structure and provides necessary gluten for perfect texture; sift to remove any lumps.
  • Baking Soda: Enables cookies to rise and spread evenly; ensure it's fresh and not expired for optimal leavening.
  • Salt: Balances sweetness and amplifies other flavors; use fine kosher or sea salt for even distribution.
For Flavor Burst:
  • Chocolate Chips: Delivers delightful pockets of melted chocolate throughout cookie; choose high-quality chocolate with at least 60% cocoa content for rich flavor.
  • Electric Mixer: Essential for creaming butter and sugars to a light, fluffy texture.
  • Large Mixing Bowl: Needed for combining wet ingredients and mixing dough.
  • Separate Mixing Bowl: Used for whisking dry ingredients before adding to wet mixture.
  • Baking Sheets: Two sheets lined with parchment paper or silicone mats for baking cookies.
  • Spatula or Wooden Spoon: Perfect for folding in chocolate chips and stirring dough.
  • Tablespoon or Cookie Scoop: Helps measure and shape consistent cookie portions.
  • Wire Rack: Allows cookies to cool evenly after baking.
  • Whisk: Great for blending dry ingredients smoothly.
Print
clock clock iconcutlery cutlery iconflag flag iconfolder folder iconinstagram instagram iconpinterest pinterest iconfacebook facebook iconprint print iconsquares squares iconheart heart iconheart solid heart solid icon
Gooey Chocolate Chip Cookies Recipe

Gooey Chocolate Chip Cookies Recipe


5 Stars 4 Stars 3 Stars 2 Stars 1 Star

4.6 from 28 reviews

  • Total Time: 20 minutes
  • Yield: 25 1x

Description

Classic chocolate chip cookies deliver sweet comfort from grandmother’s kitchen to modern tables. Crisp edges, gooey centers, and rich butter blend perfectly for pure baking joy that you’ll savor with each delightful bite.


Ingredients

Scale
  • 2 ¼ cups (285g) all-purpose flour
  • 2 cups (340g) semisweet chocolate chips
  • 1 cup (225g) unsalted butter, softened
  • ¾ cup (150g) granulated sugar
  • ¾ cup (150g) packed brown sugar
  • 2 large eggs
  • 2 tsps vanilla extract
  • 1 tsp baking soda
  • ½ tsp salt

Instructions

  1. Preheat Preparation: Ignite the oven to 375F (190C) and line baking sheets with parchment paper or silicone mats for optimal cookie performance.
  2. Butter Blending: Whip butter and sugars in an electric mixer until transformed into a voluminous, cloud-like consistency, creating a smooth foundational cream.
  3. Liquid Integration: Delicately introduce eggs and vanilla extract, blending thoroughly to establish a uniform, glossy mixture with impeccable texture.
  4. Dry Ingredient Fusion: Combine flour, baking soda, and salt in a separate vessel, then gently incorporate into the wet mixture using low-speed mixing until just harmonized.
  5. Chocolate Infusion: Tenderly fold chocolate chips throughout the dough, ensuring an even distribution of sweet morsels in every potential bite.
  6. Cookie Formation and Baking: Scoop dough onto prepared sheets, strategically spacing dollops, then slide into the preheated oven, baking 8-10 minutes until edges achieve a golden hue and centers remain slightly underdone.
  7. Cooling and Refinement: Rest cookies on baking sheets for 5 minutes, then transfer to a wire rack, allowing them to cool completely and develop their ultimate texture and flavor profile.

Notes

  • Butter Temperature Matters: Use room temperature butter for optimal creaming, ensuring a smooth, fluffy cookie base that helps create perfect texture.
  • Avoid Overmixing Dough: Mix dry ingredients just until combined to prevent tough, dense cookies; gentle folding maintains a tender, soft crumb.
  • Chocolate Chip Distribution: Gently fold chips to prevent breaking, ensuring even spread for consistent chocolate in every delightful bite.
  • Baking Time Precision: Watch carefully during the 8-10 minute window; slight underbaking creates chewy centers while golden edges provide delicious crisp texture.
  • Prep Time: 10 minutes
  • Cook Time: 10 minutes
  • Category: Desserts, Snacks
  • Method: Baking
  • Cuisine: American

Nutrition

  • Serving Size: 25
  • Calories: 200
  • Sugar: 12g
  • Sodium: 90mg
  • Fat: 10g
  • Saturated Fat: 6g
  • Unsaturated Fat: 4g
  • Trans Fat: 0g
  • Carbohydrates: 26g
  • Fiber: 1g
  • Protein: 2g
  • Cholesterol: 30mg
Jenna Hartley

Jenna Hartley

Founder & Recipe Creator

Expertise

  • Recipe development with a focus on single-dish meals.
  • Fusion of traditional and modern Australian cuisines.
  • Food styling and photography for digital platforms.​

Education

Box Hill Institute, Melbourne

  • Degree: Advanced Diploma of Hospitality Management
  • Focus: Specialized in practical food and beverage service, responsible alcohol and hygiene compliance, legal risk management, and hands‑on experience in a simulated restaurant environment.

William Angliss Institute, Melbourne

  • Program: Certificate IV in Patisserie
  • Focus: Specialized in pastry and bakery techniques, cookery and specialty food preparation, recipe planning and costing, commercial kitchen operations, sustainable and inclusive work practices, food safety and hygiene compliance, and workplace health and safety.

Jenna is the heart of Picture Perfect Meals, turning simple ingredients into beautiful, easy‑to‑make dishes. 

Growing up around family meals in Melbourne, she trained at Box Hill Institute and then perfected her pastry skills at William Angliss Institute. She loves mixing classic Australian flavors with fresh ideas to keep cooking fun and stress‑free.

Leave a Reply

Your email address will not be published. Required fields are marked *

Recipe rating 5 Stars 4 Stars 3 Stars 2 Stars 1 Star