
Dreamy Gooey Chocolate Lava Bundt Cakes Recipe for Sweet Bliss
On a quiet evening, the allure of a decadent chocolate lava bundt cake can melt even the most resolute dietary intentions.
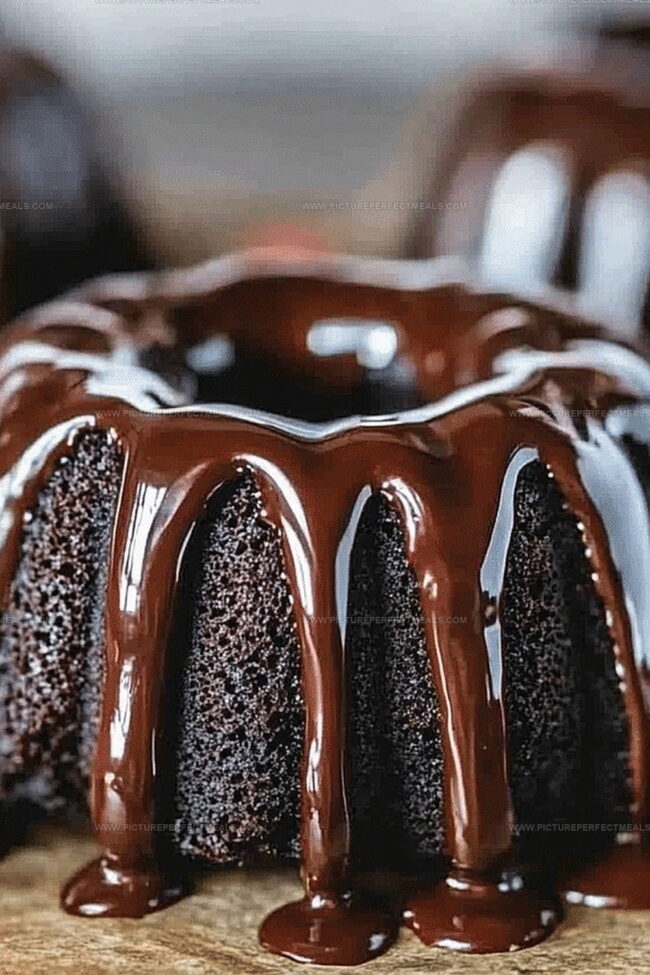
Warm chocolate flows like liquid gold when you slice into these rich, velvety desserts.
Soft, tender cake surrounds a molten chocolate center that promises pure indulgence.
Every bite delivers a luxurious experience that transforms an ordinary moment into something extraordinary.
Professional bakers and home cooks alike adore this recipe for its simplicity and dramatic presentation.
These bundt cakes blend elegance with comfort, making them perfect for intimate gatherings or special celebrations.
Who could resist the temptation of a dessert that reveals its delicious secret with just one gentle cut?
Quick Recipe Overview
Ingredients for Mini Chocolate Lava Bundt Cakes
For Cake Base:For Wet Ingredients:For Lava Core:For Finishing:Baking Gear for Mini Lava Cake Success
How to Bake Mini Chocolate Lava Bundt Cakes With Melty Centers

Crank the oven to a scorching 425F to create the perfect chocolate lava environment.
Lovingly coat your mini Bundt pan with a buttery brush and sprinkle cocoa powder to ensure your cakes glide out smoothly.
Whisk together your dry ingredients in one bowl, creating a powdery chocolate canvas. In another bowl, beat eggs, sugar, and melted chocolate until they transform into a silky, glossy mixture.
Gently fold the dry ingredients into the wet mixture, stirring until just combined. Don’t overwork the batter – you want it to remain light and dreamy.
Pour the batter into your prepared Bundt pan, filling each cavity about three-quarters full. Hide a chunk of chocolate in the center of each cake for that molten surprise.
Slide the pan into the hot oven and bake for about 12-14 minutes. You’re looking for edges that are set but a center that’s delightfully gooey.
Let the cakes cool for a few minutes, then carefully invert the pan. Watch as the lava cakes emerge, revealing their molten chocolate heart.
Dust with powdered sugar, add a scoop of vanilla ice cream, and dive into your personal chocolate volcano.
Custom Flavors for Chocolate Lava Bundt Cakes
Serving Up Mini Chocolate Lava Cakes in Style
How to Store and Warm Mini Lava Cakes Just Right
Print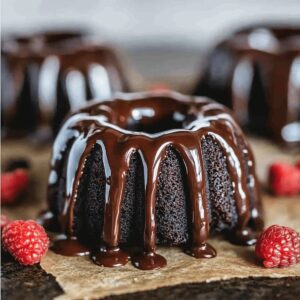
Gooey Chocolate Lava Bundt Cakes Recipe
- Total Time: 22 minutes
- Yield: 5 1x
Description
Rich chocolate Mini chocolate lava bundt cakes melt with molten centers, promising pure indulgence. Chocolate lovers will discover a dessert that delivers intense flavor and elegant presentation in every delightful bite.
Ingredients
- 4 oz (113 g) semi-sweet or dark chocolate, chopped
- ½ cup (115 g) unsalted butter, melted
- 2 large eggs
- 2 large egg yolks
- ½ cup (100 g) granulated sugar
- ½ tsp vanilla extract
- ¼ cup (30 g) all-purpose flour
- 1 tbsp unsweetened cocoa powder
- ¼ tsp salt
- 1 tbsp butter, melted
- 1 tbsp cocoa powder
- Powdered sugar (for dusting)
- Vanilla ice cream or whipped cream
- Fresh berries (optional)
Instructions
- Preparation: Preheat the oven to 425°F (220°C) and meticulously prepare mini Bundt cake molds by brushing with melted butter and dusting with cocoa powder to ensure seamless cake release.
- Chocolate Fusion: Create a luxurious base by melting dark chocolate and butter in a double boiler, stirring until the mixture transforms into a glossy, smooth liquid with a velvety texture.
- Egg Elevation: Whip eggs and sugar together until the mixture becomes light, voluminous, and pale, establishing a delicate foundation for the cake batter.
- Batter Assembly: Gently fold flour and salt into the egg mixture, then gradually blend the molten chocolate, creating a rich, uniform batter with an intense chocolate essence.
- Molding and Baking: Distribute the silky batter evenly among the prepared molds, filling each about three-quarters full. Bake in the preheated oven for 12-14 minutes, developing a crisp exterior while maintaining a molten core.
- Finishing Touch: Allow cakes to rest for 2-3 minutes after removing from the oven. Carefully invert the molds onto serving plates, releasing the individual chocolate lava cakes with their signature oozing centers.
- Presentation: Enhance the visual appeal by optionally dusting with powdered sugar or adorning with fresh berries to elevate these miniature chocolate treasures.
Notes
- Ensure Chocolate Quality: Use high-quality dark chocolate with at least 70% cocoa for rich, intense flavor and smooth texture.
- Master Baking Time: Watch cakes closely during last 2-3 minutes of baking to achieve perfect molten center without overcooking exterior.
- Control Moisture Balance: Avoid overmixing batter to maintain light, airy texture and prevent dense, heavy cakes.
- Prepare Molds Precisely: Use non-stick spray with flour or thoroughly butter and cocoa powder molds to guarantee seamless cake release without sticking.
- Prep Time: 10 minutes
- Cook Time: 12 minutes
- Category: Desserts, Snacks
- Method: Baking
- Cuisine: American
Nutrition
- Serving Size: 5
- Calories: 410
- Sugar: 30 g
- Sodium: 150 mg
- Fat: 25 g
- Saturated Fat: 15 g
- Unsaturated Fat: 10 g
- Trans Fat: 0 g
- Carbohydrates: 40 g
- Fiber: 1 g
- Protein: 5 g
- Cholesterol: 110 mg
Jenna Hartley
Founder & Recipe Creator
Expertise
Education
Box Hill Institute, Melbourne
William Angliss Institute, Melbourne
Jenna is the heart of Picture Perfect Meals, turning simple ingredients into beautiful, easy‑to‑make dishes.
Growing up around family meals in Melbourne, she trained at Box Hill Institute and then perfected her pastry skills at William Angliss Institute. She loves mixing classic Australian flavors with fresh ideas to keep cooking fun and stress‑free.