
Heavenly Gooey Hawaiian Rolls Sticky Buns Recipe for Breakfast
Warm, golden Hawaiian rolls elevate the classic sticky bun to a delightful new level of deliciousness.
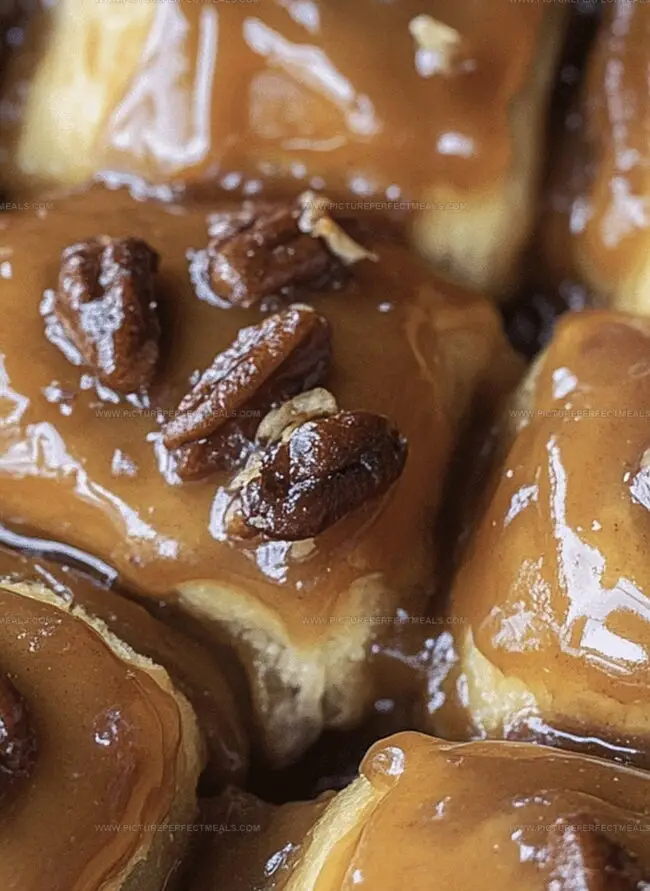
Soft, pillowy dough meets sweet caramel glaze in this irresistible treat.
The combination of tropical-inspired bread and traditional sticky bun magic creates a mouthwatering fusion.
Each bite promises a perfect balance of tender bread and rich, gooey caramel.
Buttery layers melt together with a hint of warmth and sweetness.
These rolls bring a sunshine-inspired twist to your breakfast or dessert table.
You’ll find yourself reaching for seconds before the first batch even cools down.
Quick Recipe Overview
Ingredients That Make Hawaiian Rolls Sticky Bunsal
For Sticky Sauce Base:For Roll Preparation:For Flavor Enhancers:Kitchen Tools for Sticky Hawaiian Buns Done Right
How to Bake Hawaiian Rolls Sticky Buns with Ease
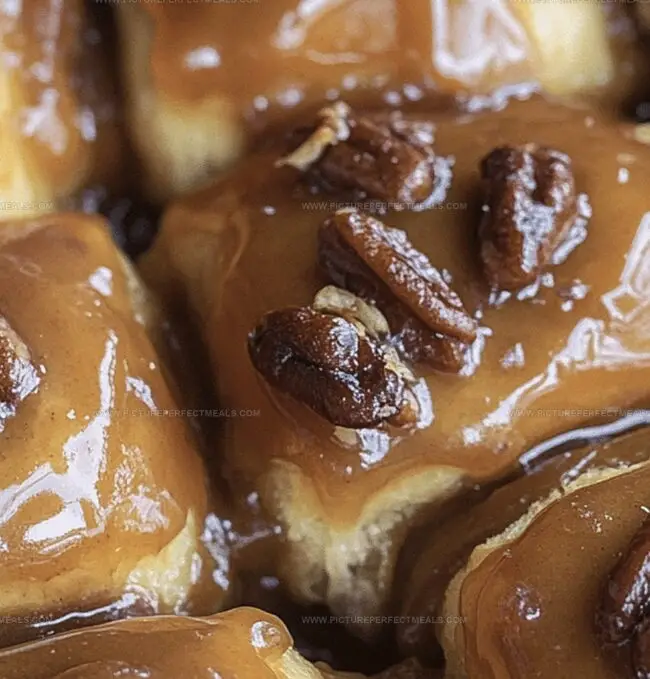
Melt butter in a saucepan over medium heat. Blend in brown sugar and heavy cream, stirring until the mixture transforms into a smooth, bubbling delight. Splash in vanilla extract and pour this golden goodness evenly across a greased 9×13-inch baking dish. Sprinkle pecans for extra crunch if desired.
Slice Hawaiian rolls horizontally while keeping them connected. Gently place the bottom half into the prepared sticky sauce. Whisk together brown sugar and cinnamon in a small bowl. Brush roll bottoms with melted butter and dust generously with the cinnamon-sugar mixture. Crown the rolls with their top halves.
Cover the dish with aluminum foil and slide into a preheated 350°F oven. Bake for 20 minutes, then remove the foil and continue baking 10 more minutes until the tops turn a beautiful golden brown and the sauce bubbles enticingly.
Allow the buns to rest for 5 minutes. Carefully flip the baking dish onto a serving platter, letting the luscious sticky sauce cascade over the rolls. Serve warm and watch everyone’s eyes light up.
Toppings and Add-Ins for Sticky Bun Lovers
Serving Hawaiian Rolls Sticky Buns for Breakfast
How to Store Sticky Buns and Reheat Out
Print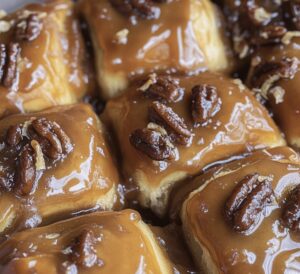
Gooey Hawaiian Rolls Sticky Buns Recipe
- Total Time: 40 minutes
- Yield: 13 1x
Description
Sweet Hawaiian rolls elevate classic sticky buns with tropical flair. Caramelized pineapple and coconut glaze create irresistible layers of island-inspired indulgence you cannot resist.
Ingredients
- 1 package (12 rolls) hawaiian sweet rolls
- ¾ cup (150 g) brown sugar, packed
- ½ cup (100 g) brown sugar
- ½ cup (115 g) unsalted butter
- 3 tbsps unsalted butter, melted
- 2 tsps ground cinnamon
- ¼ cup (60 ml) heavy cream
- 1 tsp vanilla extract
- ½ cup (50 g) chopped pecans (optional)
Instructions
- Preparation: Preheat oven to 350F (175C) and grease a 9×13-inch baking dish with non-stick spray or butter.
- Caramel Crafting: Melt butter in a saucepan over medium heat, whisking brown sugar and heavy cream until smooth and glossy. Stir in vanilla extract and pour evenly across the baking dish bottom, optionally sprinkling chopped pecans.
- Roll Preparation: Slice Hawaiian rolls horizontally while keeping the block intact. Position the bottom half of the roll block in the baking dish atop the caramel sauce.
- Seasoning Layer: Mix ground cinnamon with brown sugar. Brush roll interiors with melted butter and dust the bottom layer with the cinnamon-sugar blend.
- Assembly and Baking: Replace the top half of the rolls, ensuring perfect alignment. Cover with aluminum foil and bake for 20 minutes. Uncover and continue baking for 10 more minutes until rolls turn golden and caramel bubbles.
- Serving: Rest the buns for 5 minutes after removing from the oven. Invert the baking dish onto a serving platter, allowing caramel sauce to drape over the rolls. Serve warm for maximum enjoyment.
Notes
- Butter Melting Technique: Ensure butter melts slowly over medium heat to prevent burning and achieve a smooth caramel sauce consistency.
- Roll Cutting Strategy: Use a serrated knife for clean, even horizontal slices through the Hawaiian roll block without separating individual rolls.
- Caramel Sauce Precision: Whisk brown sugar and cream continuously to prevent sugar crystallization and create a silky, glossy texture.
- Temperature Control: Allow rolls to cool for exactly 5 minutes after baking to set the caramel sauce and make inverting easier without breaking the roll structure.
- Prep Time: 10 minutes
- Cook Time: 30 minutes
- Category: Breakfast, Snacks, Desserts
- Method: Baking
- Cuisine: Hawaiian
Nutrition
- Serving Size: 13
- Calories: 290
- Sugar: 20 g
- Sodium: 200 mg
- Fat: 15 g
- Saturated Fat: 9 g
- Unsaturated Fat: 4 g
- Trans Fat: 0 g
- Carbohydrates: 36 g
- Fiber: 1 g
- Protein: 3 g
- Cholesterol: 30 mg
Jenna Hartley
Founder & Recipe Creator
Expertise
Education
Box Hill Institute, Melbourne
William Angliss Institute, Melbourne
Jenna is the heart of Picture Perfect Meals, turning simple ingredients into beautiful, easy‑to‑make dishes.
Growing up around family meals in Melbourne, she trained at Box Hill Institute and then perfected her pastry skills at William Angliss Institute. She loves mixing classic Australian flavors with fresh ideas to keep cooking fun and stress‑free.