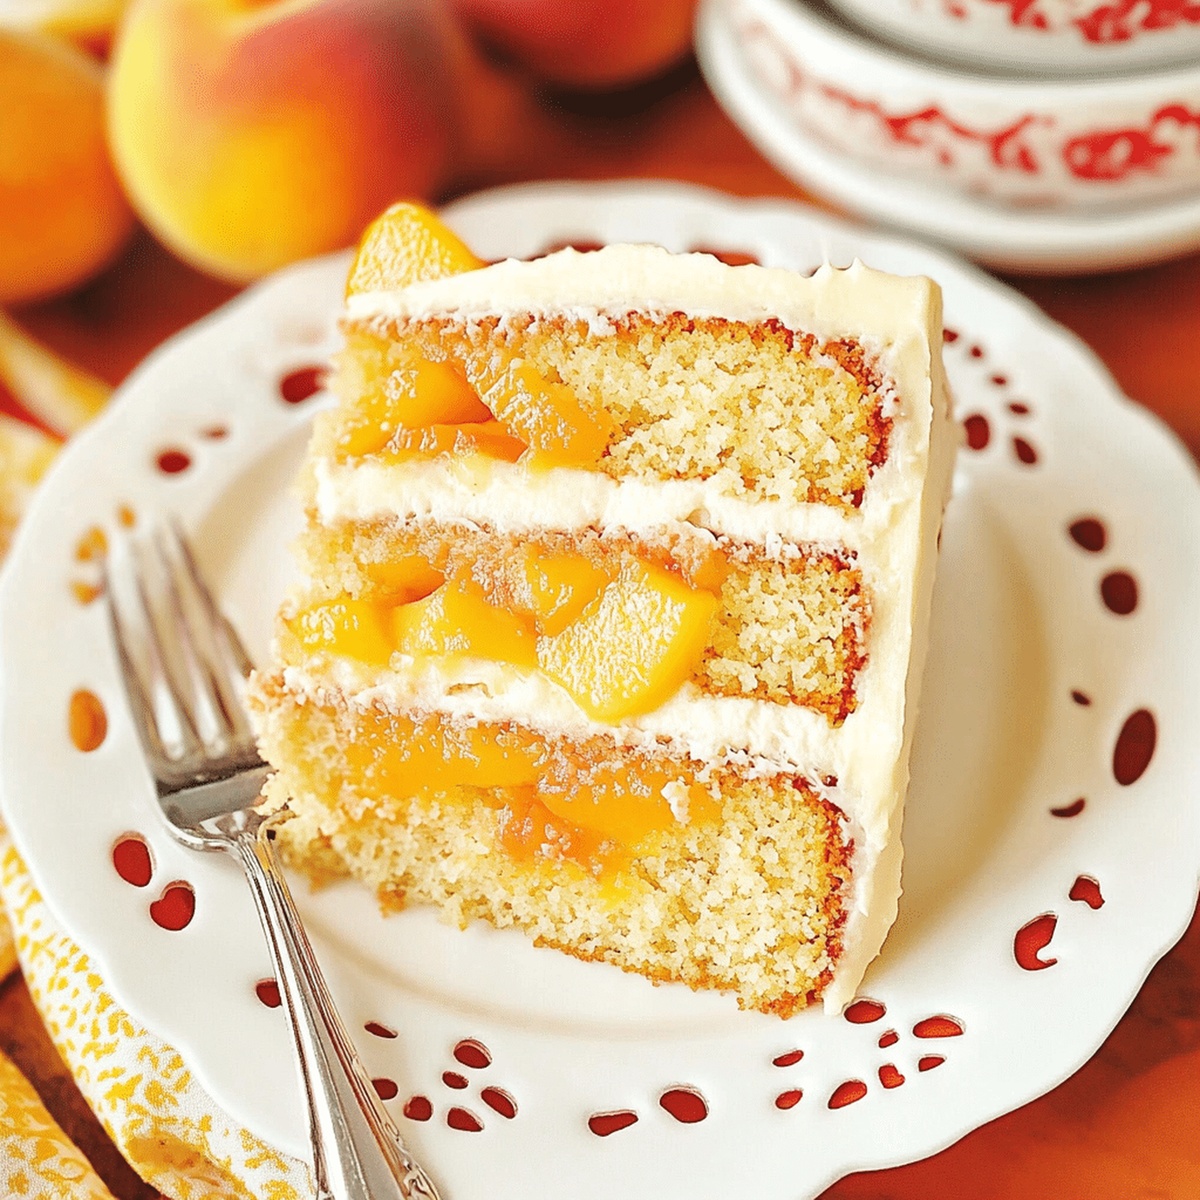
Luscious Brown Sugar Layer Cake with Peach Filling Recipe
Sweet bakers seeking a decadent dessert will adore this brown sugar layer cake that balances rich, caramel-like flavors with bright peach filling.
Southern bakeries have long celebrated this delightful combination of tender cake and luscious fruit.
Warm afternoons call for generous slices of this remarkable dessert that melts in your mouth.
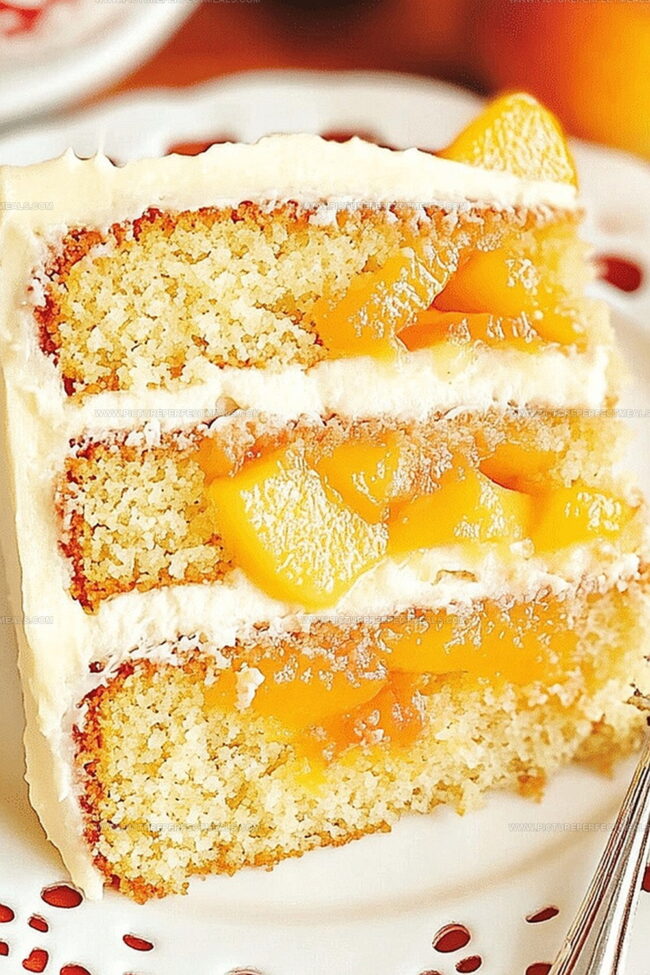
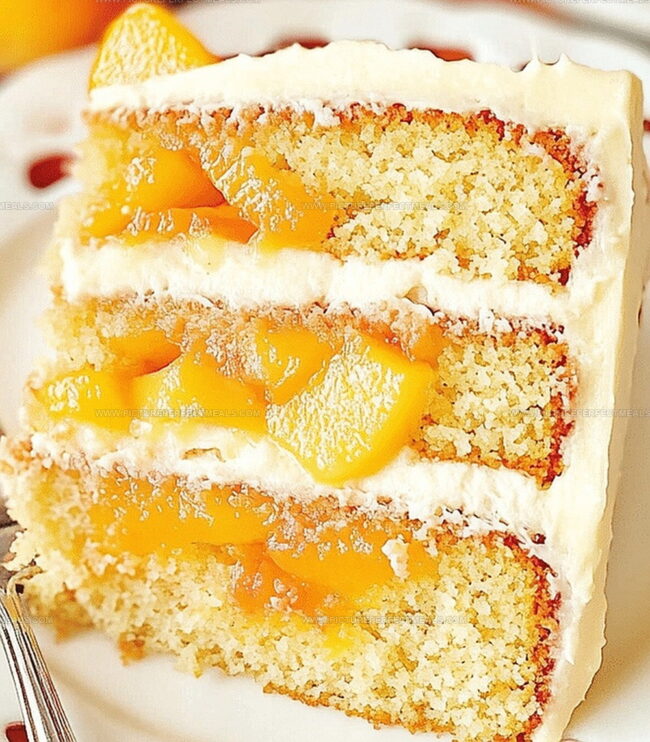
Layers of soft, golden cake provide a perfect canvas for the vibrant peach compote nestled between each delicate tier.
The brown sugar brings deep, molasses-like warmth that complements the fresh, tangy peach notes.
Each forkful promises a harmonious blend of textures and tastes that dance across your palate.
Prepare to fall in love with this irresistible cake that transforms an ordinary gathering into a memorable celebration.
Quick Recipe Overview
Ingredients for Brown Sugar Layer Cake with Peach Filling
For Base Layer:For Creamy Binding:For Moisture Enhancement:Tools That Help Build and Fill This Summery Cake
How to Bake Brown Sugar Cake With Juicy Peach Layers
Warm up your oven to a cozy 350F. Lovingly coat three 8-inch cake pans with grease and line them with parchment paper.
Grab a bowl and gently whisk together the flour, baking powder, baking soda, and salt until they’re perfectly blended.
In a separate bowl, beat butter and brown sugar until they transform into a fluffy, dreamy mixture that looks like clouds.
Drop eggs into the butter mixture one by one, mixing thoroughly after each addition. Splash in vanilla extract for an extra flavor boost.
Slowly fold in the flour mixture, alternating with buttermilk and sour cream. Blend until everything comes together in a smooth, silky batter.
Pour the batter evenly into prepared pans. Slide into the warm oven and bake for 25-30 minutes. The cake is ready when a toothpick comes out clean.
Let the cakes cool completely before bringing your delicious layers together with luscious peach filling.
Tips to Adjust Sweetness or Spice for Your Taste
Serve With Whipped Cream or Cream Cheese Frosting
Store in the Fridge So It’s Just as Good Later
Print
Gourmet Brown Sugar Layer Cake With Peach Filling
- Total Time: 1 hour
- Yield: 13 1x
Description
Rich brown sugar layer cake with peach filling celebrates Southern summer dessert traditions. Moist cake layers complemented by sweet peach preserves create a delightful experience you cannot resist.
Ingredients
- 1 ¾ cups (350 g) light brown sugar, packed
- 1 cup (225 g) unsalted butter, softened
- 4 large eggs
- 3 cups (375 g) all-purpose flour
- 1 cup (240 ml) buttermilk
- ½ cup (120 ml) sour cream
- 1 tbsp vanilla extract
- 1 tbsp baking powder
- 2 cups fresh or frozen peaches, diced
- 3 cups (360 g) powdered sugar
- 8 oz (225 g) cream cheese, softened
- ½ cup (115 g) unsalted butter, softened
- ⅓ cup (65 g) granulated sugar
- 1 tsp vanilla extract
- 1 tbsp lemon juice
- 1 tbsp cornstarch mixed with 1 tbsp water
- ½ tsp baking soda
- ½ tsp salt
- Fresh peach slices
- Caramel drizzle
- Toasted pecans
Instructions
- Preparation Setup: Ignite the oven to 350F (175C), meticulously outfit three 8-inch cake pans with parchment paper and a thorough butter coating.
- Dry Ingredient Fusion: Sift flour, baking powder, baking soda, and salt into a homogeneous powder, ensuring seamless cake texture and consistent flavor distribution.
- Butter and Sugar Transformation: Whip butter and brown sugar in a capacious mixing vessel, elevating the mixture to a voluminous, cloud-like consistency with vigorous blending.
- Liquid Integration: Introduce eggs one at a time, permitting complete absorption, then infuse vanilla extract, allowing its fragrant essence to permeate the mixture.
- Batter Composition: Alternate folding of dry ingredients and liquid components (buttermilk and sour cream), maintaining the batter’s delicate architectural integrity while preventing overmixing.
- Pan Filling and Baking: Evenly disperse batter across prepared pans, creating uniform layers, then slide into the preheated oven and bake for 25-30 minutes until a toothpick emerges impeccably clean.
- Cooling and Assembly: Extract cakes from oven, allow ten-minute pan rest, then transfer to wire rack for complete temperature reduction, preparing layers for peach filling and final artistic embellishment.
Notes
- Prevent Cake Sinking: Avoid opening the oven door during initial baking to maintain consistent temperature and prevent cake from deflating.
- Achieve Smooth Texture: Ensure all ingredients are at room temperature before mixing to create a more uniform and tender cake batter.
- Maximize Peach Flavor: Drain peach filling thoroughly to prevent excess moisture from making cake layers soggy during assembly.
- Perfect Cake Layering: Use a cake turntable and offset spatula for precise filling and frosting application, creating a professional-looking final presentation.
- Prep Time: 30 minutes
- Cook Time: 30 minutes
- Category: Desserts
- Method: Baking
- Cuisine: American
Nutrition
- Serving Size: 13
- Calories: 565
- Sugar: 59 g
- Sodium: 350 mg
- Fat: 28 g
- Saturated Fat: 17 g
- Unsaturated Fat: 9 g
- Trans Fat: 0 g
- Carbohydrates: 73 g
- Fiber: 1 g
- Protein: 6 g
- Cholesterol: 95 mg
Jenna Hartley
Founder & Recipe Creator
Expertise
Education
Box Hill Institute, Melbourne
William Angliss Institute, Melbourne
Jenna is the heart of Picture Perfect Meals, turning simple ingredients into beautiful, easy‑to‑make dishes.
Growing up around family meals in Melbourne, she trained at Box Hill Institute and then perfected her pastry skills at William Angliss Institute. She loves mixing classic Australian flavors with fresh ideas to keep cooking fun and stress‑free.