Heavenly Chocolate Coconut Almond Balls Recipe

Dreamy Chocolate Coconut Almond Balls Recipe for Sweet Bliss

Sweet treats with chocolate coconut almond balls spark joy in every chocolate lover’s heart.

These delectable bites combine rich, creamy textures that melt smoothly on your tongue.

Decadent ingredients create a perfect balance of nutty and sweet flavors.

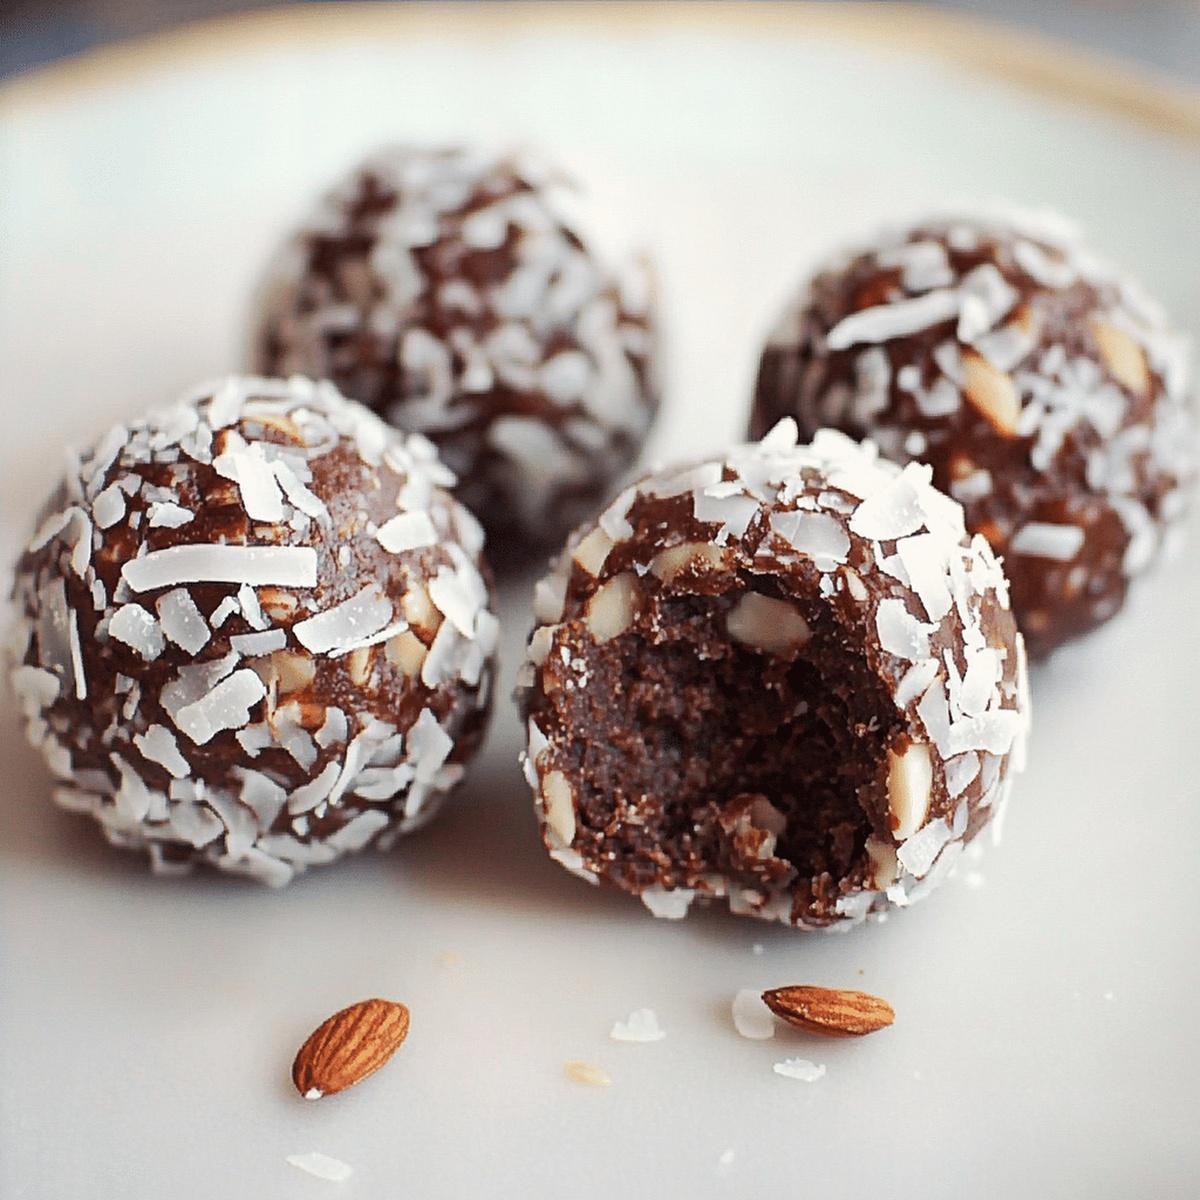
Each ball promises a delightful crunch from toasted almonds and silky chocolate coating.

Crafted with simple pantry staples, this no-bake dessert comes together effortlessly in minutes.

The recipe offers a blissful escape from ordinary snacks, transforming basic ingredients into an irresistible indulgence.

Prepare to experience a mouthwatering journey of pure confectionery magic that will have everyone asking for seconds.

How to Shape and Chill Chocolate Coconut Almond Balls

  • Create Tasty Mixture

Grab a mixing bowl and combine almond flour, shredded coconut, cocoa powder, and a pinch of salt. Blend these ingredients until they’re perfectly mixed.

  • Introduce Liquid Components

Pour in almond butter, maple syrup, and vanilla extract. Stir everything together until the mixture starts forming a cohesive texture.

  • Check Dough Consistency

If the mixture feels dry, splash in a tiny bit of water. Mix gently until the dough becomes sticky and can hold its shape when pressed.

  • Shape Delightful Treats

Using your hands, roll small portions of the mixture into bite-sized balls. Make sure each ball is compact and smooth.

  • Add Optional Coconut Layer

For extra flair, roll each ball in additional shredded coconut. This gives a beautiful, tasty exterior.

  • Chill and Set

Place the balls on a plate and pop them in the refrigerator. Let them cool and firm up for about 20 minutes.

  • Enjoy Your Creation

Serve chilled or at room temperature. Keep leftovers in a sealed container in the fridge for up to a week, or freeze for longer storage.

Sweet Swaps and Add-Ins for Almond Coconut Balls

  • Chocolate Coconut Almond Balls: Cooking Tips & Variations
  • Dough Consistency Magic: Add water gradually to achieve the perfect sticky texture. Too dry? Splash a bit more. Too wet? Sprinkle extra almond flour to balance.
  • No-Bake Nutrition Boost: Swap almond butter with sunflower seed butter for nut-free version. Perfect for school lunches or allergy-friendly gatherings.
  • Sweetness Control: Replace maple syrup with monk fruit sweetener for low-carb dieters. Adjust liquid levels to maintain proper dough consistency.
  • Flavor Adventure: Experiment with rolled toppings like crushed pistachios, chia seeds, or dark chocolate shavings. Each coating transforms the taste experience dramatically.
  • Protein Power Option: Mix in a scoop of vanilla or chocolate protein powder for extra muscle-building nutrients. Works wonderfully for fitness enthusiasts seeking delicious post-workout snacks.

Serve These Balls as Healthy Treats or Gifts

  • Sweet Breakfast Boost: Pair these energy balls with your morning coffee or smoothie for a delightful protein-packed start to the day.
  • Dessert Lover's Delight: Serve as a guilt-free dessert after dinner, garnished with a light dusting of extra cocoa powder or crushed almonds.
  • Snack Time Companion: Pack these balls in small containers for quick office, school, or gym snacks that provide instant energy and satisfy sweet cravings.
  • Gifting Goodness: Wrap these treats in cute parchment paper or small gift boxes for a homemade, health-conscious present that friends and family will adore.

How to Store Them for Long-Lasting Freshness

  • Quick Refrigeration Strategy: Store these delightful chocolate coconut almond balls in an airtight container, keeping them cool and fresh for up to one week. Separate layers with parchment paper to prevent sticking and maintain their perfect shape.
  • Freezing Magic: Extend the enjoyment by freezing these tasty treats for up to three months. Wrap individual balls in plastic wrap or place them in a freezer-safe container to lock in their delicious flavor and texture.
  • Grab-and-Go Snack Prep: Pack these energy-packed balls in small portion containers for convenient workplace or school snacks. They'll stay fresh and provide a quick nutritional boost during busy days.
  • Temperature Tip: Allow frozen balls to thaw at room temperature for 10-15 minutes before enjoying. This gentle warming helps restore their soft, creamy texture and releases the rich blend of chocolate, coconut, and almond flavors.

Quick Recipe Overview

Prep Time: 10 minutes

Cook Time: 20 minutes

Total Time: 30 minutes

Calories: 157 kcal

Servings: 12

Ingredients That Go into Chocolate Coconut Almond Balls

For Dry Base Ingredients:
  • Almond Flour: Provides nutty foundation with gluten-free protein kick, select finely ground for smooth texture.
  • Shredded Coconut: Adds tropical sweetness and delightful chewiness, opt for unsweetened varieties for better control of overall sweetness.
  • Cocoa Powder: Delivers rich chocolate depth, choose high-quality dark cocoa for intense flavor profile.
  • Salt: Enhances and balances all flavor notes, use fine sea salt for even distribution.
For Binding and Sweetness Ingredients:
  • Almond Butter: Creates creamy consistency and provides healthy fat, select natural version without added sugars.
  • Maple Syrup, Honey: Naturally sweetens and helps ingredients stick together, choose pure, organic options for best taste.
  • Vanilla Extract: Introduces warm aromatic undertones, select pure extract over artificial versions.
  • Water: Helps adjust dough moisture, use filtered water for clean taste.
For Optional Coating Ingredient:
  • Shredded Coconut: Provides delightful exterior crunch and extra tropical flair, use unsweetened for clean finish.

Tools That Make Chocolate Coconut Almond Balls a Snap

  • Mixing Bowl: Large bowl for combining dry and wet ingredients.
  • Measuring Cups and Spoons: Precise measurements for ingredients.
  • Spatula or Wooden Spoon: Perfect for stirring and mixing ingredients smoothly.
  • Plate or Container: For chilling and storing the chocolate coconut almond balls.
  • Hands: Used for rolling the mixture into balls.
Print
clock clock iconcutlery cutlery iconflag flag iconfolder folder iconinstagram instagram iconpinterest pinterest iconfacebook facebook iconprint print iconsquares squares iconheart heart iconheart solid heart solid icon
Heavenly Chocolate Coconut Almond Balls Recipe

Heavenly Chocolate Coconut Almond Balls Recipe


5 Stars 4 Stars 3 Stars 2 Stars 1 Star

4.8 from 11 reviews

  • Total Time: 30 minutes
  • Yield: 13 1x

Description

Chocolate coconut almond balls combine rich flavors from Mediterranean and Caribbean culinary traditions. Nutty almonds, sweet coconut, and dark chocolate create an irresistible treat you’ll savor with pure delight.


Ingredients

Scale
  • 1 cup (100 g) almond flour
  • ½ cup (40 g) unsweetened shredded coconut
  • ¼ cup (20 g) cocoa powder
  • ¼ cup (60 g) almond butter
  • ¼ cup (60 ml) maple syrup or honey
  • 1 tsp vanilla extract
  • ¼ tsp salt
  • 12 tbsps water
  • 2 tbsps mini chocolate chips
  • 2 tbsps chopped almonds
  • Extra unsweetened shredded coconut (for rolling)

Instructions

  1. Blend Dry Ingredients: In a spacious mixing bowl, thoroughly combine almond flour, shredded coconut, cocoa powder, and salt until uniformly mixed.
  2. Incorporate Wet Components: Merge almond butter, maple syrup, and vanilla extract into the dry ingredient mixture, stirring consistently until the mixture becomes cohesive and starts to bind.
  3. Adjust Consistency: Assess the dough’s texture, carefully adding minimal water if the mixture appears crumbly, ensuring the blend becomes sufficiently moldable and compact.
  4. Form and Coat Balls: Gently compress and shape the mixture into compact spheres using your palms, then delicately roll each ball through additional shredded coconut to create an elegant external layer.
  5. Chill and Set: Place the crafted coconut almond balls on a chilled plate with slight separation, then refrigerate for at least 20 minutes to solidify and enhance their structural integrity.
  6. Serve and Store: Enjoy directly from the refrigerator or allow a brief rest at room temperature for optimal flavor. Store remaining treats in a sealed container within the refrigerator for up to one week, or freeze for extended preservation up to three months.

Notes

  • Moisture Management: Adjust water quantity carefully to achieve perfect dough consistency; too little makes balls crumbly, while excess makes them sticky.
  • Binding Technique: Mix wet and dry ingredients thoroughly to ensure even distribution, preventing crumbling and creating uniform texture throughout each ball.
  • Chilling Importance: Refrigeration is crucial for setting structure and enhancing flavor intensity; don’t skip this step to maintain optimal taste and firmness.
  • Dietary Flexibility: Easily adapt recipe for vegan, gluten-free, or paleo diets by selecting appropriate alternative ingredients like maple syrup and almond flour.
  • Prep Time: 10 minutes
  • Cook Time: 20 minutes
  • Category: Snacks, Desserts
  • Method: Blending
  • Cuisine: American

Nutrition

  • Serving Size: 13
  • Calories: 140
  • Sugar: 5 g
  • Sodium: 30 mg
  • Fat: 10 g
  • Saturated Fat: 1 g
  • Unsaturated Fat: 9 g
  • Trans Fat: 0 g
  • Carbohydrates: 12 g
  • Fiber: 2 g
  • Protein: 4 g
  • Cholesterol: 0 mg
Jenna Hartley

Jenna Hartley

Founder & Recipe Creator

Expertise

  • Recipe development with a focus on single-dish meals.
  • Fusion of traditional and modern Australian cuisines.
  • Food styling and photography for digital platforms.​

Education

Box Hill Institute, Melbourne

  • Degree: Advanced Diploma of Hospitality Management
  • Focus: Specialized in practical food and beverage service, responsible alcohol and hygiene compliance, legal risk management, and hands‑on experience in a simulated restaurant environment.

William Angliss Institute, Melbourne

  • Program: Certificate IV in Patisserie
  • Focus: Specialized in pastry and bakery techniques, cookery and specialty food preparation, recipe planning and costing, commercial kitchen operations, sustainable and inclusive work practices, food safety and hygiene compliance, and workplace health and safety.

Jenna is the heart of Picture Perfect Meals, turning simple ingredients into beautiful, easy‑to‑make dishes. 

Growing up around family meals in Melbourne, she trained at Box Hill Institute and then perfected her pastry skills at William Angliss Institute. She loves mixing classic Australian flavors with fresh ideas to keep cooking fun and stress‑free.

Leave a Reply

Your email address will not be published. Required fields are marked *

Recipe rating 5 Stars 4 Stars 3 Stars 2 Stars 1 Star