Large mixing bowl: Perfect for combining cookie dough ingredients smoothly.
Electric mixer or hand mixer: Helps cream butter and sugar effortlessly.
Measuring cups and spoons: Essential for accurate ingredient proportions.
Mini muffin tin or baking sheet: Provides the right surface for shaping cookies.
Cooling rack: Allows cookies to cool evenly after baking.
Rubber spatula: Great for scraping batter and mixing ingredients completely.
Whisk: Helps blend dry ingredients uniformly.
Peanut Butter Cup Cookies Made Simple
Fire Up the Oven Crank your oven to a toasty 350 degrees Fahrenheit, getting it ready for some serious cookie magic.
Prep Your Baking Space Grab your mini muffin tin and give it a quick spray of non-stick cooking spray or line a baking sheet with parchment paper for smooth cookie removal.
Whip Together the Dough In a large mixing bowl, blend softened butter with white and brown sugars until they’re light and fluffy. Crack in an egg and splash of vanilla, mixing until everything looks smooth and creamy.
Mix Dry Ingredients In a separate bowl, combine flour, baking soda, and salt. Gently fold these dry ingredients into your butter mixture, creating a delectable cookie base.
Form Cookie Bases Roll the dough into small balls and nestle each one into the muffin tin spaces or onto the baking sheet, leaving some breathing room between each cookie.
Bake to Perfection Slide your cookie-filled tin into the preheated oven and bake for about 10-12 minutes. You’re looking for edges that are just turning golden brown.
Add Peanut Butter Cup Topping Fresh out of the oven, immediately press a peanut butter cup into the center of each warm cookie. The residual heat will help the chocolate melt beautifully.
Cool and Enjoy Let the cookies hang out and cool completely. The peanut butter cups will set, creating a mouthwatering treat that’s part cookie, part candy.
Flavor Upgrades for Peanut Butter Cup Cookies
Dough Chilling Magic: Pop the cookie dough in the refrigerator for 30 minutes before baking to prevent spreading and create a more compact, rich texture.
Chocolate Swap Adventure: Replace Reese’s Peanut Butter Cups with dark chocolate, white chocolate, or caramel-filled chocolates for exciting flavor twists.
Gluten-Free Friendly: Substitute all-purpose flour with gluten-free flour blend to make these cookies accessible for those with gluten sensitivities.
Vegan Transformation: Use plant-based butter, dairy-free chocolate, and egg substitute like flax egg to create a completely vegan version of these delightful cookies.
Storage Smart: Keep cookies in an airtight container at room temperature for up to 5 days, or freeze for up to 3 months for longer enjoyment.
Fun Ways to Serve Peanut Butter Cup Cookies
Chocolate Lovers’ Dream: Pair these cookies with a cold glass of milk or rich hot chocolate for an indulgent dessert experience.
Cookie Platter Perfection: Arrange the cookies on a decorative plate with a dusting of powdered sugar, creating an elegant dessert presentation for parties or gatherings.
Ice Cream Sandwich Magic: Sandwich a scoop of vanilla or chocolate ice cream between two cookies for a decadent summer treat that combines creamy and crunchy textures.
Sweet Gift Idea: Package the cooled cookies in a cute gift box or mason jar with a ribbon, making them a delightful homemade present for friends and family.
How to Store Peanut Butter Cup Cookies Right
Fridge-Fresh Strategy: Store cooled cookies in an airtight container between layers of wax paper, keeping them fresh for up to 5 days at refrigerator temperatures.
Make-Ahead Magic: Prepare cookie dough in advance and refrigerate for 24 hours before baking, allowing flavors to develop and enhance taste complexity.
Freezer-Friendly Option: Wrap unbaked dough balls individually in plastic wrap, then place in freezer bags. Freeze up to 3 months and bake directly from frozen state, adding 2-3 extra minutes to cooking time.
Portion Control Trick: Divide cookies into small zip-lock bags with 2-3 cookies per serving, perfect for quick grab-and-go treats or lunchbox additions.
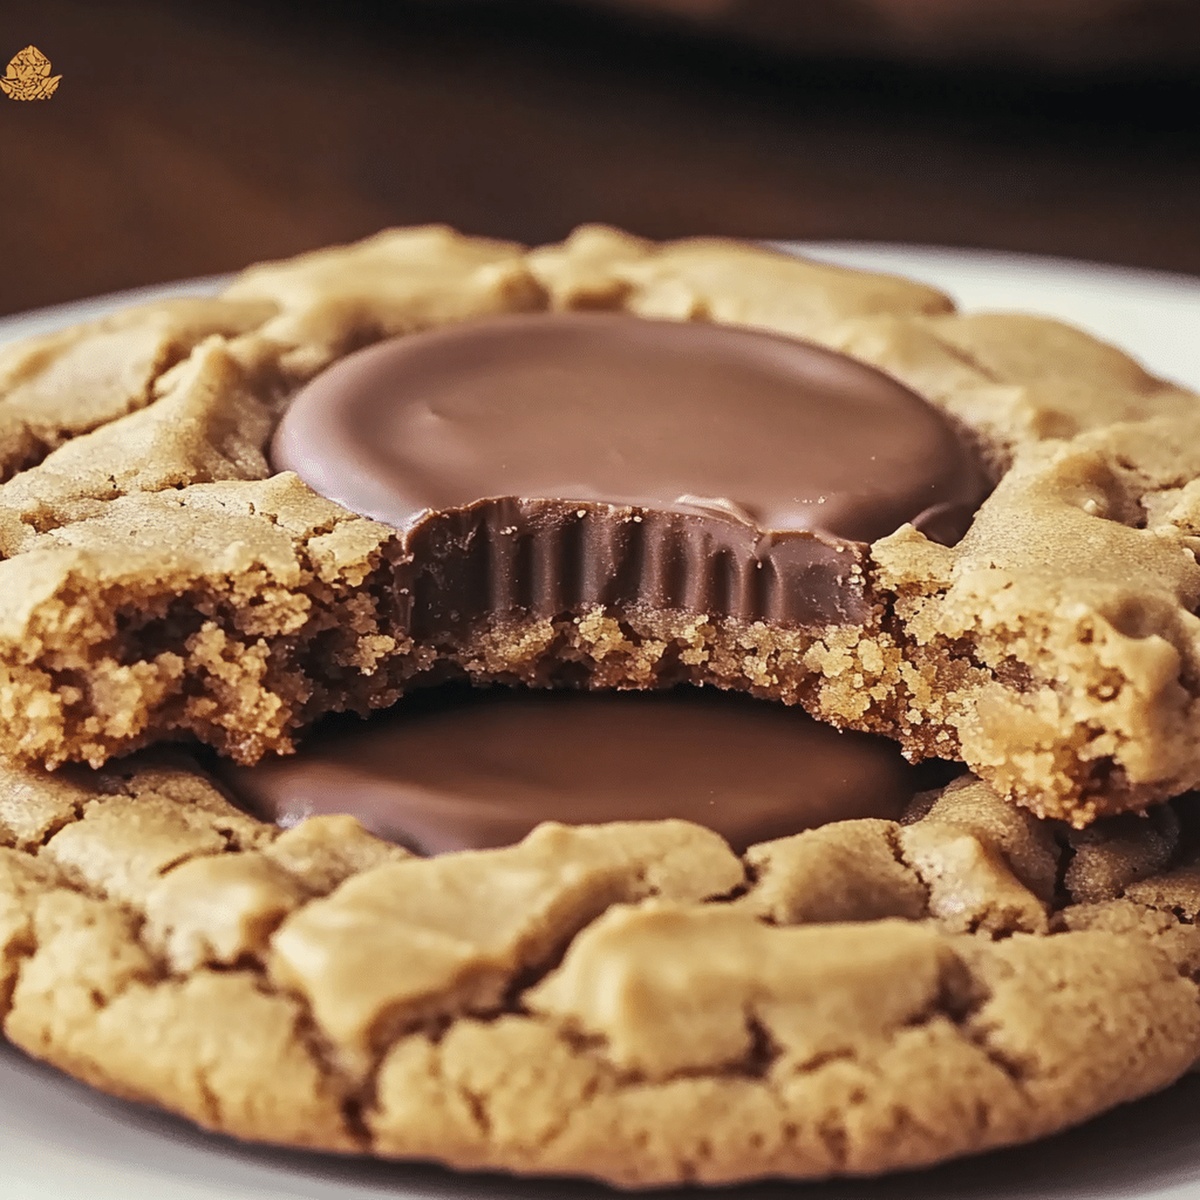
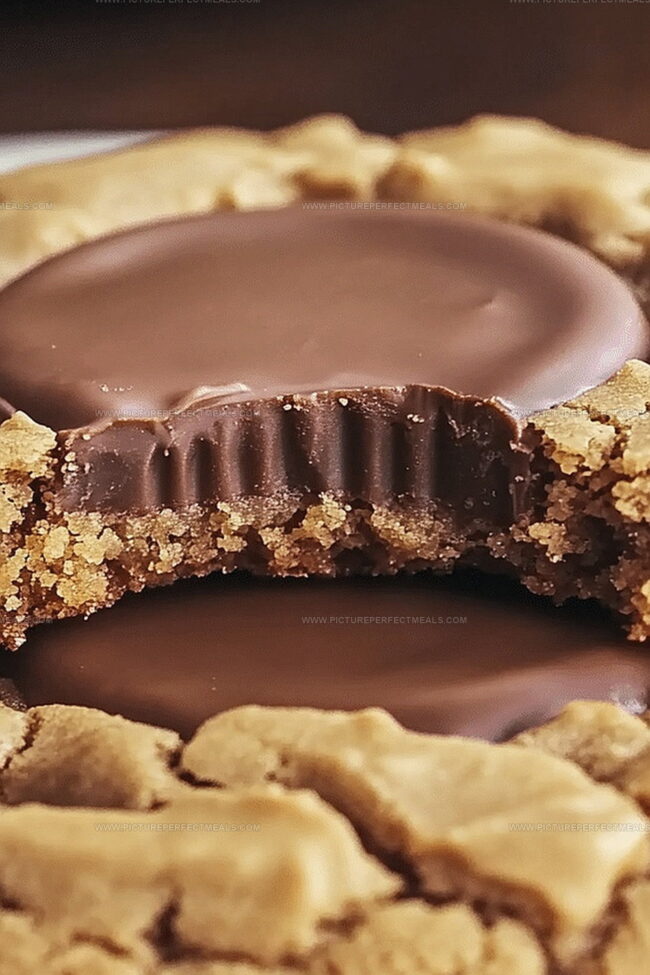
Irresistible peanut butter cup cookies blend creamy chocolate and rich peanut butter in a delightful treat. Chocolate lovers will savor each bite of these homemade delights that promise pure indulgence.
Ingredients
Scale
½ cup (113 g/4 oz) creamy peanut butter (Jif or Skippy works best!)
½ cup (113 g/4 oz) unsalted butter, softened
½ cup (100 g/3.5 oz) granulated sugar
½ cup (110 g/3.9 oz) brown sugar, packed
1 ½ cups (180 g/6.3 oz) all-purpose flour
1 large egg
1 tsp vanilla extract
1 tsp baking soda
¼ tsp salt
24 mini Reeses peanut butter cups, unwrapped
Instructions
Preheat: Calibrate the oven to 350°F, positioning the rack in the center for optimal heat distribution.
Prepare Tin: Generously coat a mini muffin tin with cooking spray, ensuring effortless cookie extraction.
Blend Base: Whip butter and sugars in a stand mixer until the mixture achieves a cloudlike, pale consistency, then integrate eggs and vanilla, mixing until silky smooth.
Form Dough: Sift dry ingredients into the wet mixture, folding gently until a uniform dough emerges without overworking the batter.
Shape Cookies: Craft uniform dough spheres and gently nestle each into the muffin tin cavities, creating a perfect cookie foundation.
Bake and Indent: Roast cookies until edges turn golden, then immediately press a spoon’s back into each warm cookie, creating a welcoming pocket for chocolate.
Cool and Fill: Transfer cookies to a wire rack, allowing them to stabilize, then crown each with a peanut butter cup, letting residual warmth melt the chocolate slightly.
Serve: Present these decadent morsels at room temperature, showcasing their irresistible peanut butter and chocolate symphony.
Notes
Prevent Overmixing: Stir cookie dough gently to maintain a tender texture, avoiding tough cookies that result from excessive mixing.
Temperature Control: Cool cookies in the tin briefly before transferring to prevent breaking, allowing them to set and firm up naturally.
Chocolate Melting Technique: Press peanut butter cups into warm cookies to create a smooth, seamless chocolate integration without complete melting.
Uniform Size Matters: Roll cookie dough into consistent small spheres to ensure even baking and attractive presentation across all cookies.
Recipe development with a focus on single-dish meals.
Fusion of traditional and modern Australian cuisines.
Food styling and photography for digital platforms.
Education
Box Hill Institute, Melbourne
Degree: Advanced Diploma of Hospitality Management
Focus: Specialized in practical food and beverage service, responsible alcohol and hygiene compliance, legal risk management, and hands‑on experience in a simulated restaurant environment.
William Angliss Institute, Melbourne
Program: Certificate IV in Patisserie
Focus: Specialized in pastry and bakery techniques, cookery and specialty food preparation, recipe planning and costing, commercial kitchen operations, sustainable and inclusive work practices, food safety and hygiene compliance, and workplace health and safety.
Jenna is the heart of Picture Perfect Meals, turning simple ingredients into beautiful, easy‑to‑make dishes.
Growing up around family meals in Melbourne, she trained at Box Hill Institute and then perfected her pastry skills at William Angliss Institute. She loves mixing classic Australian flavors with fresh ideas to keep cooking fun and stress‑free.

Jenna Hartley
Founder & Recipe Creator
Expertise
Education
Box Hill Institute, Melbourne
William Angliss Institute, Melbourne
Jenna is the heart of Picture Perfect Meals, turning simple ingredients into beautiful, easy‑to‑make dishes.
Growing up around family meals in Melbourne, she trained at Box Hill Institute and then perfected her pastry skills at William Angliss Institute. She loves mixing classic Australian flavors with fresh ideas to keep cooking fun and stress‑free.