Dreamy Red Velvet Cookie Cups Recipe: Bake Joy In Every Bite!
Chocolate lovers swoon over this delectable red velvet cookie cups recipe that blends rich, velvety textures with a decadent cream cheese filling.
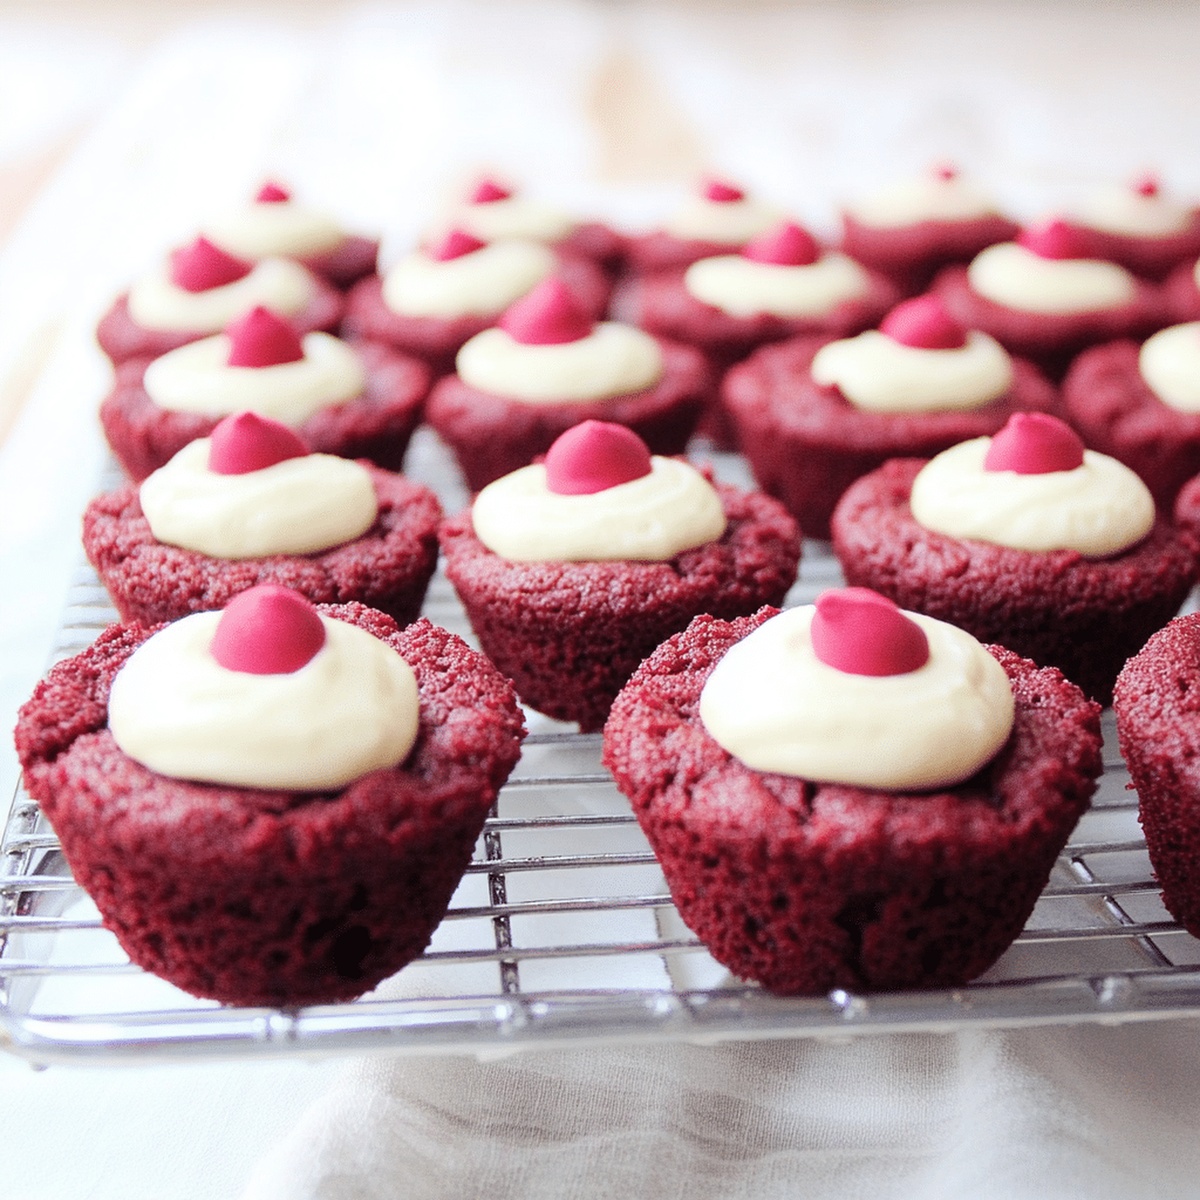
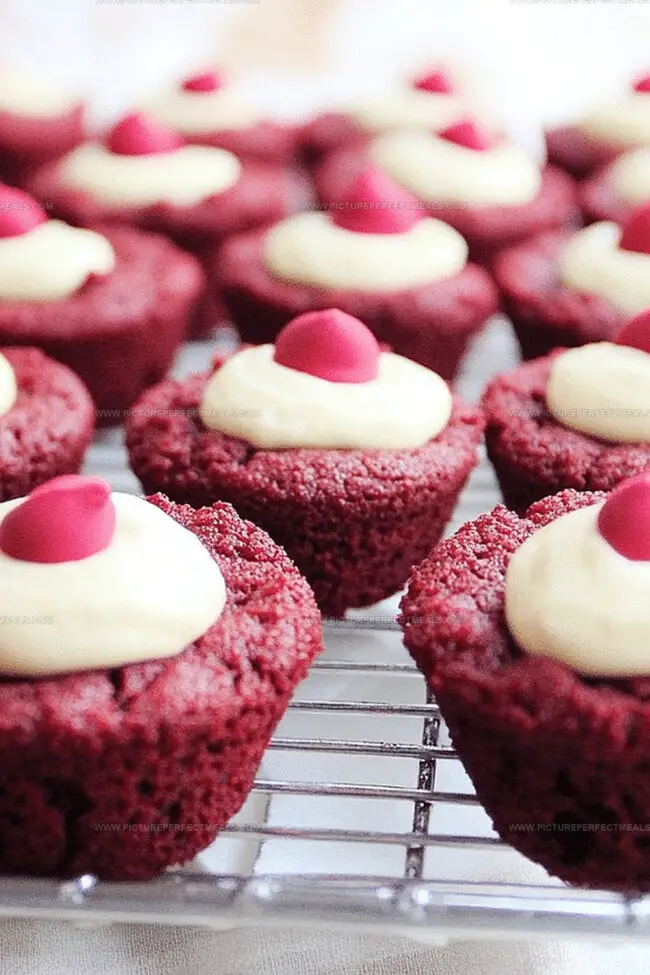
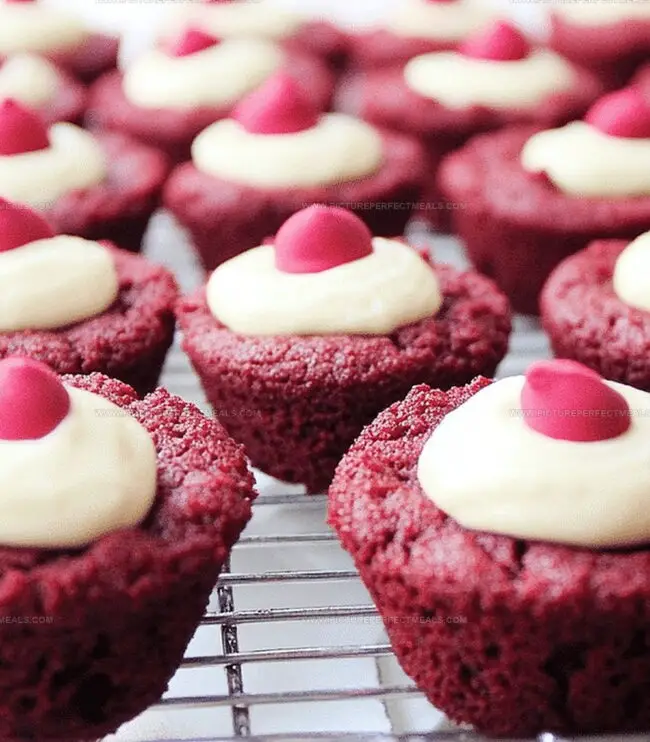
Smooth, crimson-hued cookies cradle a luscious center, creating a dessert that’s both visually stunning and irresistibly delicious.
Each bite promises a perfect balance of soft cookie and creamy center that melts in you mouth.
The deep red color hints at the luxurious flavor waiting to be savored.
Simple ingredients transform into an elegant treat that looks like it came from a professional bakery.
Minimal effort yields maximum flavor with this crowd-pleasing dessert.
Prepare to impress everyone at your next gathering with these show-stopping red velvet cookie cups.
Quick Recipe Overview
What’s Needed for Red Velvet Cookie Cups
For Base Ingredients:For Wet Ingredients:For Frosting Components:Cup Equipment for Red Velvet Cookies
Make Your Red Velvet Cookie Cups
Mix softened butter with sugars until they’re light and airy. Splash in some vibrant red food coloring and vanilla. Stir in the egg until everything looks smooth and gorgeous. Gently fold in dry ingredients to create a luscious dough that’s ready to transform.
Scoop small dough balls into a mini muffin tin. Use your fingers to press centers, crafting adorable little cookie cups. Slide into a preheated oven and bake until edges look perfectly golden. Once out, quickly reshape centers to ensure beautiful cup formations.
Blend cream cheese and butter until silky. Add powdered sugar and vanilla, whipping until the mixture looks cloud-like and irresistible.
Fill cooled cookie cups with luxurious frosting. Sprinkle with fun toppings like colorful jimmies or mini chocolate chips.
Serve these delightful bites immediately or store in the refrigerator for later indulgence.
Tips for Red Velvet Cookie Cup Perfection
Serving Your Cookie Cups Right
Red Velvet Cup Storage Plan
Print
Heavenly Red Velvet Cookie Cups Recipe
- Total Time: 27 minutes
- Yield: 13 1x
Description
Indulgent red velvet cookie cups merge classic Southern charm with modern dessert innovation. Creamy cheesecake filling nestled in rich chocolate cookie shells creates a delightful treat you’ll savor with pure joy.
Ingredients
- 1.25 cups / 300 ml all-purpose flour
- 0.25 cup / 60 ml unsweetened cocoa powder
- 0.5 cup / 113 g unsalted butter, softened
- 0.75 cup / 150 g granulated sugar
- 0.25 cup / 50 g brown sugar
- 1 large egg
- 1 tbsp red food coloring
- 1 tsp vanilla extract
- 0.5 tsp baking soda
- 0.25 tsp salt
- 4 oz / 113 g cream cheese, softened
- 0.25 cup / 57 g unsalted butter, softened
- 1 cup / 120 g powdered sugar
- 0.5 tsp vanilla extract
- red, white, and pink sprinkles
- crushed cookies or chocolate chips
Instructions
- Preparation: Preheat oven to 350F (175C) and thoroughly spray a mini muffin tin with non-stick coating.
- Creaming: Whip softened butter with granulated and brown sugars until light, pale, and fluffy in texture.
- Wet Ingredients: Blend egg, vanilla extract, and red food coloring into the sugar mixture until glossy and uniform.
- Dry Mixture: Sift flour, cocoa powder, baking soda, and salt together, creating a smooth dry ingredient blend.
- Dough Formation: Fold dry ingredients into wet mixture, creating a soft, pliable dough without overmixing.
- Shaping: Roll dough into small one-inch spheres and place in muffin tin cavities, then press gentle indentations in center to form cup shapes.
- Baking: Cook for 10-12 minutes until edges set and centers appear slightly puffy, reinforcing cup shape immediately after removing from oven.
- Cooling: Let cookie cups rest in tin for 10 minutes, then transfer to wire rack for complete cooling.
- Frosting Preparation: Whip cream cheese and butter until smooth, gradually incorporating powdered sugar and vanilla extract until light and fluffy.
- Finishing: Pipe or spoon cream cheese frosting into cooled cookie cups, optionally decorating with sprinkles, crushed cookies, or chocolate chips.
- Serving: Enjoy immediately or refrigerate in sealed container to preserve freshness and texture.
Notes
- Master Temperature Control: Strictly maintain 350F and watch closely during baking to prevent over-browning or undercooking, ensuring perfectly textured cookie cups.
- Create Consistent Dough Balls: Use a small cookie scoop or tablespoon to guarantee uniform size and even baking, which helps achieve professional-looking results.
- Press Gently When Forming Cups: Use the back of a rounded measuring spoon or your thumb to create cup indentations without breaking the delicate dough structure.
- Prevent Frosting Separation: Ensure cream cheese and butter are at room temperature before mixing to create a smooth, lump-free frosting that pipes beautifully.
- Prep Time: 15 minutes
- Cook Time: 12 minutes
- Category: Desserts, Snacks
- Method: Baking
- Cuisine: American
Nutrition
- Serving Size: 13
- Calories: 180
- Sugar: 14 g
- Sodium: 120 mg
- Fat: 8 g
- Saturated Fat: 5 g
- Unsaturated Fat: 3 g
- Trans Fat: 0 g
- Carbohydrates: 24 g
- Fiber: 0.5 g
- Protein: 2 g
- Cholesterol: 30 mg
Jenna Hartley
Founder & Recipe Creator
Expertise
Education
Box Hill Institute, Melbourne
William Angliss Institute, Melbourne
Jenna is the heart of Picture Perfect Meals, turning simple ingredients into beautiful, easy‑to‑make dishes.
Growing up around family meals in Melbourne, she trained at Box Hill Institute and then perfected her pastry skills at William Angliss Institute. She loves mixing classic Australian flavors with fresh ideas to keep cooking fun and stress‑free.