Powdered Sugar: Sweetens the filling and contributes to the luxurious, soft texture.
Vanilla Extract: Enhances overall flavor with warm, aromatic undertones.
Eggs: Bind the filling ingredients and create a silky, custard-like layer.
For Garnish and Final Touch:
Powdered Sugar: Perfect for dusting the top, adding a elegant, snowy finish to the cake.
Tools to Bake Red Velvet Butter Cake
9×13-inch baking dish: Essential for creating the perfect cake base and ensuring even baking.
Parchment paper: Helps with easy cake removal and prevents sticking.
Large mixing bowl: Needed for combining cake mix, egg, and butter.
Spatula or wooden spoon: Great for mixing ingredients thoroughly and pressing dough into the pan.
Measuring cups and spoons: Crucial for accurate ingredient measurements.
Electric mixer (optional): Can help mix ingredients more quickly and evenly.
How to Prepare Red Velvet Gooey Butter Cake
Prep the Oven Fire Up your oven to a toasty 350°F and get a 9×13 inch baking pan ready by giving it a light butter massage or laying down a parchment paper blanket.
Create the Base Blend the red velvet cake mix with an egg and melted butter, mixing until everything looks smooth and gorgeous like a crimson sunset.
Spread the Love Gently press and spread the vibrant mixture across the entire bottom of your pan, making sure it’s even and looks like a beautiful red carpet.
Whip the Creamy Cloud In another bowl, whisk together cream cheese, remaining eggs, powdered sugar, and vanilla until the mixture looks silky and dreamy.
Layer the Magic Pour the dreamy cream cheese mixture over your red velvet base, letting it cascade and cover every inch with pure deliciousness.
Bake to Perfection Slide the pan into the heated oven and let it dance for about 35-40 minutes until the edges look set but the center still has a gentle wiggle.
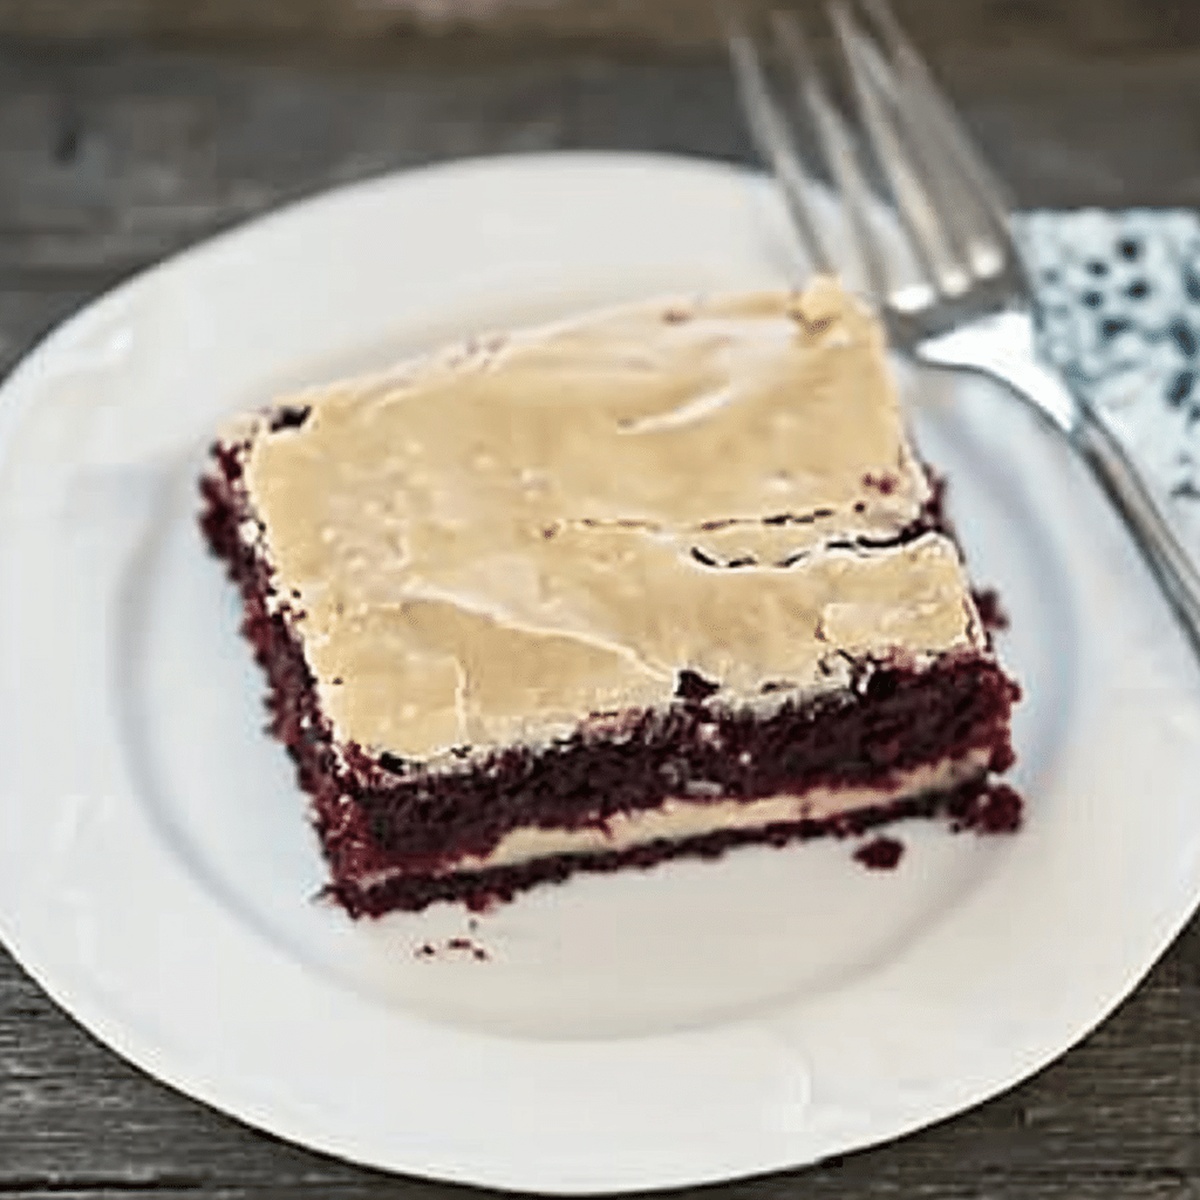
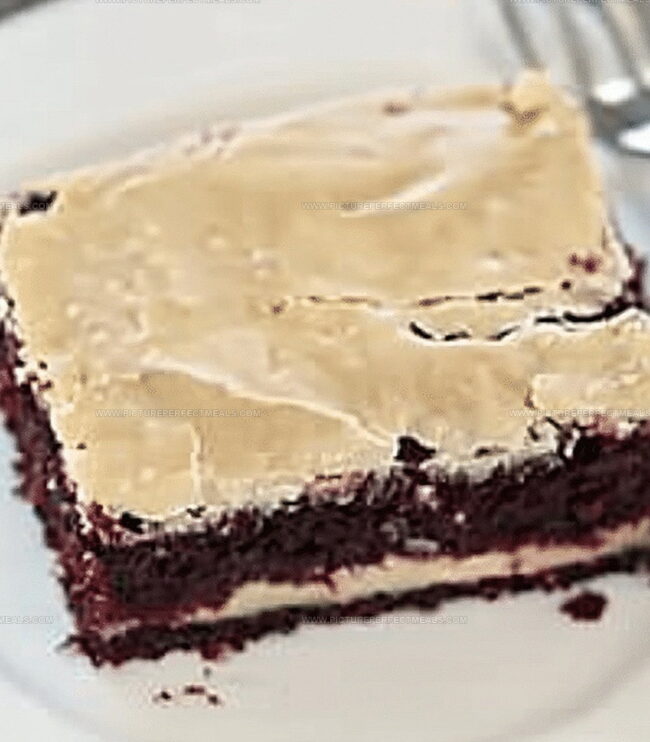
Cool and Indulge Remove from the oven and let the cake chill out completely. Dust with powdered sugar like a soft winter snowfall before slicing into heavenly squares.
Flavor Tips for Red Velvet Gooey Butter Cake
Texture Perfection: For an ultra-smooth base, use a spatula or the back of a spoon to gently press and spread the cake mix mixture evenly, ensuring no gaps or uneven spots.
Cream Cheese Twist: Soften the cream cheese at room temperature for 30 minutes before mixing to create a silkier, lump-free filling that blends seamlessly.
Gluten-Free Option: Swap the regular red velvet cake mix with a gluten-free alternative to make this dessert suitable for those with gluten sensitivities.
Topping Creativity: Enhance the cake’s visual appeal by sprinkling cocoa powder, powdered sugar, or adding fresh berries on top just before serving for extra flavor and decoration.
Make-Ahead Magic: Prepare the cake a day in advance and store it covered in the refrigerator. The flavors will meld together, creating an even more delicious dessert.
Red Velvet Butter Cake: Serving Time Ideas
Dessert Drama Night: Serve this cake at a movie marathon with friends, pairing each slice with a scoop of vanilla bean ice cream for extra decadence.
Festive Red Centerpiece: Create a stunning holiday dessert table by cutting the cake into small squares, dusting with powdered sugar, and arranging on a red cake stand for dramatic visual appeal.
Coffee Corner Companion: Slice thin pieces to accompany morning coffee or afternoon tea, offering a sweet treat that complements rich, bold brewing styles perfectly.
Gifting Delight: Package individual slices in clear gift boxes with a red ribbon, making them charming homemade presents for birthdays, potlucks, or spontaneous celebrations.
Store Red Velvet Gooey Butter Cake Right
Smart Refrigeration Strategy: Store the red velvet gooey butter cake in an airtight container in the refrigerator for up to 5 days. Cover tightly with plastic wrap or aluminum foil to maintain moisture and prevent absorption of other food odors.
Freezing Fresh Goodness: Slice the cake into individual portions before freezing. Wrap each slice separately in plastic wrap, then place in a freezer-safe container. Frozen slices will stay delicious for 2-3 months. Thaw overnight in the refrigerator for best texture.
Room Temperature Magic: Keep the cake at room temperature for up to 2 days if serving soon. Place under a cake dome or cover loosely with foil to prevent drying out. Ideal for serving at parties or casual gatherings.
Slice and Serve Hack: Cut the cake when completely cooled to ensure clean, neat slices. Use a sharp knife wiped with hot water between each cut for picture-perfect servings. Store cut pieces between layers of parchment paper to prevent sticking.
Indulgent red velvet gooey butter cake blends Southern charm with creamy decadence. Rich cocoa and cream cheese create a luxurious dessert that promises pure comfort and sweet satisfaction.
Ingredients
Scale
1 box (15.25 oz/432 g) red velvet cake mix
8 oz (225 g) cream cheese, softened
3.75 cups (450 g) powdered sugar
1 cup (230 g) unsalted butter, melted
3 large eggs
1 tsp vanilla extract
Instructions
Preparation: Preheat the oven to 350F (175C) and prepare a 9×13-inch baking pan by greasing with butter or lining with parchment paper.
Base Layer: Mix red velvet cake mix with egg and melted butter, kneading into a cohesive dough, then spread evenly across the entire pan surface.
Filling Creation: Whisk cream cheese, remaining eggs, powdered sugar, and vanilla extract in a separate bowl until smooth and fully incorporated.
Assembly: Gently cascade the cream cheese mixture over the red velvet base, ensuring complete and uniform coverage without disrupting the bottom layer.
Baking Process: Slide the pan into the preheated oven and bake for 40-45 minutes, targeting a slightly trembling center with golden-brown perimeter.
Cooling and Finishing: Allow the cake to cool completely at room temperature, then slice into squares and dust with additional powdered sugar for an elegant presentation.
Storage: Preserve remaining cake in an airtight container within the refrigerator to maintain optimal moisture and texture.
Notes
Prevent Cake Sticking: Properly grease the baking pan or use parchment paper to ensure easy cake removal and clean cutting.
Achieve Perfect Texture: Watch the baking time closely – a slightly jiggly center indicates the ideal gooey consistency without overcooking.
Temperature Control Matters: Allow the cake to cool completely at room temperature to help the filling set and develop its signature creamy texture.
Customize for Dietary Needs: Swap regular cake mix with gluten-free or low-sugar alternatives to accommodate different dietary restrictions while maintaining the cake’s rich flavor profile.
Recipe development with a focus on single-dish meals.
Fusion of traditional and modern Australian cuisines.
Food styling and photography for digital platforms.
Education
Box Hill Institute, Melbourne
Degree: Advanced Diploma of Hospitality Management
Focus: Specialized in practical food and beverage service, responsible alcohol and hygiene compliance, legal risk management, and hands‑on experience in a simulated restaurant environment.
William Angliss Institute, Melbourne
Program: Certificate IV in Patisserie
Focus: Specialized in pastry and bakery techniques, cookery and specialty food preparation, recipe planning and costing, commercial kitchen operations, sustainable and inclusive work practices, food safety and hygiene compliance, and workplace health and safety.
Jenna is the heart of Picture Perfect Meals, turning simple ingredients into beautiful, easy‑to‑make dishes.
Growing up around family meals in Melbourne, she trained at Box Hill Institute and then perfected her pastry skills at William Angliss Institute. She loves mixing classic Australian flavors with fresh ideas to keep cooking fun and stress‑free.


Jenna Hartley
Founder & Recipe Creator
Expertise
Education
Box Hill Institute, Melbourne
William Angliss Institute, Melbourne
Jenna is the heart of Picture Perfect Meals, turning simple ingredients into beautiful, easy‑to‑make dishes.
Growing up around family meals in Melbourne, she trained at Box Hill Institute and then perfected her pastry skills at William Angliss Institute. She loves mixing classic Australian flavors with fresh ideas to keep cooking fun and stress‑free.